Showing posts with label stonewall kitchen. Show all posts

Sunday, January 15, 2012

Live to Bake

When I attended the Boston Foodie Social last month, I met a remarkable young girl with a vision. She made it her Bat Mitzvah project to raise money for a charity known as FutureChefs. Samantha Cooper has put together a beautiful cookbook of bake-worthy recipes, and mouthwatering photos, all in the name of fund raising!


This 12-year-old foodie has been baking since she was 2, and has big goals in mind for her project! She has already reached her goal to raise $5,000 for her charity, and she plans to keep going! She's already sold over 250 books! FutureChefs' mission, as stated on their website, is to "prepare motivated, low-income Boston area youth for quality early employment and post-secondary education in the culinary field, where the demand for skilled professionals is consistently high." This program is privately-funded, so Samantha's contributions can make a huge difference in the curriculum that they can offer their students. Many restaurants and establishments in the community also contribute to this organization!

Samantha's mother, and totally awesome PR rep, was kind enough to give me a copy of the book so that I could try a few recipes before writing a post. The first thing I tried was Samantha's recipe for pancakes, from scratch. No mix involved here! I had all the ingredients on a cold, Saturday morning, so I gathered them, and concocted the batter while my pan was heating. These were some great pancakes! I served them with some heated Blood Orange marmalade, from Stonewall Kitchen, but my husband wanted syrup - he loves maple syrup!


There's so many recipes in this book that I want to make, but the second one I chose were the Ricotta cookies. I had some ricotta in the fridge, and all the other ingredients in the pantry. Samantha's recipes are really easy to understand and follow. Even an amateur baker would be hard-pressed to mess these up! Her writing is clear and concise, and the measurements are perfect! She even suggests ways to decorate your final products!


So far, the response to Live to Bake has been fantastic and exciting, and she's in the home stretch of her project, culminating with her Bat Mitzvah. However, I'm sure that this won't be the last you see of Samantha! She is so dedicated to her cause that she sought FutureChefs out after another charity she had been involved with closed its doors last year.

Live to Bake can be purchased by sending an email to Live To Bake. Each book costs $25 and 100% of the proceeds are donated to FutureChefs! I'm looking forward to trying more recipes from this wonderful collection!

Next up on my list: the biscotti with cranberries soaked in vodka. What could POSSIBLY be bad about that!?!?!

Monday, August 1, 2011

I'm BAACK!

Hello, my culinary comrades! I missed you while I was away, but I have SO much to tell you now that I'm back at home, unpacked, and doing load after load of campfire-scented laundry. All the dishes I made for the first-night feast at the campground went over really well, and since you've already heard about 
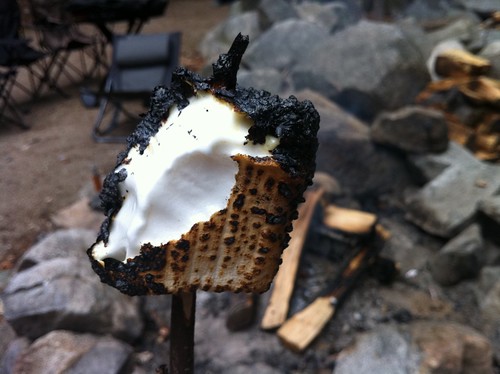
those, I'll move on to the wonderful things I found to eat during the trip! There's no such thing as camping without roasted marshmallows, and I found JUMBO marshmallows - they were HUGE!

IMG_0846


After a long night of catching up with friends, enjoying good eats, and inevitably drinking a few too many beers, there's nothing like a diner breakfast the next morning. Dark coffee, big plates of food and a little bit of grease can get you on your way for the next day of fun. 
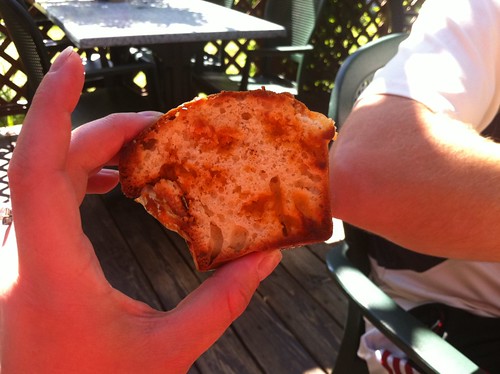
Banners, in Conway, NH, is no exception. I normally get the eggs benedict when I'm there (one of many yearly traditions!) but their special muffin of the day was a Butter Rum muffin...which I really needed to try. So I got the New Englander, with some eggs, some meat, some hash browns...and a grilled Butter Rum muffin. Oh my goodness - it tasted like a cup of butterbeer (Harry Potter fans... :) ), it tasted like a melted Werther's candy, and to quote my friend Sarah, "it tastes like happy!" It was amazing!

IMG_0848


There's no visiting Conway without visiting the outlet shops at 
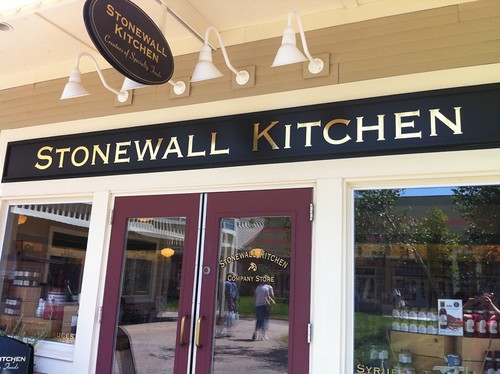
Settler's Green. One of the stores I was most excited about visiting was the Stonewall Kitchen outlet! If you've been paying attention at all, you know how much I love Stonewall Kitchen so I walked in and grabbed a basket...because you know I filled that up! The first thing I saw was a mix for Carrot Cake Whoopie Pies. I also picked up some nice nosh-type crackers, as well as a Blood Orange Marmalade that I cannot wait to put on some homemade toast. I was really looking for some more cookbooks on a good discount, but the selection was lacking this time around. I'll have to keep my eye out on the website for good deals.

IMG_0849


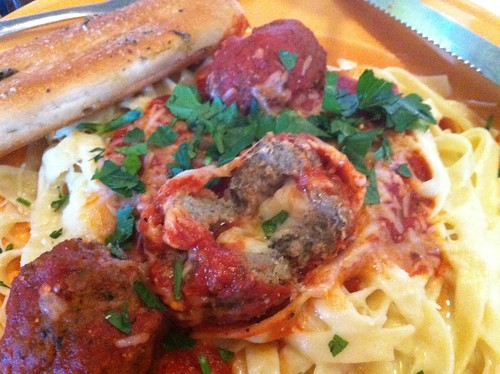
After a long day of shopping, we stopped at the closest place to the outlets, Applebee's. I know, I know...I am not one to advocate chain restaurants like this, and I really only go to Applebee's ONCE a year...in July, in Conway, NH...after a day of shopping...so I'm allowed to splurge a little on something absolutely NOT good for me. And boy, did I find it! I found something on the menu that I just needed to try...and so did half of the people I was with as well! Provolone-Stuffed Meatballs, with Fettuchine Alfredo! Right? I know...totally horrible for me...but SO delicious! It was better than I could have dreamed it to be, actually...and I don't praise Applebee's often...but my goodness! Ooey, gooey and yummy!

IMG_0851


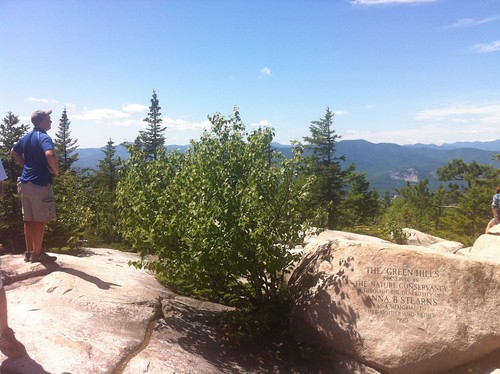
I didn't eat much else after this enormous plate of fabulousness, and we had another fun night by the campfire. In the morning, I burned some calories by going for a nice, steep hike on Black Cap Trail. The overlook we happened upon at the top was totally worth the trip (not to mention burning off some of those meatballs)! (there's my friend Kevin, checkin' out the scenery on the left!)

IMG_0852


After the return trip, back down the trail, we went to 
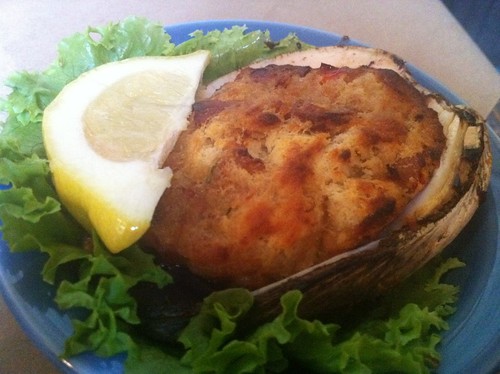
Delaney's Hole in the Wall, to fulfill another one of our yearly traditions. We always have a post-hike meal at this local establishment, and this year was no exception. I saw stuffed quahogs on the menu, and had to have one. I think it might have been the best stuffed quahog I've ever had! It had big chunks of bacon, and this hint of heat at the end of each bite...I think there might have been minced jalapeno in there! It totally hit the spot after a day of hiking!

IMG_0854


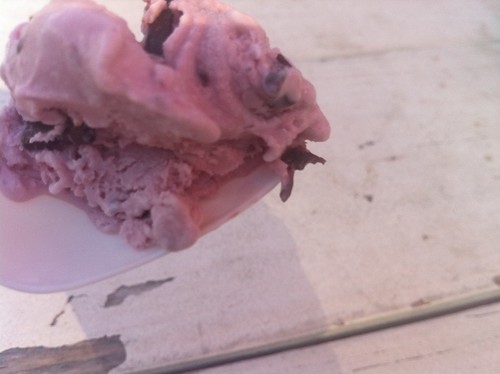
After we had all eaten our fill at Delaney's, we walked down the street to Molly B's Ice Cream shop! We were such a large group, and we kind of took over the little place, but the ladies behind the counter were more than happy to accomodate! They were so friendly, and willing to let us taste until we found the perfect scoop! I ended up with a kiddie cup (come on, I've been eating like crazy here!) of Cherry Amaretto Chip, and it was so refreshing on such a warm day! The cherry ice cream was really fruity with the perfect amount of tartness, and the amaretto chips were a totally welcome crunch!

IMG_0856


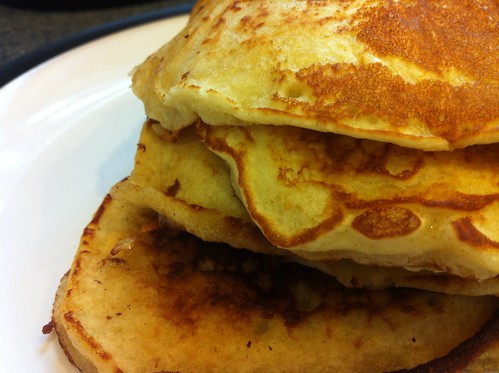
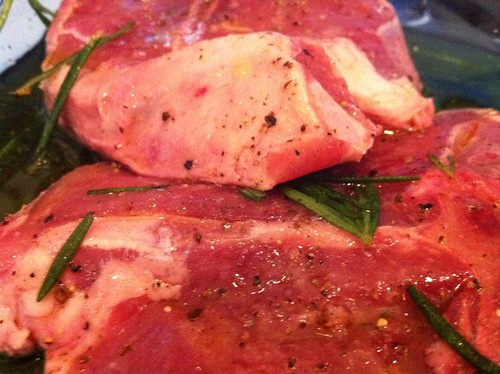
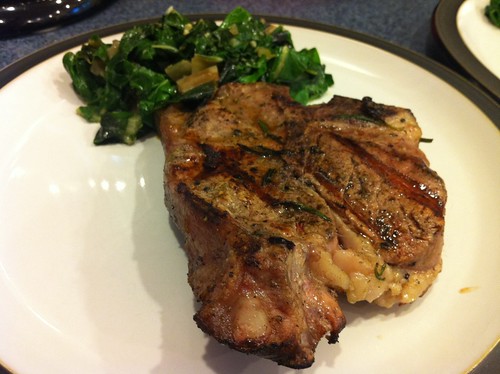
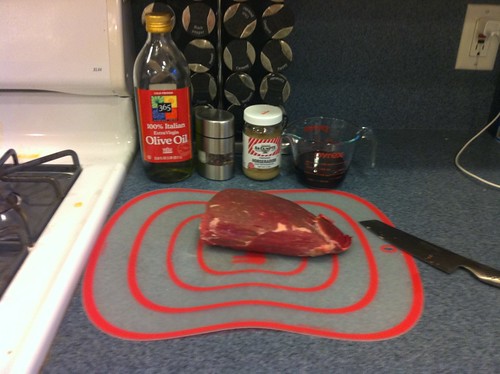
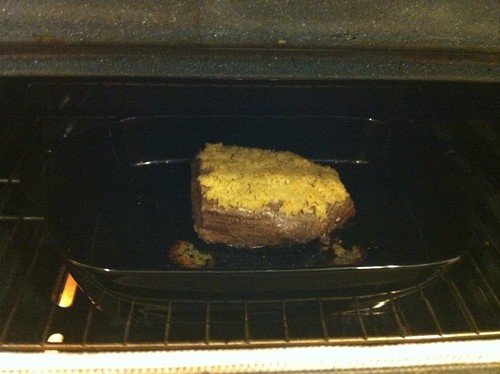
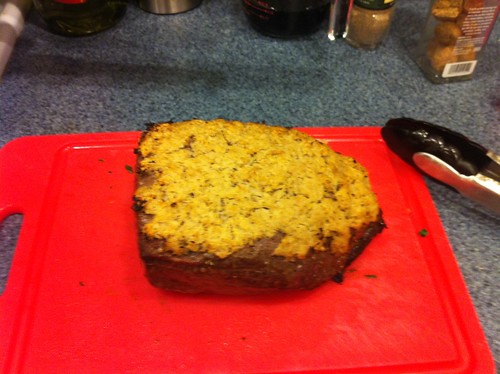
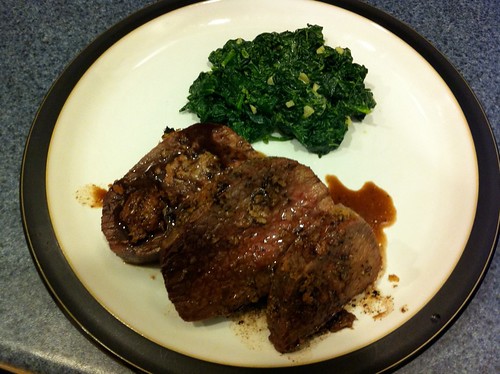
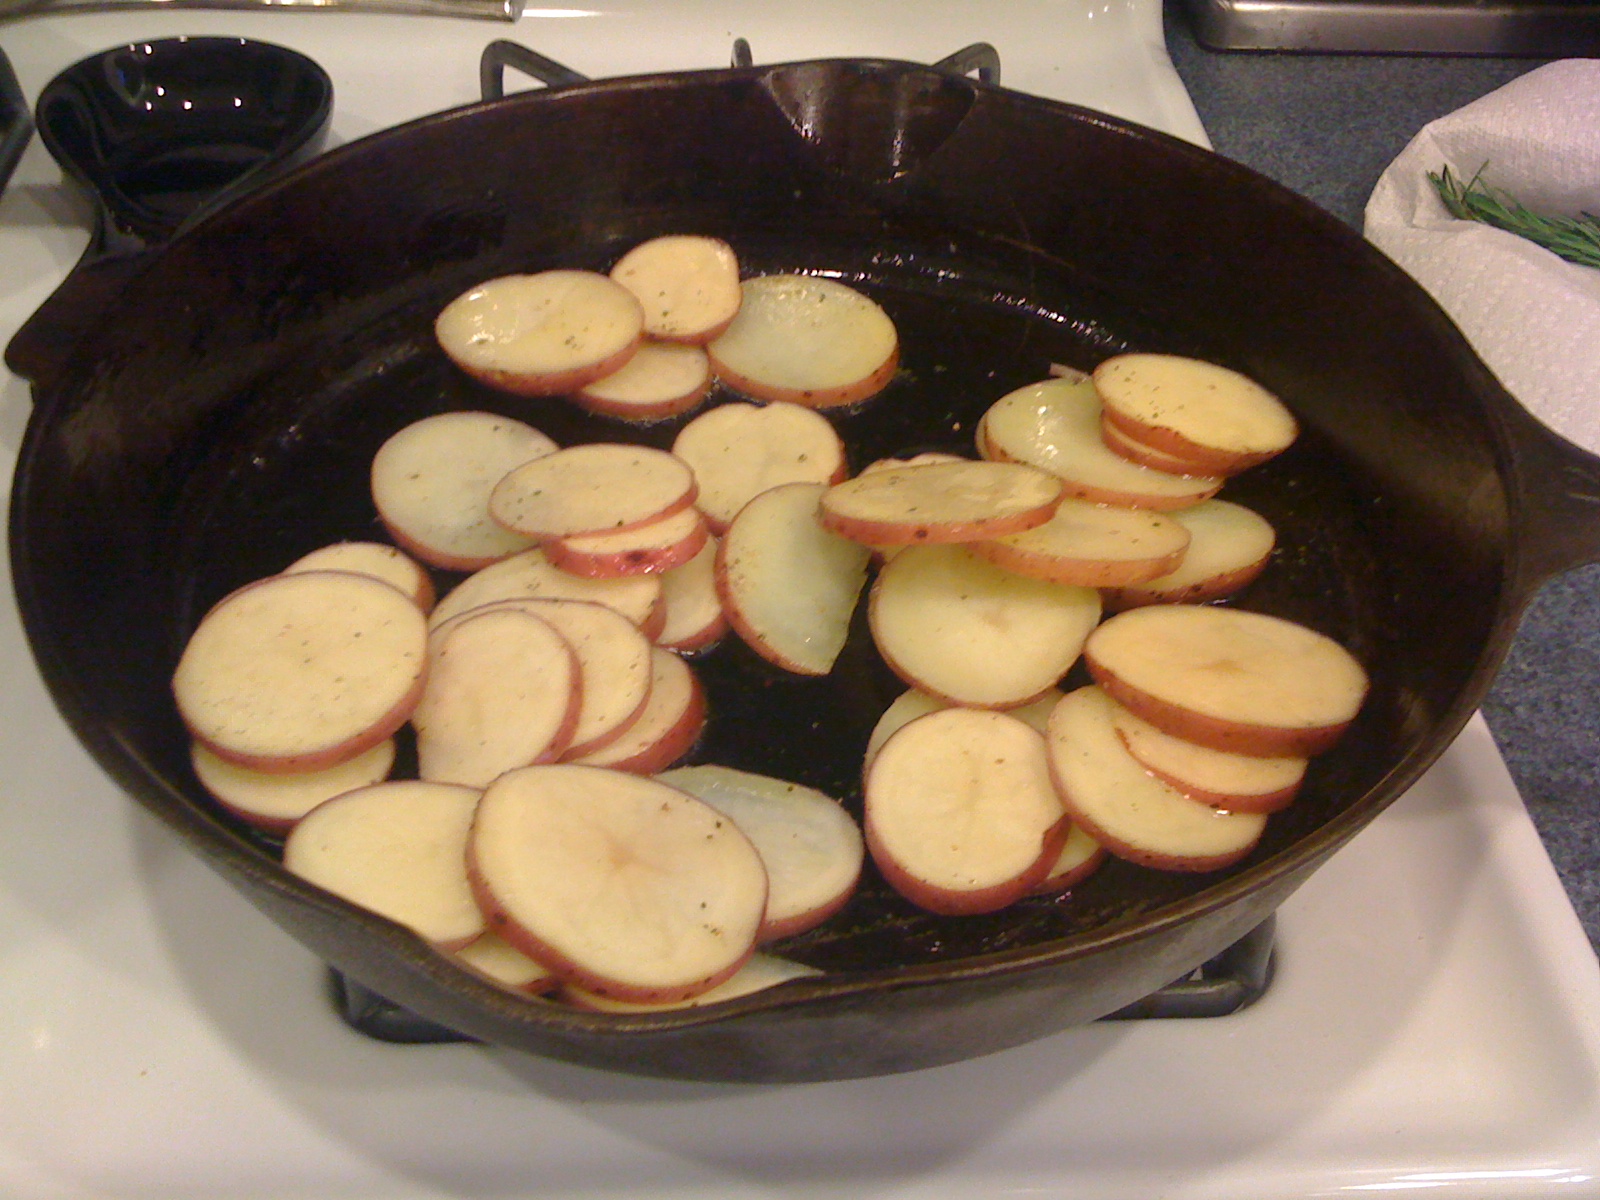
Later that evening, we unloaded the coolers and cooked the rest of the food that we'd been keeping on ice for the length of our trip. Some marinated steak tips, some pasta salads, a few chicken apple sausages, and many more laughs around the campfire. We eventually all drifted off to bed, knowing we had an early morning of packing up tents in our future! But, wait, I saved the best for last! Because the place we go for breakfast before we leave for home is my favorite place in Conway! It's called 
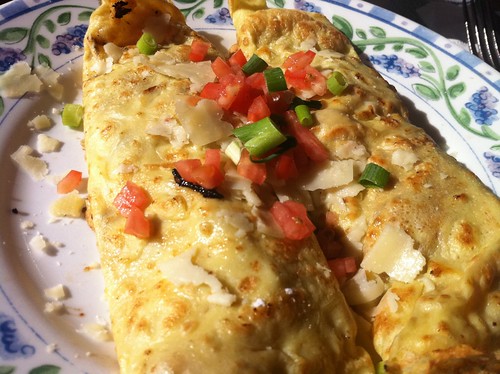
Peach's, and it's delicious! I normally get some crepe-concoction while there, because they always have yummy options, and you don't really see crepes on too many menus. This morning, I ordered the asparagus, tomato, ham and gruyere crepes...and they did NOT disappoint! The waitstaff is friendly, the atmosphere is adorable, and the food...this is one of my favorite breakfast joints...period. So...good!

IMG_0858


Now, we're back home, the puppy is so happy to see us again, and it's back to the day-to-day! The grocery store should be expecting a visit from me, since my fridge is E-M-P-T-Y! My kitchen is calling me back to start in on this new menu I've got posted up here and it's time to get back in the swing of things! I missed you all, readers, and I missed writing these posts. Look forward to many things in the coming weeks...I'm back, baby!

Tuesday, July 12, 2011

It's a Scorcher!

Phew, is it hot out there today! On days like this, the last thing anyone can think about is standing over a hot stove, slaving away at a complicated dinner. You want to eat simply, lightly, and with the least effort expelled, right?

I have all this produce to use, from the CSA Share, and I was sitting at my desk today, thinking about what I could make for dinner. I haven't gone grocery shopping in awhile, but I have some things, and thought about what I could buy at the farmer's market to fill in the gaps. On my way back from the gym at lunch time, I stopped in at the Foxboro Cheese booth at the Dewey Square Farmers Market. The gentleman there also sells some beef and veal products and that's what I had my eye on. The prices were better than I remember them being last year, so I was psyched about that...but more importantly, he had two gorgeous veal loin chops with my name on 'em!

IMG_0807


This was going to be easy! Now, all their meat comes frozen, so I left it out for the afternoon to defrost, and when I got home from work, I mixed up some olive oil, rosemary (from my dear friend, Heidi's, garden), salt and pepper. I let that infuse for a little bit before coating the veal in the mixture. I let it sit for a little bit while the grill was heating up.

I sliced the swiss chard I received in the CSA share into 1-inch ribbons and also minced up a couple of garlic cloves. While the veal was on the grill, I sauteed the garlic in a little butter and olive oil until fragrant and then threw in the chard.

IMG_0809


Chard is a very hearty green but it will wilt down just like any other, given the time. I tossed it every minute or so until every leaf was wilted equally. At the very end, I turned down the heat and threw in a bit of Champagne Shallot Mustard from Stonewall Kitchen. The mustard gave a nice creamy texture to the chard, as well as a nice bite...and I only used a tablespoon or so.

This meal came together in about 15 minutes, 10 of which I spent outside, enjoying the weather near the grill. Now that's my kinda summer-time meal!

IMG_0811


Fun fact of the day: Did you know that Swiss Chard is high in A, K and C? The World's Healthiest Foods says that Swiss Chard ranks only second to spinach in a total-nutrient analysis!

Wednesday, June 8, 2011

Steamer Clams and an Artichoke!

We're going to do things a little differently today. I don't have a "mise en place" picture to start off this post, because the recipe didn't really call for any prep work - amazing right? It was more measuring and combining, stirring and dipping...so that's exactly what I did. The recipe, "World's Best Fried Clams," comes from the Stonewall Kitchen Harvest cookbook. The menu mentions pairing these clams with a frisee and spring ramps salad, which I was really excited to try, but alas, I couldn't find either frisee lettuce OR ramps (I think I just missed the season for those) at the store. So instead, we had some more of those beautiful Globe Artichokes from Whole Foods ... STILL on sale!!
Stonewall Kitchen Harvest: Celebrating the Bounty of the Seasons
I don't know if I can commit to the title of this recipe, because I've had some pretty good fried clams in my day, but these were REALLY good, and I'll place them up there at the top, at the very least. While the recipe called for shucked steamer clams, I actually just bought a bag of shelled ones, and shucked them myself. I think it was probably much cheaper that way, and it's not difficult to get them out of their shells. You just need to come to terms with the fact that you are killing them as you do it. I know, I know...but I love raw oysters, and you do the same thing when you shuck those, so I've become a bit more heartless about the whole thing. Don't judge me! :)

So, I shucked the steamer clams and placed them in a bath of whole milk. They stayed there until I was ready to fry them, just soakin' it in! In another bowl, I beat an egg, and mixed it with a 1/2 cup of buttermilk, 3/4 cup of cornmeal, 1/4 cup of all purpose flour, some salt, some pepper, and a few splashes of hot sauce, such as Tabasco.

IMG_0698


IMG_0699


I poured an entire bottle of canola oil into a cast iron pan and set it to heat. I used little drops of leftover batter to test the oil. When the drop of batter bubbled and floated to the surface quickly, it was time to fry those clams! That's always a good way to test your oil, with a small amount of whatever you are frying...then you'll know if the heat is correct for that specific ingredient. Once the oil was ready for frying, I transferred the clams from the milk bath to the buttermilk batter and let them swim around for a minute...coating them thoroughly.

IMG_0702


Frying the clams in batches, let them cook for about 2 minutes, and then spoon them out to a paper towel. I only did about 8 or 9 of them at a time, so it took a few batches to get them all cooked, but you get a more even fry if they aren't over-crowded and touching each other.

IMG_0703


IMG_0704


I threw together the ingredients for a tartar sauce: mayonnaise, capers, parsley, lemon juice, chopped cornichons, scallions, salt, pepper and a dash of hot sauce. That made a great dipping sauce for the clams. I also poured a little bowl of that Lemon-Tarragon Vinaigrette from the other day to use as a dipping sauce for the artichokes.

IMG_0701


This meal was very refreshing, and worked perfectly for a hot evening such as this. It was light, yet filling, and totally easy to pull together. 

IMG_0705

Tuesday, May 24, 2011

Cold Soup?

So, we're working our way through the leftovers from the bridal shower, attempting to yet again clean the fridge out before going grocery shopping. I was so busy on Saturday that I didn't get to enjoy half of the things I worked so hard to make! Tonight, I had a nice big bowl of the Chunky Gazpacho with Piquillo-Scallion Relish, and oh boy, I was inspired to write!

IMG_0659


Gazpacho is one of my favorite things about summer. According to Wikipedia, gazpacho is a cold Spanish tomato-based raw vegetable soup. That's right, you heard correctly - raw. There is no cooking necessary here, and that's why it's a great summertime meal. No added heat, fresh, crunchy veggies in a cool tomato base...sounds refreshing, doesn't it?

There are many gazpacho recipes out there, and I urge you to try many of them before settling on your favorite...but this one, from the Stonewall Kitchen Favorites cookbook, well, it's pretty darn good! Lots of tomatoes, crunchy peppers in all colors, cool cucumbers and the bite of red onion make for a burst of flavor with each spoonful!

Gazpacho
from Flickr - by Melissa Prado Little
(I don't think I could've found a better picture to depict the process)

The way I describe it, I guess it sounds like more of a salad then a soup, but let me explain. Once you've cut up all of your fresh veggies, and they are all combined with some lime juice and whatever else your specific recipe calls for, you blend about half the mixture in a food processor, until it's a juicy puree. This is what turns it from a salad, to a chunky soup. Don't get me wrong, you'll still be chewing each bite, and experiencing that nice crunch of cool cucumber and peppers! Who'd have thought you'd want to eat soup during the summer!

Be on the lookout for gazpacho on menus in your area! If you find an exceptionally good one, be sure to share it with all of us here on Mise En Place (A good place to start). I don't want to speak for all of us, but I love hearing about restaurants, and menu items that hold a special place in one's heart! Can't wait to hear your stories!

There's a new menu in the works as well - coming very soon! If you have requests, get them in ASAP!

Monday, April 25, 2011

Roasting the Rack

Tonight, I came home to a houseful of chores that needed to be done, so I opted for a meal that I could put in the oven and "forget about." A rack of lamb is a good way to go in that situation because it takes awhile to cook and you don't really need to do much to it while it's roasting. For this occasion, I'm making a Rack of Lamb with Garlic-Herb Crust and Roasted Tomatoes...and at the last minute, I decided to make some whipped potatoes as well. Both recipes came from Stonewall Kitchen Harvest.

For my lamb, I didn't need a ton of ingredients so my mise en place came together rather quickly. Good thing too, because my puppy was hungry and I needed to get her food ready before I started cooking the lamb! I gathered garlic cloves, fresh rosemary, fresh thyme, salt, black pepper, olive oil, breadcrumbs, a rack of lamb and 4 tomatoes.

IMG_0559


At this point, I preheated my oven to 450 degrees Fahrenheit.

IMG_0560


I put my minced garlic cloves, along with half of my rosemary and thyme into a mortar, and used a pestle to mash it up along with some salt and pepper, until I had a chunky paste.

IMG_0561

Once the paste was ready, I put it into a larger bowl, along with the breadcrumbs and olive oil, and then mixed until combined. The result is a granular, crusty type of paste.

IMG_0562


At this point, my oven is preheated so it's time to start a-roastin'! I placed my rack of lamb into a roasting pan and tucked tomato quarters all around and underneath it. You want the bones to be propped up by the tomatoes. I packed the breadcrumb mixture on the top (fatty side) of the lamb, pressing it down so it molded to the shape of the rack. I also sprinkled the exposed tomatoes with the leftover rosemary, thyme and some salt and pepper.

IMG_0563


And into the oven it goes, for 20 minutes. Once those 20 minutes are up (20 minutes that I used to put in a load of laundry, fold some dry laundry, feed the puppy, and even wrap some coins to take to the bank), you want to reduce the oven temperature to 350 degrees.

IMG_0564


...and continue roasting for another 35-40 minutes! I used those 40 minutes to get a second load of laundry in, and "whip up" some whipped potatoes! Once the timer beeps, take your lamb out of the roasting pan and allow it to rest for a few minutes before slicing it into individual chops.

I plated this meal by scooping some whipped potatoes onto each plate, and then placing the lamb chops on top of the potatoes. This was a small rack, so between the two of us, we finished it. I placed roasted tomatoes around the edge of each plate, and presto - a meal I didn't really need to "think about." That's a fancy Monday night dinner with not a lot of work, wouldn't you say!?

IMG_0565

Friday, April 22, 2011

Horseradish Crust

Last night, I got home a bit late, after my Zumba class, and wanted to make a quick meal. It was like my "friday" since today is a holiday, and I just wanted to sit back and let dinner make itself. This recipe does pretty much that, Beef Tenderloin with Horseradish Crust, from the Stonewall Kitchen Favorites Cookbook. The mise en place is simple, and the hands-on attention is minimal. I gathered a beef tenderloin, olive oil, salt and pepper, horseradish and red wine. That's it!

IMG_0545


While my oven was preheating to 450 degrees, I placed my beef into a roasting pan, coated it with olive oil and seasoned with salt and pepper. At this point, I put the meat in the oven to roast for 10 minutes. Once my timer told me that 10 minutes had passed, I pulled the meat out and packed my horseradish on the top of it. I squeezed most of the liquid out of the horseradish to assure it was pretty dry first, and then just kind of pressed it on top. Back in the oven it goes, for the next 25 minutes (although, I had to put mine in longer because it wasn't cooked - but keep a good eye on it.)

IMG_0547


Once the timer goes off again (or you feel the meat is cooked to your satisfaction), take it out of the oven and allow it to rest for about 4 minutes. Remember, resting means the meat is still cooking inside, so don't overcook it in the oven and then overcook it MORE by resting.

IMG_0548


While the meat was resting, I poured 1/2 a cup of red wine into the pan, and let it sizzle away until it was reduced to a sauce with a beautiful sheen to it.

IMG_0549


Once I sliced the beef, and plated the slices along with some Cardamom Creamed Spinach (also from Stonewall Kitchen Favorites), I poured a few tablespoons of the red wine reduction over the top of the meat. Easy meal - comin' right up!

IMG_0550

Monday, March 14, 2011

A Little Birdie Told Me...

Tonight, my quails are defrosted and ready to go, so it's time to make Quail with a Spiced Honey Dressing, from Gordon Ramsay's In The Heat of the Kitchen. We're going to use an interesting poached-grilled technique in this recipe, which I've never tried before! The quails will be served on a bed of sauteed potatoes and arugula leaves. I'm looking forward to this!

First thing to do is our mise en place:


The quails are trussed with toothpicks through their legs, to secure them for cooking...ya know, so they don't flail around in there! :) Now, my first step is to get 4 cups of chicken broth boiling with a few thyme sprigs thrown in. I seem to have used all of my fresh thyme, so I threw in some dried stuff instead...it's not ideal, but it works in this case.

It'd look prettier if I had those fresh thyme sprigs!
While I was waiting for the broth to boil, I put some sliced potatoes in a cast iron pan, with some olive oil as well as some salt and pepper. It takes some time to saute potatoes until browned so it's best to start them right away. This recipe doesn't take very long, so putting the potatoes on was one of my first priorities.


Once the broth was boiling, I added the trussed quails to the pot. You only want to cook them for a couple of minutes once the broth is simmering again. After that couple of minutes was up, I pulled them out of the pot with some tongs and patted them dry with some paper towels.


Now that the poaching part of the process is done, it's time to grill them! I put some cooking spray all over a grill pan and placed it on the heat to get warm. While it was heating up, I stuffed each quail with a rosemary sprig and some strips of sliced lime zest. I seasoned each quail with salt and pepper and brushed them with some olive oil.

Now, that's a compromising position!
Meanwhile, I've whisked together a sauce of honey, soy sauce, coarse grain mustard, dijon mustard (I replaced the Dijon mustard with a delicious Champagne Shallot Mustard from Stonewall Kitchen) and roasted sesame oil. I placed the stuffed, poached quails in the grill pan and proceeded to turn them quite often for the next 10 minutes (I think I could have done with a minute or two less, to be honest).


Once the quails were done grilling, I transferred them to a dish. I poured my sauce over and tossed them in the dressing until they were nicely coated. At this point, I let them marinate for about 5 minutes.


After that 5 minutes was up, I plated the potatoes and sprinkled some arugula leaves on top. They started to wilt with the heat of the potatoes, and I used a pair of tongs to place the quails on top. I then drizzled some of the extra sauce on top! Check that out!


All in all, that's about 20 minute of hands-on cooking time. Not bad for a weeknight meal!