Showing posts with label pinenuts. Show all posts

Sunday, December 4, 2011

Acorn Squash: 2 down, 7 to go!

IMG_1369

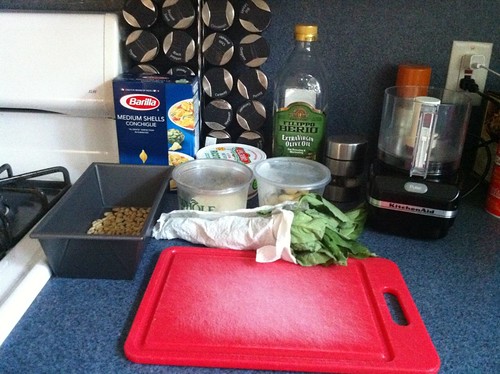
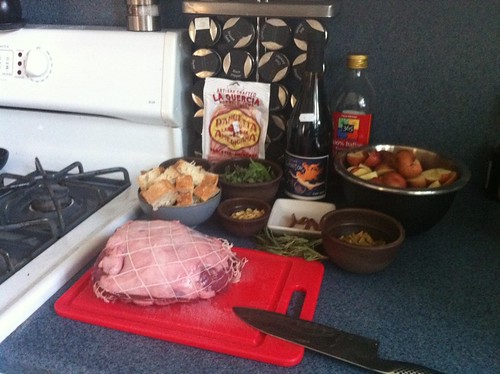
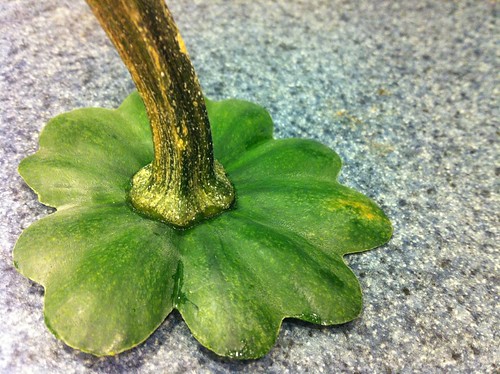
Last night, I used ingredients I had in my pantry and freezer to make a great stuffed acorn squash recipe that I happened upon while browsing the Internet. While it's a Martha Stewart recipe originally, it was reproduced on a blog, called The Bitten Word. I thought I'd give credit to the blog, as I appreciate when readers do for me, but also a nod to Martha, herself! I gathered the ingredients together in the order in which I'd be using them, so first things first: get the squash in the oven. I cut the two squashes in half, cleaned the insides of seeds and gook (yup, gook - that's what I called it!) and also sliced a bit off the bottoms in order to allow them to sit flat in my casserole dish.

IMG_1370

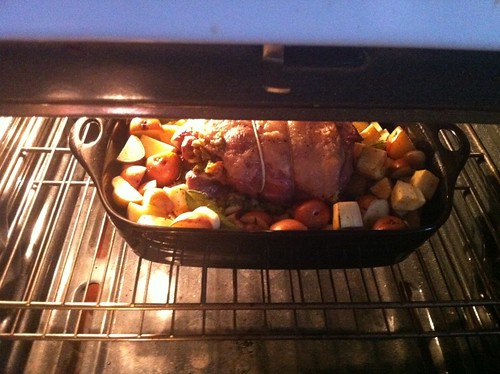
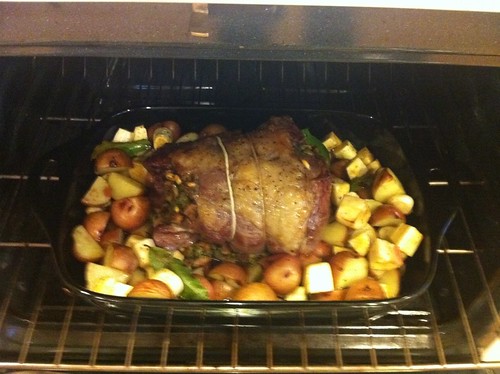
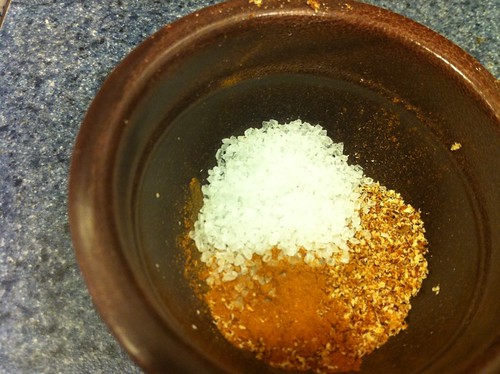
After preheating the oven to 400 degrees, I placed the squashes in a casserole dish, cut side down and allowed them to cook for 35 to 40 minutes. Meanwhile, I gathered the spices that would be used to season the ground beef that I cooked in a dutch oven on the stove. Some cinnamon, some nutmeg and some coarse salt added great Moroccan flavors to the meat.

IMG_1371

IMG_1373

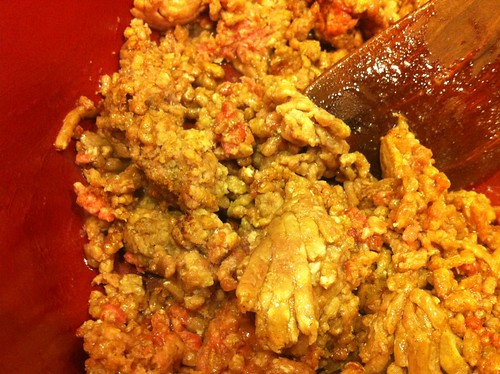
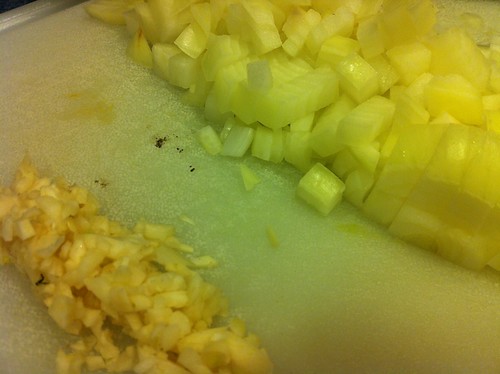
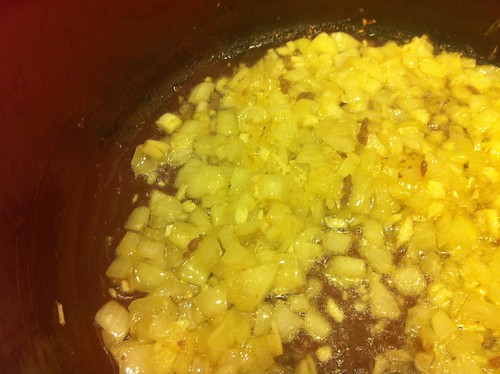
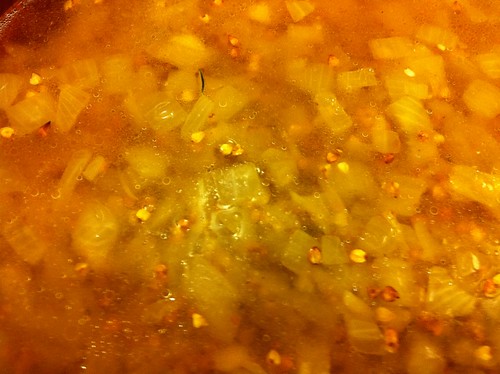
While the beef browned, I minced 4 cloves of garlic, and diced an onion. Once the beef had been cooking for about 7 minutes, and no more pink was visible, I removed it from the pot, reserving as much liquid as possible. The onions were added to the pot for about 7 minutes, allowing them to cook until translucent. During the last 30 seconds, add the garlic and allow it to become fragrant.

IMG_1372

IMG_1374

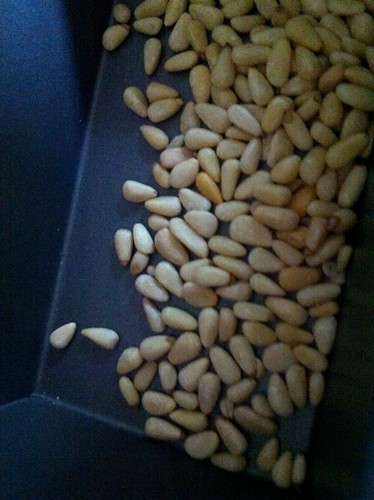
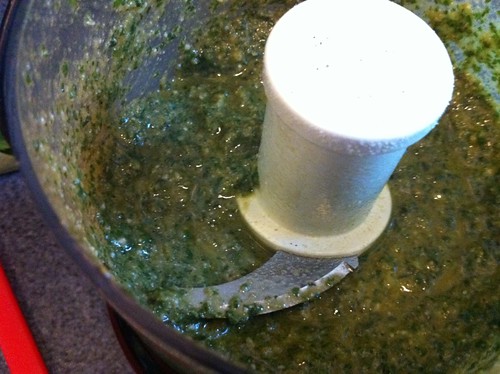
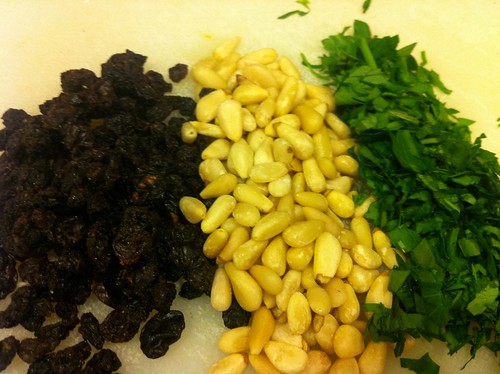
At this point, I added the Bulgar wheat, and some more coarse salt to the pot, along with 2 cups of water, and brought it all to a boil. Once boiling, I brought the heat down to medium low, covered the pot, and allowed the mixture to simmer for 15 minutes. It should then be removed from the heat and allowed to rest for 5 minutes before fluffing with a fork. While this simmered, I gathered my last three ingredients - pine nuts, parsley, and some currants. The original recipe calls for golden raisins, but as a substitute, I used currants because I had those on hand.

IMG_1375

IMG_1376

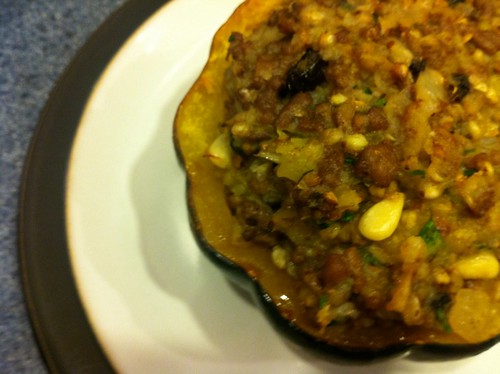
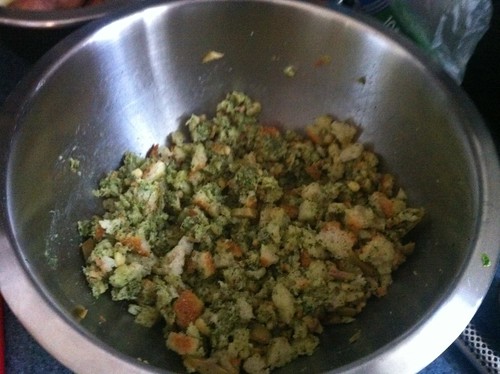
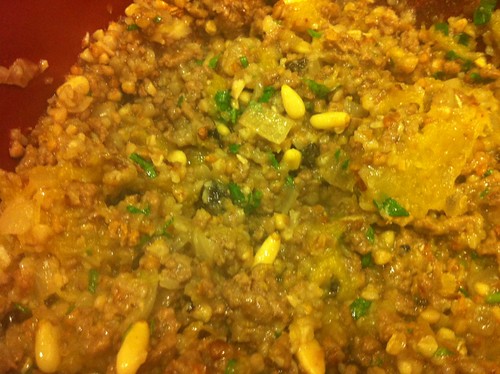
Once I had fluffed the Bulgar wheat mixture with a fork, I added the above ingredients along with the ground beef, and some of the squash scooped out of the halves that have been cooking in the oven. Once everything is all mixed together, it's time to fill our acorn squash cups with filling. I scooped a few tablespoons of the mixture into each half, until they were all overflowing with stuffing.

IMG_1377

IMG_1378

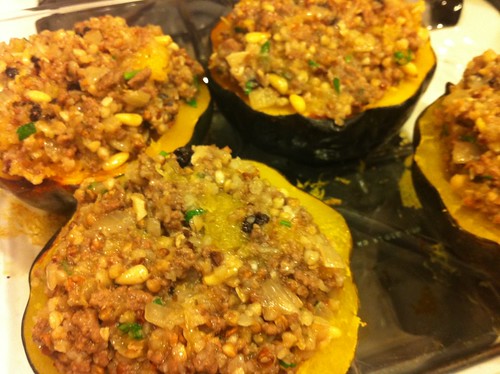
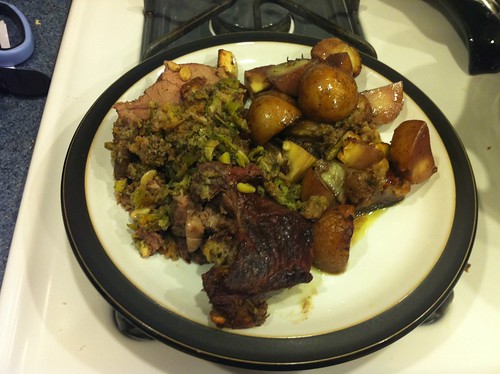
After another 15 minutes or so in the oven, the squash should be ready to eat! Look for a bit of browning over the top of the stuffing. Be careful, the center is hotter than the top sometimes but this is a very hearty way to eat squash. It was very tasty. If I did it again, I would rub some nutmeg and cinnamon on the inside of the squash before cooking them, and add a bit more seasoning to the stuffing mixture. It was a bit on the bland side for my palate, but I would love to experiment with some extra spices to give it a bit more bite! The leftovers will make a great lunch for work, though!

IMG_1379

Monday, July 11, 2011

Pesto ... as Promised!

I opted to use the bunch of basil I received in my delivery first, because basil spoils quite quickly, and I didn't want it to go to waste. The best way to use a large amount of basil is to make pesto sauce. What's pesto sauce, you may ask...well, I'm about to show you. It is probably one of the easiest sauces to throw together!

Pesto goes great with any pasta, but I prefer it with a shape that has a larger surface area to catch the sauce. I decided to go with a box of medium shells that I had in my pantry (I told you I was going to start using stuff up!). You'll also need some grated Parmesan, pine nuts, salt and pepper, garlic and olive oil, in addition to the basil. I decided to add some ricotta to the top of my dish, as a garnish, as well, so I saved a few basil leaves to mix in with that as well.

IMG_0802


The first thing that you need to do to prepare your pesto sauce is toast the pine nuts. When I say toast, I mean, get some heat on them...they burn VERY quickly so throw them under the broiler for a minute or two tops, but keep a close eye on them. All you need is a little heat to bring out the flavor of the nut.

IMG_0803


In a food processor, chop up a clove of garlic (or a little less than a clove if you don't want it to be very garlicky) and the pine nuts until they are all chopped up. Add about 3 handfuls of basil and chop it all up. Add the Parmesan and then start pouring olive oil, little bits at a time until you have a thick, chunky consistency.

IMG_0804


While the shells were cooking, I took half a head of lettuce and mixed it with some shaved carrots, sliced radishes, and lemon-tarragon vinaigrette, as a side dish to the pasta. I also mixed a few tablespoons of ricotta with some salt, pepper, and basil ribbons.

IMG_0805


Once the pasta was drained, and put back in the pot, I added the pesto and tossed it all together. Reserve a little bit of the pasta water before draining, in case you need to thin your sauce a bit. In this case, I didn't need to, but depending on the consistency of your pesto, it could be an option for you, and the starchy water is the perfect antidote. I plated the salad alongside the pasta and added a nice quenelle (a dollop shaped with two tablespoons) of ricotta mixture to the top of each plate. I sprinkled it with Parmesan and a few extra basil ribbons. VOILA!

IMG_0806

Friday, April 15, 2011

A Stuffed Leg of Lamb

First, let me apologize for not writing last night! I made a delicious meal for some wonderful friends, but we were enjoying each other's company so much that I lost track of time...and before I knew it, it was bedtime! I took pictures as I cooked, and I'm ready to tell you all about it today!

For the last recipe on the current menu, and the last meal of my journey to Jamie's Italy, I made a leg of lamb, stuffed with olives, bread, pinenuts and herbs. I took my time with this since we were planning on eating a bit later in the evening, and I had an adorable little puppy curled around my ankles! :) I gathered some garlic, mixed fresh herbs (parsley, mint, thyme and oregano) pancetta, anchovy fillets, rustic bread, pinenuts, green olives, salt and pepper, a leg of lamb, rosemary, olive oil, potatoes (and some turnips I had in the fridge as well), a sprig of bay leaves and a bottle of pinot noir.

IMG_0518

I put a couple of garlic cloves in a food processor to chop them up and then, as they were whirling around in there, I added my mixed greens. Once that was blended, I added pancetta slices and 3 anchovy fillets to the mix. Once that was all blended, I scraped all that into a bowl.

IMG_0519

I added my cubes of rustic bread to the food processor next and chopped them until they were breadcrumbs, with some larger chunks mixed in there. I poured that into a bowl with the herb mixture, sliced green olives, and a handful of pinenuts.

IMG_0520

And there we have it folks - the stuffing! Next, I went to preparing the lamb leg. The recipe calls for a cut of lamb that has the H-Bone and thigh bone tunnel-boned removed. I just went to the grocery store and got a boneless leg of lamb instead, and used some kitchen twine to tie the leg together once I stuffed it. I opened up the leg and then rolled it back around the stuffing. I tied it all together and tucked some rosemary sprigs underneath by the stuffing. I rubbed the outside of the lamb with olive oil, and some salt and pepper. I also tossed some quartered potatoes, and turnips with olive oil, salt, pepper, bay leaves and the rest of the garlic cloves. Once the potatoes and turnips were in the roasting pan, I pushed them to the sides to make room in the center for the lamb, and placed it in a 400 degree oven for an hour and a half.

IMG_0522

According to Jamie, Italians do not eat their lamb rare or pink in the middle like we do, so this will be cooked through, but I promise it is delicious! About a half an hour into the cooking time, douse the dish with a good couple of glugs of red wine. You'll want to do that about every half hour or so, to baste the lamb and add more cooking liquid to the dish.

IMG_0523

Once the timer went off, I pulled my roasting pan out of the oven and lifted the lamb to a cutting board to rest for 15 minutes. When it was time to plate, I cut off the twine, and then thinly sliced the lamb and stuffing. I spooned out some potatoes and turnips and then placed a couple of slices of the lamb on each plate!

IMG_0524

Pour yourself a glass of the same Pinot you used to baste the lamb and you've got yourself a meal!