I took pictures a bit differently this time since there were so many moving parts of this recipe. I have a couple of mise en place pictures, for each of the different steps. So, let's get the show on the road!
This afternoon, I roasted a whole chicken to be used in the sauce for the lasagna. There are a bunch of roasted meat recipes in Jamie's Italy
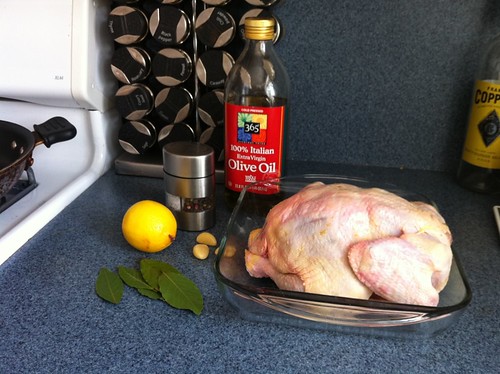
I rubbed the chicken with the olive oil, salt and pepper. Then, I stuffed the lemon halves, bay leaves and garlic cloves (whole) inside the bird.
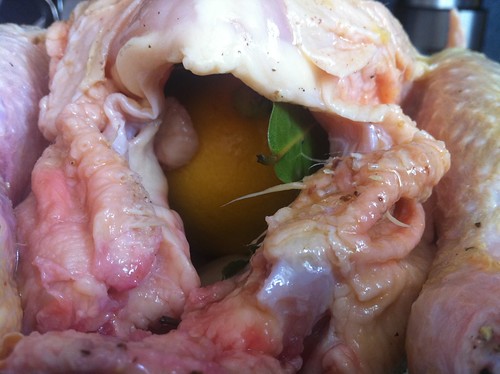
I know that's not a very pretty picture, but I wanted to show you how it's done! :) I put the chicken into a 375 degree oven for an hour and a half, basting half way through!
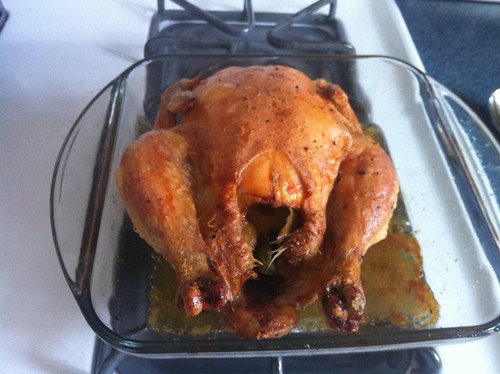
Once the chicken was done, and cooled, I shredded it with my fingers. This became part of the mise en place for the red sauce. Along with more olive oil, more garlic, some rosemary, more bay leaves, and 3 14-oz cans of plum tomatoes, I was ready to start the next step in the process.

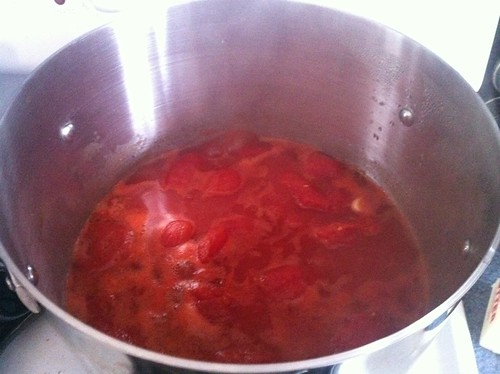
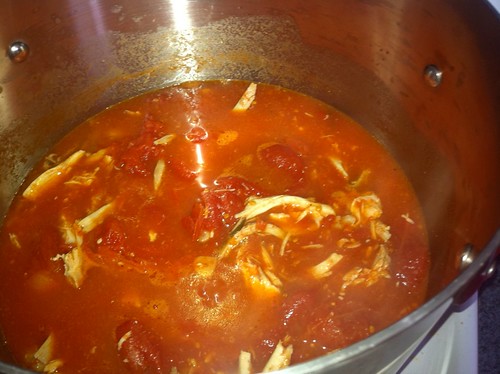
I heated a large saucepan with some olive oil and slowly fried the garlic until it was lightly colored and very fragrant. Once the garlic was ready, I threw in the rosemary sprig, bay leaves, and the three cans of tomatoes. I left this to cook gently for 45 minutes, covered.
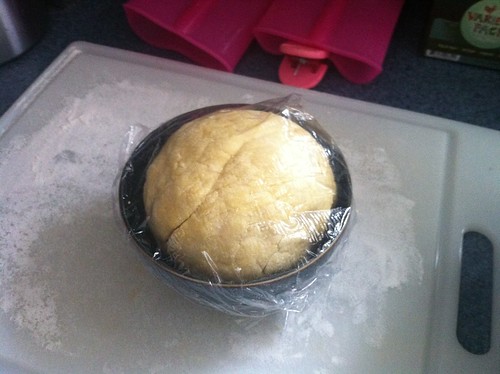
While the red sauce was cooking, I made my fresh pasta dough and left it to rest for the requisite 30 minutes.
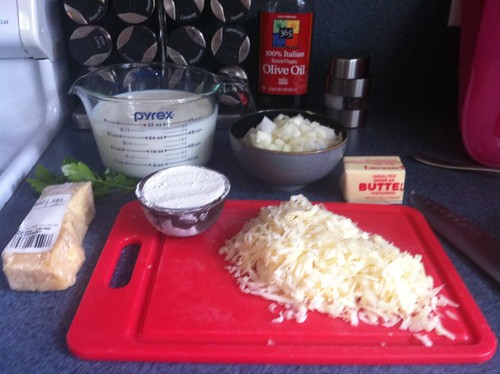
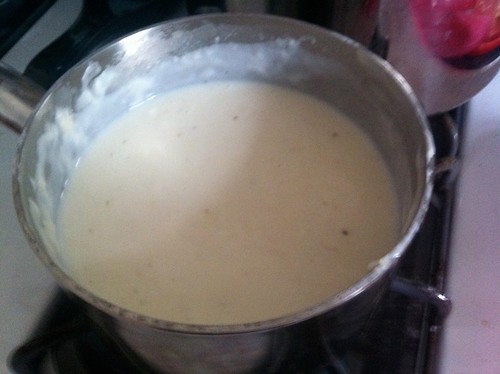
Once the red sauce was close to the 45 minute mark, I started in on the white sauce for the lasagna. This step called for milk, a sprig of parsley, nutmeg, some sliced onion, black peppercorns, butter, flour, parmesan cheese, salt and pepper.
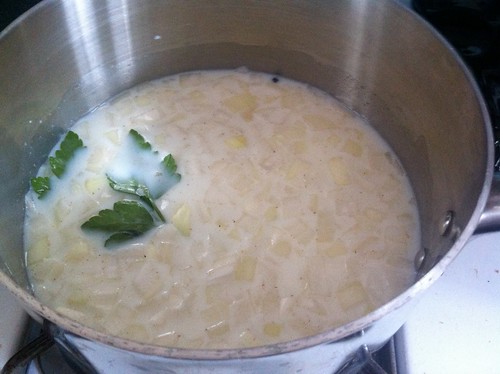
I needed two different pots for this step. The milk, parsley, nutmeg, onion, and peppercorns went into one pot, and I then brought it to a gentle boil.
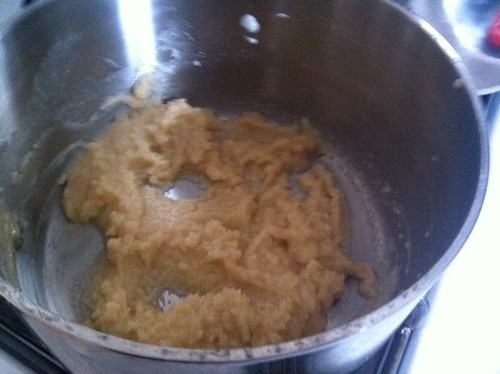
Meanwhile, in the other pot, I was melting down some butter. Once the butter had liquified, I stirred in the flour to make a roux.
While the milk mixture was heating, the timer went off on the 45 minutes for my red sauce. I added the chicken to the sauce and set the timer for another 20 minutes. I also pulled out the bay leaves and rosemary sprig.
And now back to the white sauce! Once it was gently boiling, I strained all the stuff out of it (because all we really wanted was the flavoring for the milk) and slowly poured the milk into the roux, stirring to blend as I poured. This is a slow process so be patient with it - pour a little and then blend it, pour a little and then blend it - it's a bit like risotto!
At some point during all this commotion, I found time to roll out some lasagna noodles. I quickly blanched them by putting them in boiling water for a minute, and then directly into an ice water bath. Once the noodles were done, my red sauce had simmered, and my white sauce was blended, it was time to build the lasagna!
I want to pause here, and say that lasagna does not need to be this much work. You could very well buy dried lasagna noodles, some jarred marinara sauce, and an already cooked rotisserie chicken to make this same meal, but...have you ever known me to take the simple route!?
Okay - back to the task at hand! I layered two of my lasagna noodles in a greased 13x9" pan.
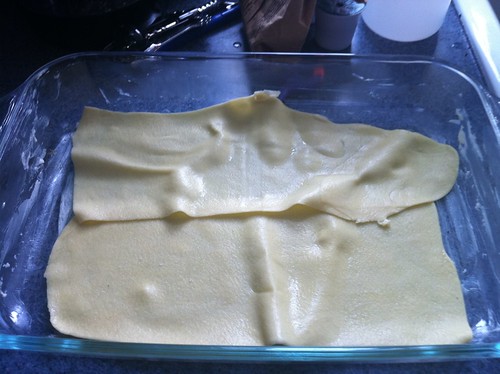
They aren't exactly square but hey, it's more rustic that way. On top of the noodles, I ladled on my red sauce with the chicken in it.
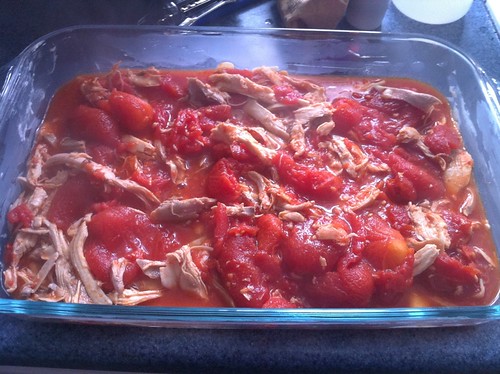
On top of the red sauce, I poured on some of the white sauce, and then sprinkled it with some of the shredded parmesan.
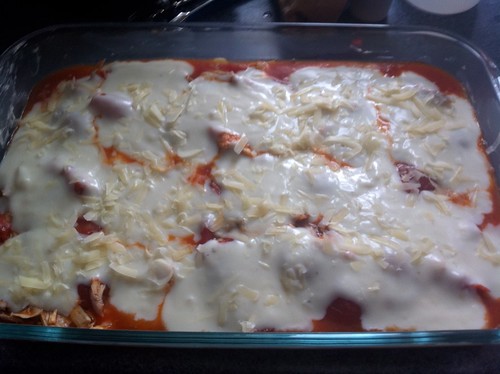
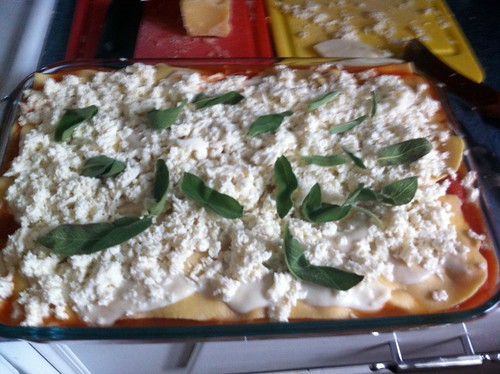
Then, you start all over again, until you've used all the sauce. I ended up with 2 layers of sauce and three layers of noodles (one layer for the top). The pan was full to the brim, nothing else would fit in there if I had tried! Once the last layer of noodle had been placed on top, I poured the remaining white sauce over it, sprinkled with parmesan and some fresh shredded mozzarella. I sprinkled some sage leaves on top and a few drizzles of olive oil, and it was ready to go into a 350 degree oven for 45 minutes, until it turns golden on top.
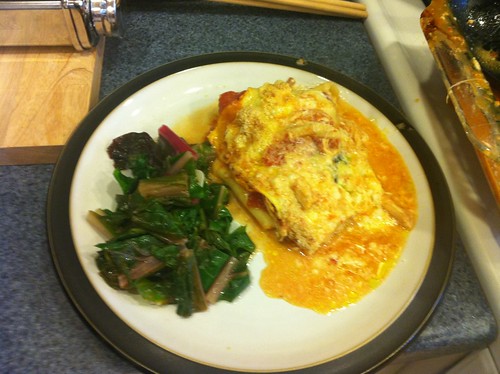
I made some Italian-Style Swiss Chard while the lasagna was cooking, and when the time went off, this is what I pulled out of the oven!
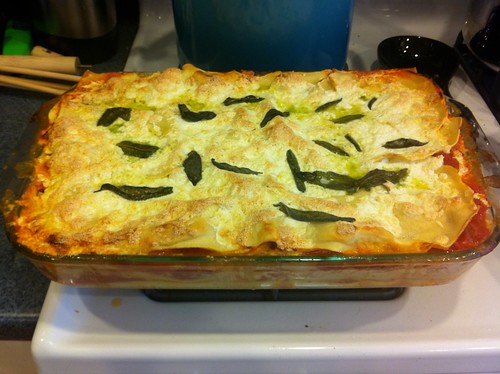
This was the best lasagna I've ever had. I'm not sure whether it was the different layers of sauce, or the fresh lasagna noodles, or the touch of fried sage on top, but this ... was ... de-lish-ous! I can't wait to eat it for lunch tomorrow!
I'll be making my next menu this week, so if you have any requests, don't forget to comment on a post to let me know. You can also contact me here, if you would prefer to email your request directly to me.
How you have time for that WITH A NEW PUPPY IN THE HOUSE, I'll never know. =)
ReplyDeleteThis sounds so labor intensive, but wonderful. It's making my mouth water!
ReplyDelete