Showing posts with label roux. Show all posts

Friday, July 20, 2012

Lasagna on the Fly!

"On the fly," is a term used in restaurant kitchens, when something needs to be cooked and delivered to a customer ASAP! That's exactly what happened last night! We got home a bit later than usual, and my husband needed to get to a softball game. He also needed to eat before he went, so I flew into the kitchen and whipped up a little something! This was the planned meal of the evening, but I thought I would have more time to prepare it, so I definitely pulled this out of somewhere!

Three things needed to happen before I could assemble the Sausage, Chard, and Lemon LasagnaI had to simmer some lemon slices to soften them, cook the sausage until it was no longer pink, and create a delicious Bechamel sauce. I whizzed around the kitchen (well, as fast as my limping foot could take me) gathering my ingredients in my arms. I was able to do it one or two trips! I got three pots set on the stove and started preheating the oven too!

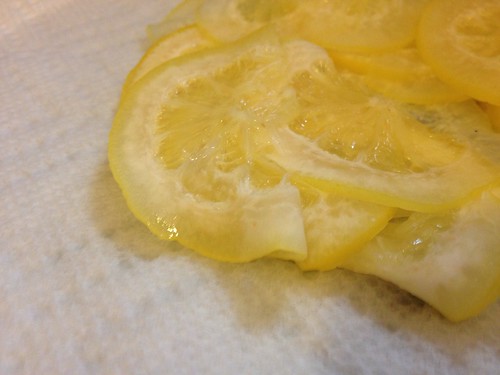
The first pot held a thinly sliced lemon, along with some water that I brought to a boil, and simmered for 7 minutes. This softened the lemons, bringing out the flavor and also making the entire thing (including the rind) edible and flavorful. Once the 7 minutes had passed, I took them out of the water and left them to dry on a paper towel. We'll be using those later!

Untitled

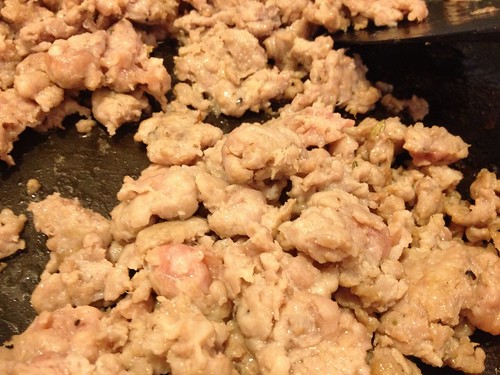
Meanwhile, I also placed some sweet Italian sausages into a non-stick skillet, peeled of their casings. I used a wooden spoon to break up the sausages, letting them crumble and brown in the pan. I was able to let that sit and cook, while I worked on the Bechamel sauce, which required a lot of stirring and attention.

Untitled

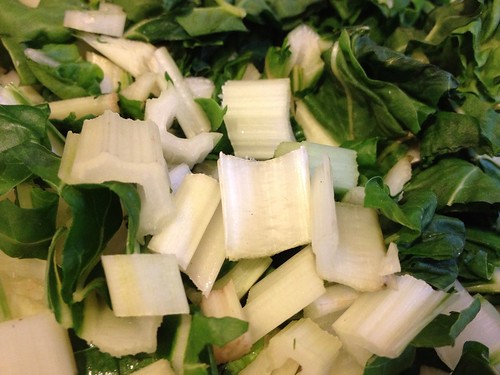
Now, for the Bechamel sauce, which I have to say, came out really well! I melted three tablespoons of butter in a pan, and added a quarter of a cup of flour. This combination creates a roux, which thickens liquids over heat. After cooking the butter and flour mixture for a minute or two, I added the three cups of whole milk and brought it all to a boil. As it began to boil, it began to thicken, which meant it was time to remove it from the heat, and add the Parmensan cheese. As the cheese melted into the roux and milk, the sauce became silky and thick, and delicious! I seasoned it with some salt and pepper, and stirred in my chopped Swiss Chard that I got at a local farmer's market this past weekend.

Untitled

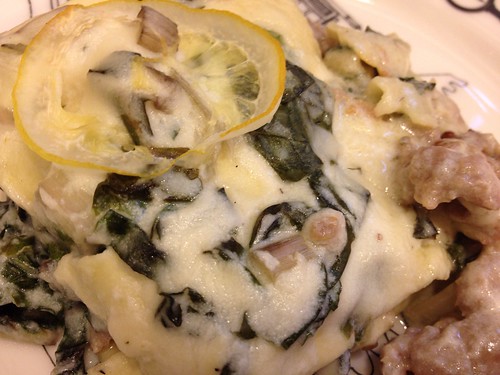
Now, it was time to assemble the lasagna and put it in the oven. Where are the noodles, you ask? Well, this recipe called for Barilla's No-Bake Lasagna Noodles, so I decided to go with that direction, rather than making my own this time around. I spread some sauce on the bottom of the pan, added two noodles, half of the sausage and a cup of sauce. I repeated the procedure and then finished it off with two noodles, the rest of the sauce and the lemon slices. I have to say that this is the first lasagna recipe that has made the perfect amount of sauce. I usually double the sauce portion of any recipe because I never seem to have enough, but this was perfect!

Untitled

After 27 minutes in the oven, at 350 degrees, the lasagna was ready! And I was just under the gun, too! We finished eating and then, Matt was off to his softball game! Clean-up wasn't too bad either! Since there were so few ingredients, the majority of the clean-up were the three pots I used to prep everything. The lasagna pan went straight into the fridge - I'm looking forward to those leftovers!

Untitled

Sunday, March 18, 2012

Part Four : Chapter Fourteen : Mise en Place for Stocks, Sauces, and Soups


When I started reading tonight's chapter of The Professional Chef, I was hoping it would be a first read before stepping into the kitchen to take things step-by-step and show you lots of pictures. That was not the case since this chapter was more of an introduction to the different types of aromatics, flavorings and thickening agents for soups, stocks and sauces.

Bouquets and Sachets are preparations of aromatics used for flavoring purposes. They are added during the cooking process. A bouquet garni is a tied bundle of thyme, parsley stems, bay leaf, celery and leek. The leek leaves act as the wrapping for the rest of the ingredients. A sachet is usually a bundle of peppercorns, as well as other herbs and spices all tied up in a bag made of cheesecloth. A sachet is very similar to a tea bag in the way it infuses the liquid in which it is submerged.

I've spoken about Mirepoix in the past, the French word for a combination of carrots, celery and onions that acts as the base flavor profile for many stocks, soups and sauces. There are many variations on the basic mirepoix, which we will learn about as we delve into the recipe portion of this part of the textbook.

A roux is a thickening agent that consists of a flour and a fat. Usually, this means lots of butter, melted, and then mixed with the flour, cooking it until it becomes the correct color for the recipe at hand. The basic formula is three parts flour to two parts fat. The colors are divided into four basic groups: white, blond, brown and dark, depending on how long it is cooked. Once roux is created, it is added to another liquid to thicken it.

Clarified butter is made by heating whole butter until it separates and the fat can be skimmed off the top. Many recipes call for this, as opposed to plain melted butter, because it can then be used at a higher temperature. Many rouxs start off with clarified butter. Ghee, which is used in many Asian cuisines, is another type of clarified butter, and can usually be purchased in Asian markets, as well as the Global aisle at the grocery store.

Pure starch slurries have a greater thickening power than other methods we've discussed. Ingredients such as cornstarch and arrowroot have these properties, and they don't require the extended simmering time that a roux would require. The slurry is created by submersing the ingredient of choice into cold water, before adding it to the soup or sauce. This is the quickest way to thicken.

The final page of this chapter discusses Liaisons. A liaison is a mixture of egg yolks and cream that is used to thicken sauces and soups. This mixture does not thicken in the same way that a roux or a slurry would, but adds sheen, body and flavor to the dish, as well as light golden-ivory color. To add a liaison to your dish, you'll want to use a process known as tempering, to avoid curdling the eggs. Tempering involves adding a small amount of the hot liquid to the egg mixture, in order to even the temperature out before pouring it into the main pot. Once the temperate is slowly regulated, it can be incorporated into the dish without risk of curdling. 

In the next chapter, we start to learn about making stocks and I will be applying these lessons to some of the recipes provided for practice. If all goes according to plan, I'll have seen my last carton of store-bought stock, because why buy it, when you can make it yourself!

Sunday, April 10, 2011

This One Took Awhile!

Today, I decided to conquer the challenge of Jamie's Lasagne alla Cacciatora, or "hunter's lasagne." This was quite an endeavor, I found, but nonetheless probably the BEST lasagna I've ever had, so it was totally worth it. Trust me, during the process, I was cursing all the ingredients and thinking, "This better be the best lasagna ever." It was totally worth every second I spent making it, and even though the recipe mentions that it serves 6...this is going to feed us for awhile!

I took pictures a bit differently this time since there were so many moving parts of this recipe. I have a couple of mise en place pictures, for each of the different steps. So, let's get the show on the road!

This afternoon, I roasted a whole chicken to be used in the sauce for the lasagna. There are a bunch of roasted meat recipes in Jamie's Italy, and the hunter's lasagna calls for one to five of them. I opted for just one my first time, but I could have done rabbit, duck, chicken, squab or quail. You can get a whole chicken relatively cheaply at the grocery store, while the others can be a bit pricier. All I needed to roast the chicken was well, the chicken, as well as some bay leaves, some garlic cloves, olive oil, salt, pepper and some lemon halves.
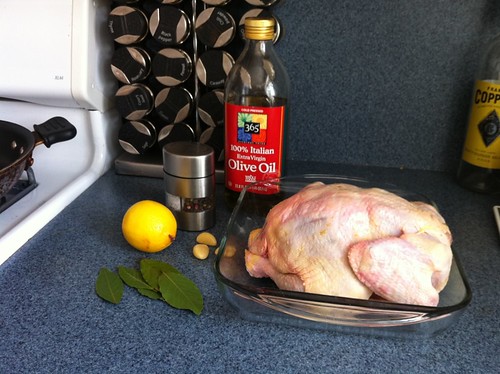
IMG_0477

I rubbed the chicken with the olive oil, salt and pepper. Then, I stuffed the lemon halves, bay leaves and garlic cloves (whole) inside the bird.
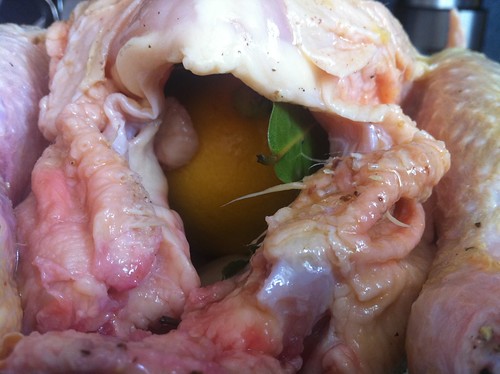
IMG_0478

I know that's not a very pretty picture, but I wanted to show you how it's done! :) I put the chicken into a 375 degree oven for an hour and a half, basting half way through!
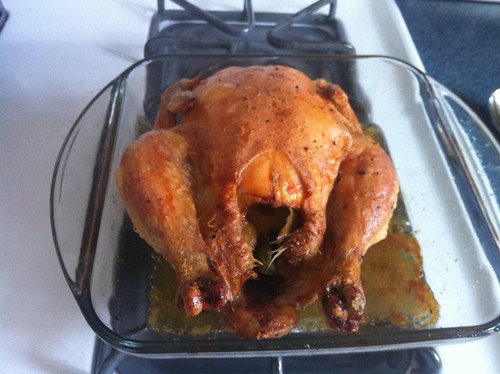
IMG_0479

Once the chicken was done, and cooled, I shredded it with my fingers. This became part of the mise en place for the red sauce. Along with more olive oil, more garlic, some rosemary, more bay leaves, and 3 14-oz cans of plum tomatoes, I was ready to start the next step in the process.
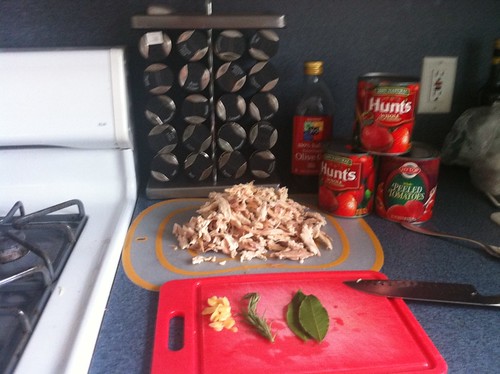
IMG_0481

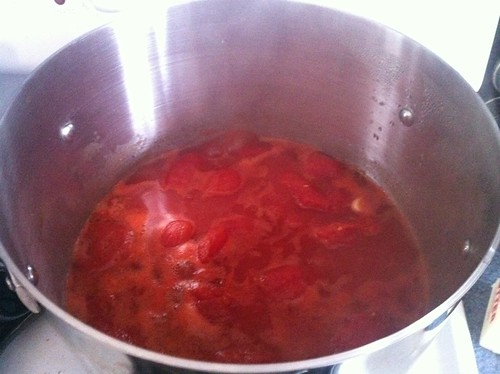
I heated a large saucepan with some olive oil and slowly fried the garlic until it was lightly colored and very fragrant. Once the garlic was ready, I threw in the rosemary sprig, bay leaves, and the three cans of tomatoes. I left this to cook gently for 45 minutes, covered.
IMG_0484

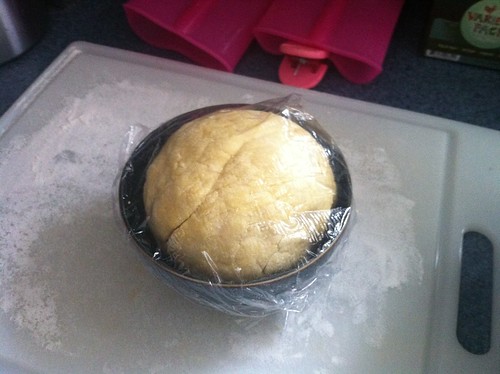
While the red sauce was cooking, I made my fresh pasta dough and left it to rest for the requisite 30 minutes.
IMG_0480

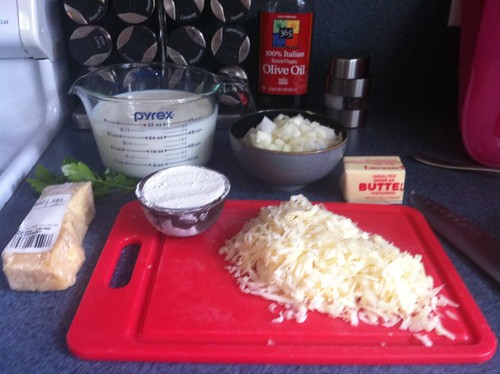
Once the red sauce was close to the 45 minute mark, I started in on the white sauce for the lasagna. This step called for milk, a sprig of parsley, nutmeg, some sliced onion, black peppercorns, butter, flour, parmesan cheese, salt and pepper.
IMG_0483

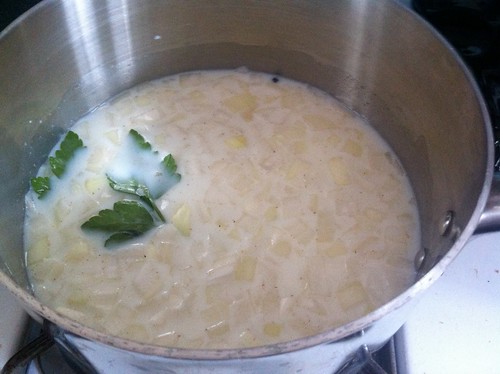
I needed two different pots for this step. The milk, parsley, nutmeg, onion, and peppercorns went into one pot, and I then brought it to a gentle boil.
IMG_0485

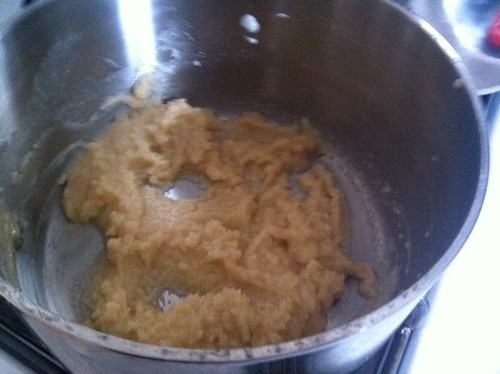
Meanwhile, in the other pot, I was melting down some butter. Once the butter had liquified, I stirred in the flour to make a roux.
IMG_0487

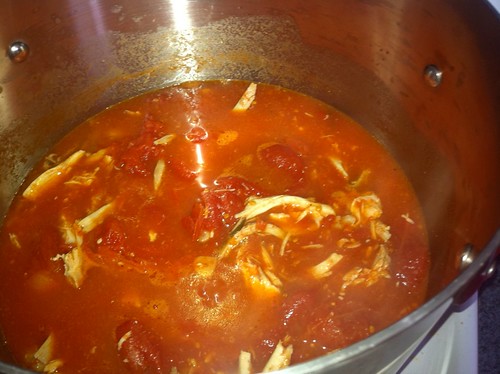
While the milk mixture was heating, the timer went off on the 45 minutes for my red sauce. I added the chicken to the sauce and set the timer for another 20 minutes. I also pulled out the bay leaves and rosemary sprig.
IMG_0488

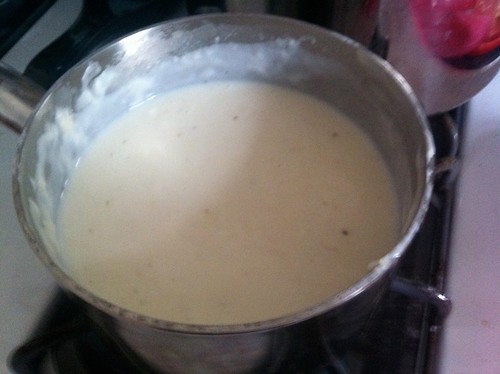
And now back to the white sauce! Once it was gently boiling, I strained all the stuff out of it (because all we really wanted was the flavoring for the milk) and slowly poured the milk into the roux, stirring to blend as I poured. This is a slow process so be patient with it - pour a little and then blend it, pour a little and then blend it - it's a bit like risotto!
IMG_0489

At some point during all this commotion, I found time to roll out some lasagna noodles. I quickly blanched them by putting them in boiling water for a minute, and then directly into an ice water bath. Once the noodles were done, my red sauce had simmered, and my white sauce was blended, it was time to build the lasagna!

I want to pause here, and say that lasagna does not need to be this much work. You could very well buy dried lasagna noodles, some jarred marinara sauce, and an already cooked rotisserie chicken to make this same meal, but...have you ever known me to take the simple route!?

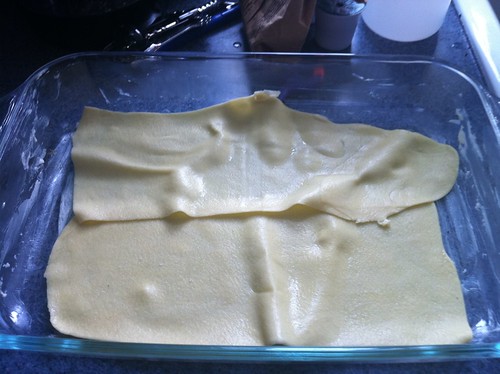
Okay - back to the task at hand! I layered two of my lasagna noodles in a greased 13x9" pan.
IMG_0490

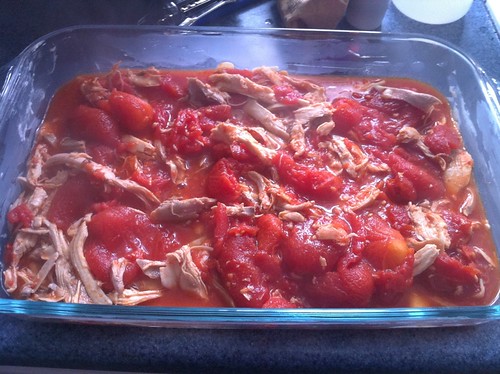
They aren't exactly square but hey, it's more rustic that way. On top of the noodles, I ladled on my red sauce with the chicken in it.
IMG_0491

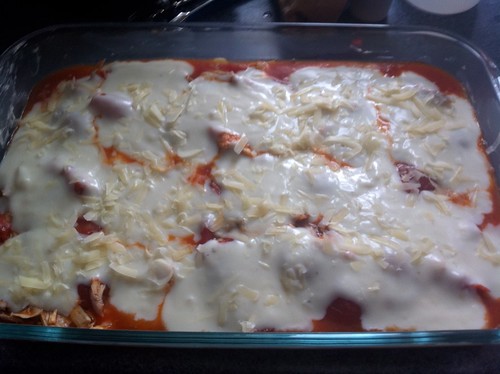
On top of the red sauce, I poured on some of the white sauce, and then sprinkled it with some of the shredded parmesan.
IMG_0493

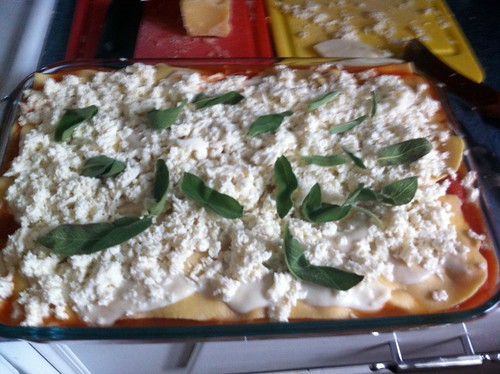
Then, you start all over again, until you've used all the sauce. I ended up with 2 layers of sauce and three layers of noodles (one layer for the top). The pan was full to the brim, nothing else would fit in there if I had tried! Once the last layer of noodle had been placed on top, I poured the remaining white sauce over it, sprinkled with parmesan and some fresh shredded mozzarella. I sprinkled some sage leaves on top and a few drizzles of olive oil, and it was ready to go into a 350 degree oven for 45 minutes, until it turns golden on top.
IMG_0495

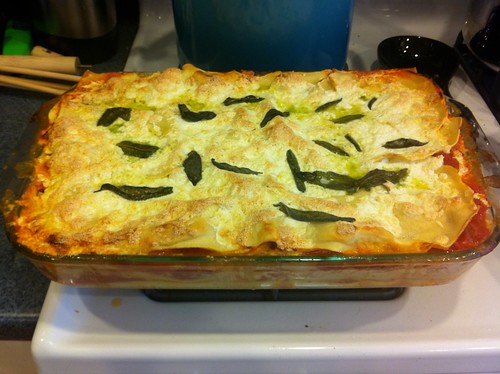
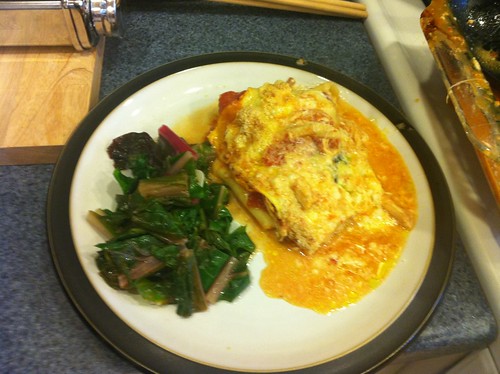
I made some Italian-Style Swiss Chard while the lasagna was cooking, and when the time went off, this is what I pulled out of the oven!
IMG_0497

This was the best lasagna I've ever had. I'm not sure whether it was the different layers of sauce, or the fresh lasagna noodles, or the touch of fried sage on top, but this ... was ... de-lish-ous! I can't wait to eat it for lunch tomorrow!
IMG_0499

I'll be making my next menu this week, so if you have any requests, don't forget to comment on a post to let me know. You can also contact me here, if you would prefer to email your request directly to me.