The recipe I used is from The Complete Book of Pasta and Noodles
So, first things first, and I will ALWAYS start my how-to's with this: my mise en place. You will need 2 garlic cloves, 3 tablespoons of extra virgin olive oil, 1 28-oz can of crushed tomatoes, 2 tablespoons of chopped fresh basil, salt, 1 lb of ziti or other tubular pasta, 8 ounces of shredded mozzarella cheese, and 1/4 of grated parmesan cheese.
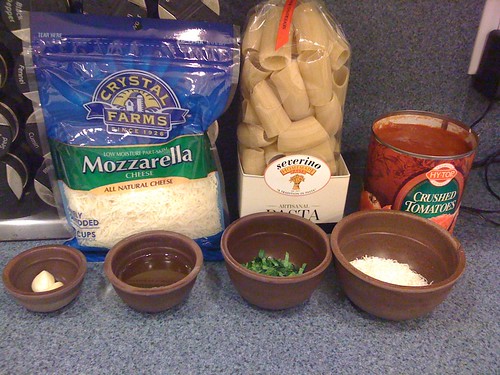
This recipe only called for a few ingredients really so this is a very basic mise en place...but there are all of my ingredients, ready to go as I read the directions for cooking.
The oven should be preheating to 400 degrees, and a pot of water should be set to boil on the stove. Add a pinch of salt to that water to season it a little bit. I put two garlic cloves through a garlic press
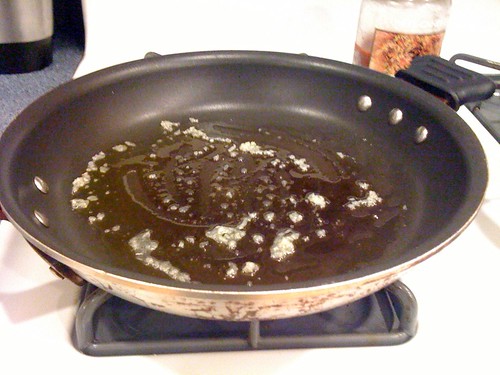
Once the garlic is fragrant, I add the tomatoes, and simmer until they thicken a little bit. This should take about 10 minutes.
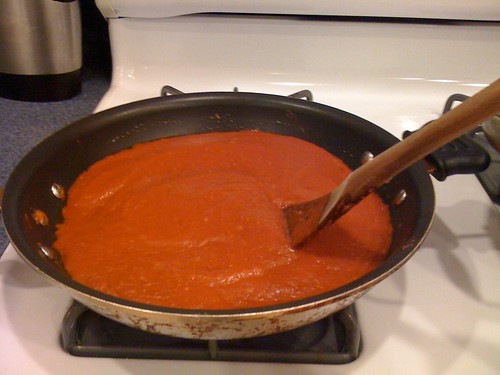
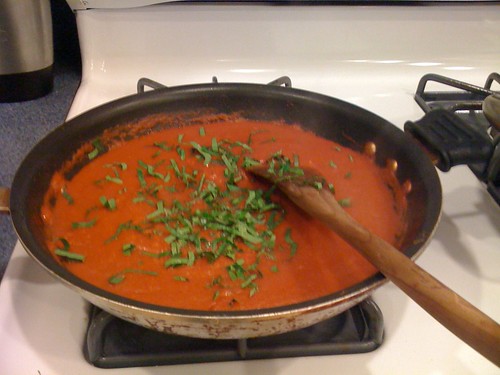
How are we doing so far? Not too bad, huh!? Once those 10 minutes are up, you'll want to take the sauce off the heat, and stir in the basil, as well as some salt, to taste. When a recipe says "to taste," they mean it! Taste your food - that's the only way to know if it's seasoned correctly...and when I say correctly, I mean, the way YOU like it! You should enjoy your food so season it to your taste...if you don't like salt, don't use a lot. If you do like salt...add a little extra, but taste more often to make sure you aren't overdoing it!
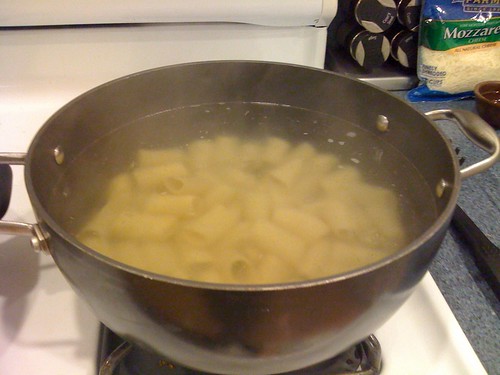
Meanwhile, you should have put the pasta into the boiling water, stirring occasionally. You should always stir your pasta every few minutes. Otherwise, it can get clumped up on the bottom of the pot and not cook evenly.
While the pasta is cooking, brush a 13x9 inch baking dish with that third tablespoon of olive oil. I actually opted to use a 9x9 inch dish because my pasta didn't spread out enough in the larger dish. You don't want your layers to be too thin, so if that seems to be the case for you as well, use the smaller dish.
You want to cook the pasta to be almost al dente but still firm to the bite, since it will continue to cook a bit in the oven. Drain the pasta in a colander, and then put it back in the pot, and mix it with the tomato sauce.
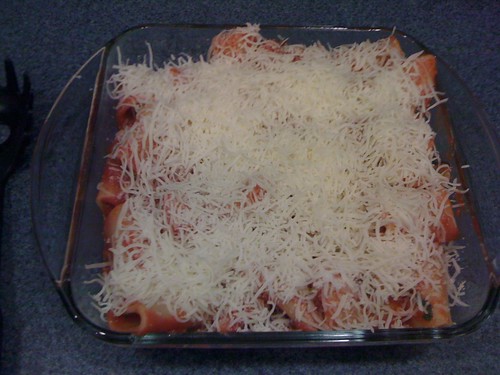
Next, you'll want to put half of the pasta and sauce (mixed) into your baking dish. From there, layer half of your mozzarella, with half of your grated parmesan, and then top it with the rest of your pasta and sauce. Top that with the rest of your mozzarella and parmesan. This is what it should look like before it goes in the oven:
Put your baking dish in the oven for about 20 minutes. You want to bake it until the cheese turns golden brown (but not burned). Once you remove the dish from the oven, you should let it rest for about 5 minutes before serving.
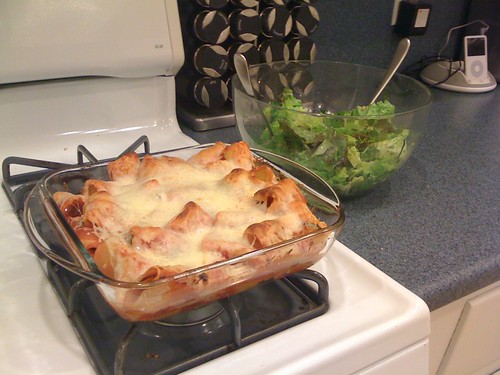
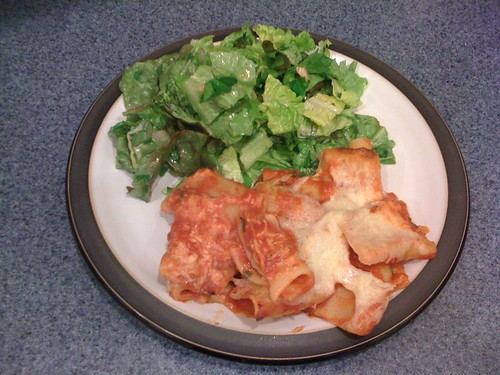
And there you have it folks...that wasn't too bad was it, and you have a delicious meal to be enjoyed for days! Serve it with a nice green salad, and maybe some garlic bread...and you've got a nice, home-cooked Italian meal!
Bon Appetit!
If you have any questions about the recipe before you try it, let me know. I will walk you through whatever you found confusing. If it's a question, it's a good question...it means you are trying to learn! I also recommend the whole cookbook as it gives you lots of "master" recipes, such as this one, and then builds off of it to give you lots of different variations. If you can master one, you'll have about 10 variations under your belt! How does THAT sound?
No comments:
Post a Comment