Tuesday, April 12, 2011

An Impromptu Dinner Party

Sometimes, it's really nice to let someone else do the cooking! Our friends Kenny and Marcy came over this evening with all the fixin's for pizza! Matt made the dough, and the actual pizzas, and Marcy concocted some delicious sangria and a yummy salad (with this awesome poppy seed vinaigrette) as well! And Kenny, he did a great job on the dishes when we were finished eating! They wanted to meet the puppy and I wanted to sit back and relax for a little bit so this was the perfect evening!

Pizza ingredients: toppings
from Flickr - by jcolman

When you invite people over for an impromptu dinner party, it's fun to give everybody a job. Try a taco night, where all of your guests bring their favorite add-on. You can also do what we did with the pizza toppings! Another fun idea would be to make the meal, and leave your guests in charge of an ice cream sundae bar for dessert! You can't always have everything you need in your fridge at all times, for every occasion...unless you live at the grocery store. Don't ever be ashamed of that! Just make it into a group effort and you'll have a delicious meal on the table in no time!

Monday, April 11, 2011

The Crispiest Batter

Well, compared to last night's meal, this was a piece of cake! And thank goodness for that, because while I may have the week off from work for a little "stay-cation," it's not at all what you think! We have a new 8-week old puppy, and we are using this week to bond with her. Her name is Oia (pronounced Ee-Ah) and she is most definitely the cutest thing I've ever seen. She's a lot of work though! It's a wonder I've found time to cook dinners! That lasagna came in very handy for our lunch today!

This easy recipe was quite welcome this evening! Easy but DELICIOUS! This recipe is for Italian Style Fish with the Crispiest Batter, and I served an Amalfi salad alongside it. This was a refreshing yet comforting meal that went perfectly with a cold beer after a long day of running around with an energetic bundle of fur!

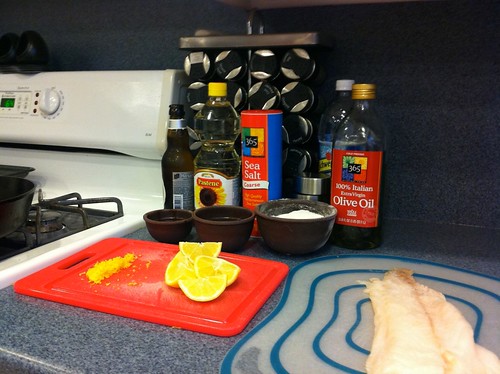
For my mise en place, I gathered a cod fillet, some sea salt, lemon juice and zest, sunflower oil, a couple of egg yolks, flour, olive oil, some "fizzy water," and some lemon halves for serving.

IMG_0503

The first step was to season the cod with lots of salt and some lemon juice. You can be generous with the salt because we're going to use it to get the moisture out of the fish. Once I massaged the salt and lemon juice into the fillet, I put it on a plate and placed it in the fridge for half an hour. When I pulled the fish out of the fridge, there was a lot of liquid on the plate that I poured off, and dried the fillet with some paper towels.

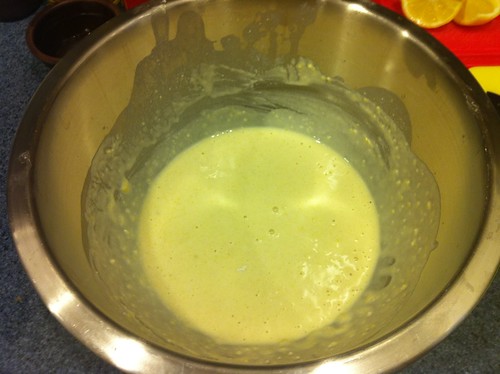
While the fish rested, I made my Amalfi Salad (with radishes, red onion, cucumber, fennel, orange slices and a nice red wine vinaigrette) and then went to work on the batter for the fish. I put the flour, egg yolks, lemon zest and a glug of olive oil into a bowl and stirred it all up. Once that's blended, start pouring the "fizzy water" into the mixture slowly, stirring to combine as you pour. Once the batter has a custard-y consistency, and coats the back of a spoon, you're ready to go!

IMG_0505

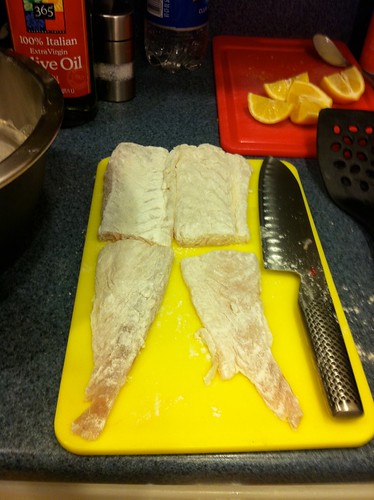
Once my fillet was ready, and dried, I cut it into four smaller pieces and coated them in flour. We coat the fish in flour before the batter so that the batter has something to stick to!

IMG_0506

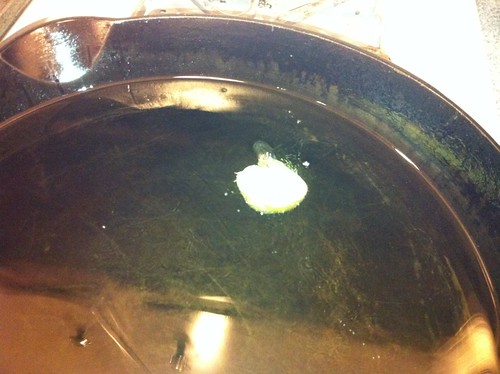
Meanwhile, I was heating sunflower oil in a cast iron pan. I added a small piece of potato to the oil, and as it came to the right temperature, the potato started to fry.

IMG_0507

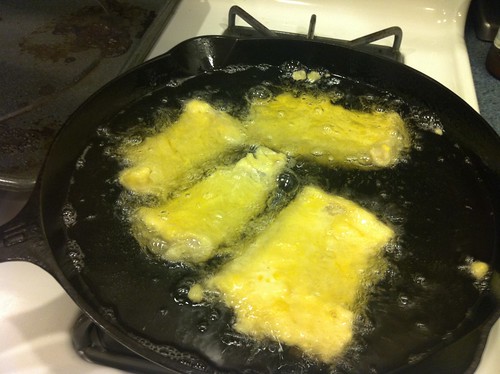
Once the oil was the right temperature, I placed each piece of the cod fillet into the batter and then used the sides of the bowl to smooth out the layer of batter so it didn't get clumpy. As I coated each piece, I placed them in the oil for about 4 minutes, until they are golden and crispy!

IMG_0509

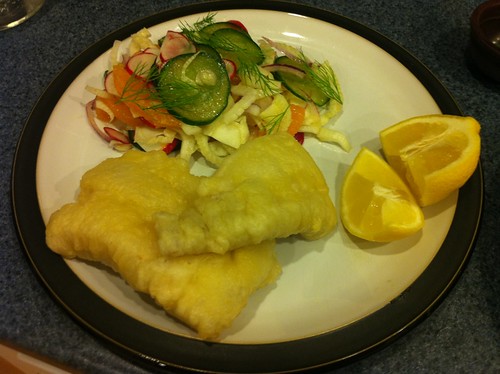
Once the four minutes were up, I drained the crispy fish on some paper towels, and plated them along with some of the Amalfi Salad. The batter was very reminiscent of tempura and it really was "the crispiest!"

IMG_0510

Sunday, April 10, 2011

This One Took Awhile!

Today, I decided to conquer the challenge of Jamie's Lasagne alla Cacciatora, or "hunter's lasagne." This was quite an endeavor, I found, but nonetheless probably the BEST lasagna I've ever had, so it was totally worth it. Trust me, during the process, I was cursing all the ingredients and thinking, "This better be the best lasagna ever." It was totally worth every second I spent making it, and even though the recipe mentions that it serves 6...this is going to feed us for awhile!

I took pictures a bit differently this time since there were so many moving parts of this recipe. I have a couple of mise en place pictures, for each of the different steps. So, let's get the show on the road!

This afternoon, I roasted a whole chicken to be used in the sauce for the lasagna. There are a bunch of roasted meat recipes in Jamie's Italy, and the hunter's lasagna calls for one to five of them. I opted for just one my first time, but I could have done rabbit, duck, chicken, squab or quail. You can get a whole chicken relatively cheaply at the grocery store, while the others can be a bit pricier. All I needed to roast the chicken was well, the chicken, as well as some bay leaves, some garlic cloves, olive oil, salt, pepper and some lemon halves.
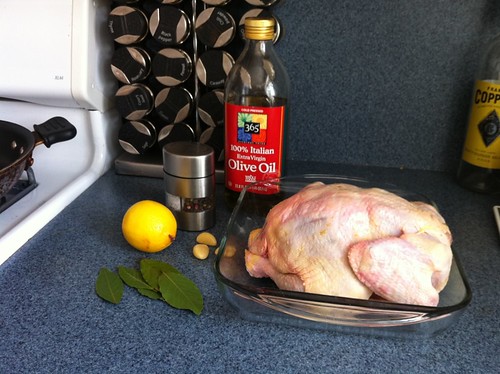
IMG_0477

I rubbed the chicken with the olive oil, salt and pepper. Then, I stuffed the lemon halves, bay leaves and garlic cloves (whole) inside the bird.
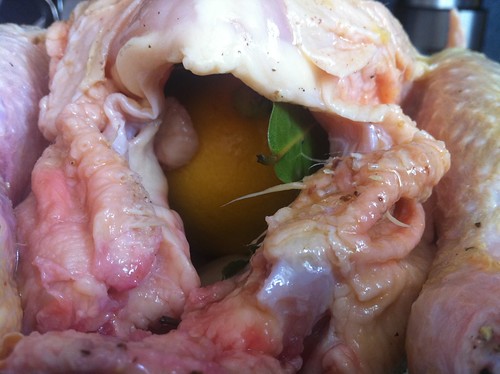
IMG_0478

I know that's not a very pretty picture, but I wanted to show you how it's done! :) I put the chicken into a 375 degree oven for an hour and a half, basting half way through!
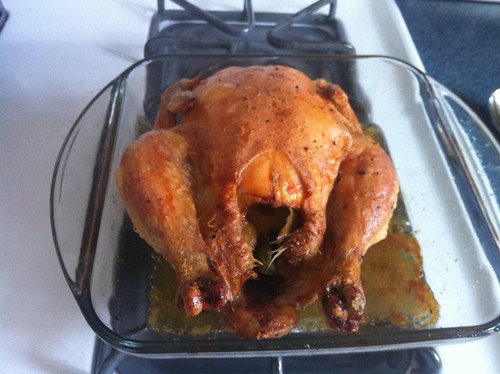
IMG_0479

Once the chicken was done, and cooled, I shredded it with my fingers. This became part of the mise en place for the red sauce. Along with more olive oil, more garlic, some rosemary, more bay leaves, and 3 14-oz cans of plum tomatoes, I was ready to start the next step in the process.
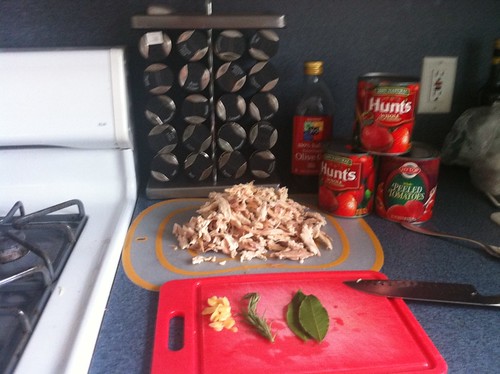
IMG_0481

I heated a large saucepan with some olive oil and slowly fried the garlic until it was lightly colored and very fragrant. Once the garlic was ready, I threw in the rosemary sprig, bay leaves, and the three cans of tomatoes. I left this to cook gently for 45 minutes, covered.
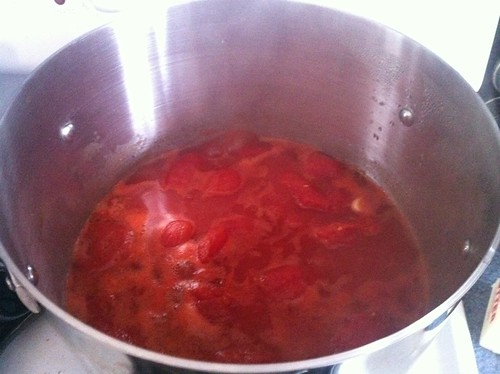
IMG_0484

While the red sauce was cooking, I made my fresh pasta dough and left it to rest for the requisite 30 minutes.
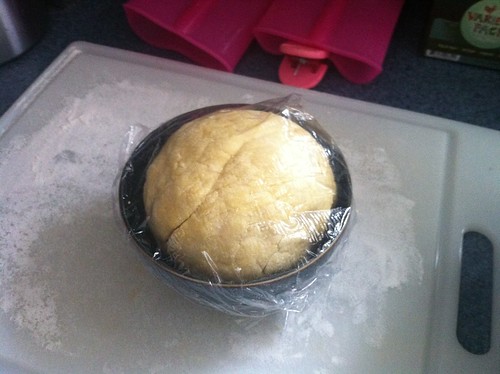
IMG_0480

Once the red sauce was close to the 45 minute mark, I started in on the white sauce for the lasagna. This step called for milk, a sprig of parsley, nutmeg, some sliced onion, black peppercorns, butter, flour, parmesan cheese, salt and pepper.
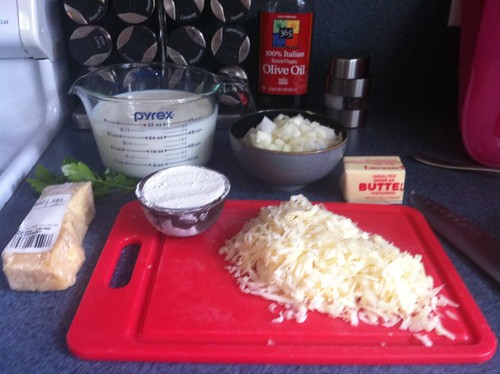
IMG_0483

I needed two different pots for this step. The milk, parsley, nutmeg, onion, and peppercorns went into one pot, and I then brought it to a gentle boil.
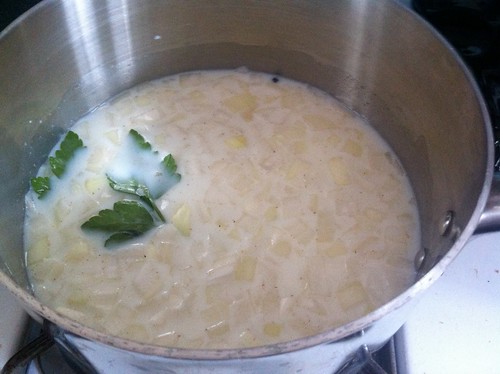
IMG_0485

Meanwhile, in the other pot, I was melting down some butter. Once the butter had liquified, I stirred in the flour to make a roux.
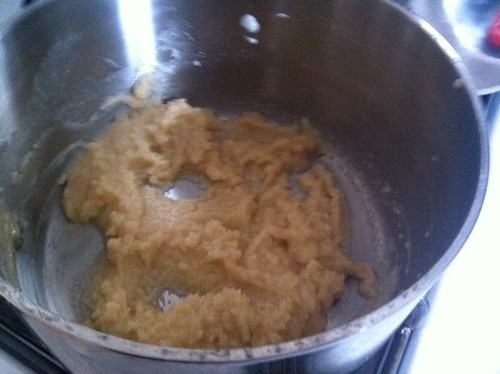
IMG_0487

While the milk mixture was heating, the timer went off on the 45 minutes for my red sauce. I added the chicken to the sauce and set the timer for another 20 minutes. I also pulled out the bay leaves and rosemary sprig.
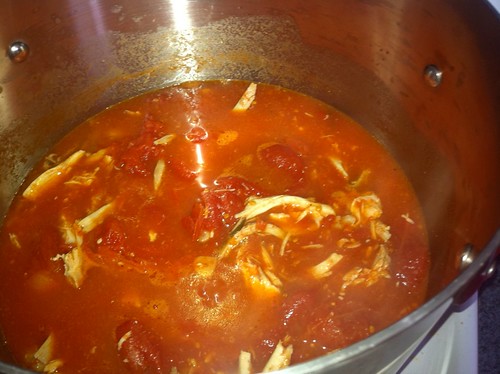
IMG_0488

And now back to the white sauce! Once it was gently boiling, I strained all the stuff out of it (because all we really wanted was the flavoring for the milk) and slowly poured the milk into the roux, stirring to blend as I poured. This is a slow process so be patient with it - pour a little and then blend it, pour a little and then blend it - it's a bit like risotto!
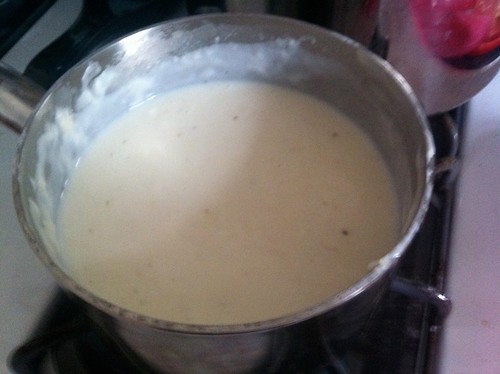
IMG_0489

At some point during all this commotion, I found time to roll out some lasagna noodles. I quickly blanched them by putting them in boiling water for a minute, and then directly into an ice water bath. Once the noodles were done, my red sauce had simmered, and my white sauce was blended, it was time to build the lasagna!

I want to pause here, and say that lasagna does not need to be this much work. You could very well buy dried lasagna noodles, some jarred marinara sauce, and an already cooked rotisserie chicken to make this same meal, but...have you ever known me to take the simple route!?

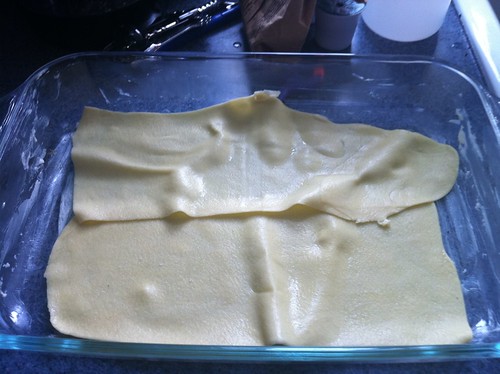
Okay - back to the task at hand! I layered two of my lasagna noodles in a greased 13x9" pan.
IMG_0490

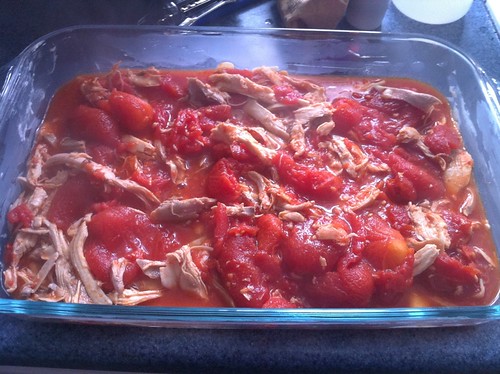
They aren't exactly square but hey, it's more rustic that way. On top of the noodles, I ladled on my red sauce with the chicken in it.
IMG_0491

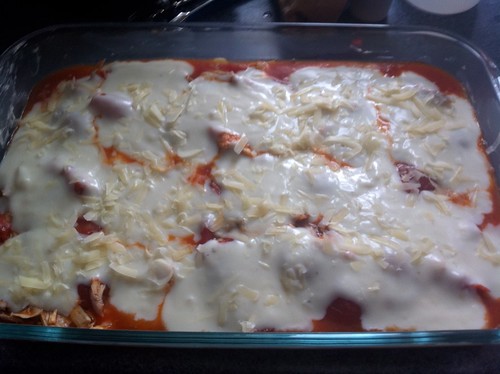
On top of the red sauce, I poured on some of the white sauce, and then sprinkled it with some of the shredded parmesan.
IMG_0493

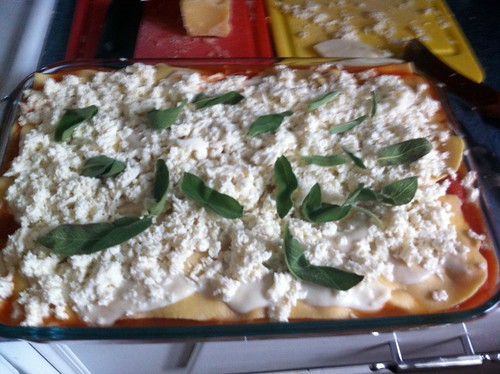
Then, you start all over again, until you've used all the sauce. I ended up with 2 layers of sauce and three layers of noodles (one layer for the top). The pan was full to the brim, nothing else would fit in there if I had tried! Once the last layer of noodle had been placed on top, I poured the remaining white sauce over it, sprinkled with parmesan and some fresh shredded mozzarella. I sprinkled some sage leaves on top and a few drizzles of olive oil, and it was ready to go into a 350 degree oven for 45 minutes, until it turns golden on top.
IMG_0495

I made some Italian-Style Swiss Chard while the lasagna was cooking, and when the time went off, this is what I pulled out of the oven!
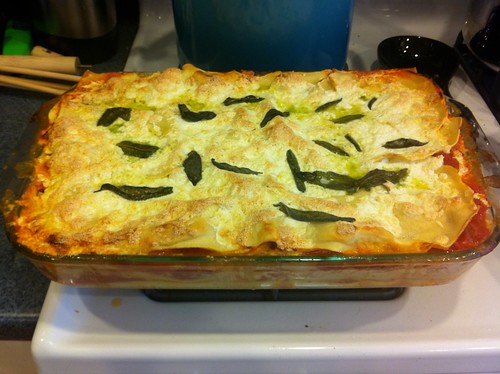
IMG_0497

This was the best lasagna I've ever had. I'm not sure whether it was the different layers of sauce, or the fresh lasagna noodles, or the touch of fried sage on top, but this ... was ... de-lish-ous! I can't wait to eat it for lunch tomorrow!
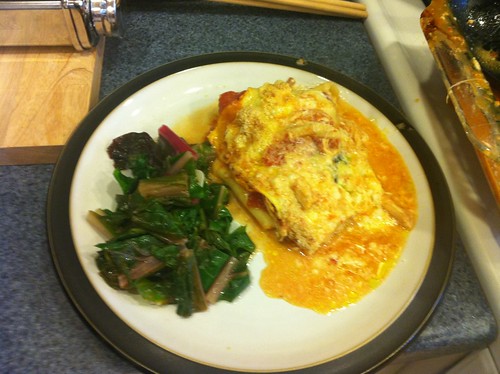
IMG_0499

I'll be making my next menu this week, so if you have any requests, don't forget to comment on a post to let me know. You can also contact me here, if you would prefer to email your request directly to me.

Friday, April 8, 2011

Thank You, My Wonderful Readers!

To all of my cooking companions -

It's a day to celebrate! I've reached 5,000 hits to my site in less than 4 months, and I owe it all to the readers! You are the ones who encourage me to continue with this endeavor of mine, and 5,000 hits is nothing to scoff at! I'm honored, and I'm humbled! Thank you all so much for your support and encouragement...I'll keep it comin', if you promise to do the same! :)

balloons
from Flickr - by ShimmeeGrrl

Wednesday, April 6, 2011

The Aegean

Hi there, culinary comrades! We needed to run an errand in the Natick/Framingham area tonight after work, which meant a drive in the midst of rush hour to the good ol' Metro West. Luckily, I remembered that I had purchased a voucher from BuyWithMe! I spent $25 for a coupon worth $50 at one of our favorite Greek restaurants, The Aegean.

We love this place, and when we're in the neighborhood, we can't help but stop in for lunch, dinner or whatever works at the time we're around! Their menu is extensive and most entrees come with an amazing greek salad, and a choice of side (the rice pilaf with gravy is THE choice...although, you can have potatoes or veggies if you prefer!)

The atmosphere at this establishment is laid back yet sophisticated. The decor is modern and airy and it's a very relaxing place to enjoy a good meal. The bar area is usually hoppin' and I think they even have live music sometimes!

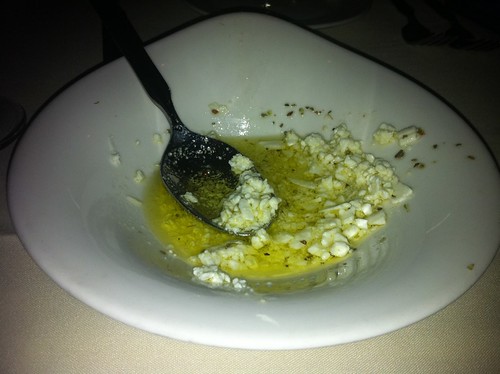
As we sat down, we immediately received a basket of pita bread and The Aegean's signature dipping oil - olive oil with lots of feta in it! It's delicious! As our waiter mentioned tonight, "Everything's betta with feta!" (Please pardon my pictures this time around - the light was weird in there and my flash did not do these images justice at all!)

IMG_0457

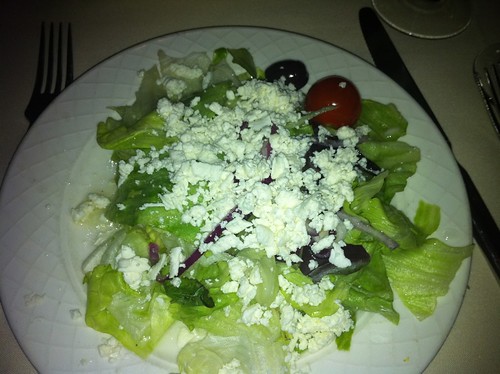
Once we'd tucked into our pita triangles and feta oil, we ordered some drinks and decided what we would have for dinner. Most entrees come with a fresh Greek salad, which comes out momentarily after placing an order - and I was starving...I was totally looking forward to it!

IMG_0458

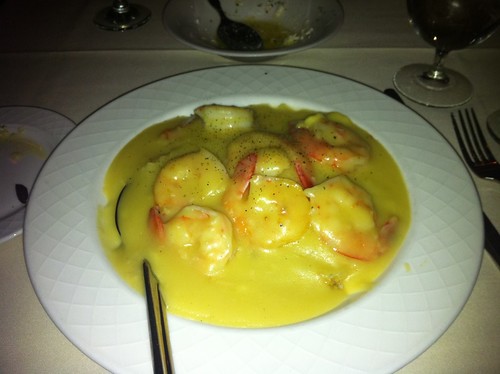
I'm not going to lie, I usually get the same thing when we come here. Their spanakopita (Spinach Pie) is awesome...and enormous...and delicious...and it's one of my favorite things on this planet. However, I decided to go outside my little Greek box this evening, and I went with a lovely shrimp scampi over rice pilaf with a lemon-white wine gravy. Matt got stuffed sole and stuffed shrimp with the requisite rice pilaf and gravy.

IMG_0459

The sauce was thick but light, and the shrimp were done perfectly. Their rice is always cooked to perfection and it was a very enjoyable meal. Because we needed to spend $50 on food to take full advantage of our voucher, we even got dessert, to go! Some Baklava and some Galaktoboureko (it's filo dough, with a greek custard - and as our waiter pointed out, it sounds a little like "booty call"), yum yum yum! We'll save those for a little later this evening...because right now, I'm full!

'καλή νύχτα' (Good night in Greek - pronounced cahlee-neet-ah)

Tuesday, April 5, 2011

Some Cocktails, A Dozen Oysters and Some Good Ol' Fashioned Girl Talk

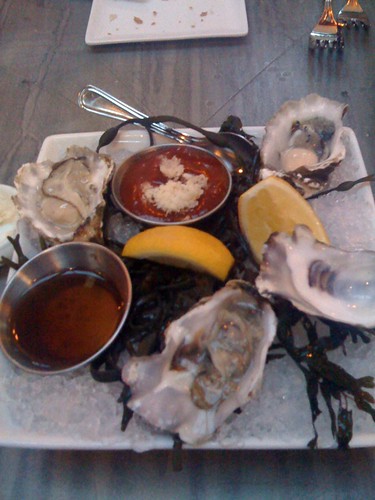
Tonight, I met a lovely friend of mine for drinks after work! She was in town for the day and requested my presence for cocktails during happy hour! I was more than happy to oblige! I was so happy to see her as we happened upon the entrance to Les Zygomates at the exact same moment! After an overdue hug, we entered the wine bar and ordered some much needed cocktails!

oysters
from Flickr - by shell belle

As we tucked into our drinks (for me, a Sidecar; for her, a Champagne Cocktail), we began catching up. An hour later, and we were still chatting each others ears off about everything going on in our day-to-day lives! That's when we noticed the platters of oysters on ice flying past our table in droves. We had to get in on that action! So we ordered ourselves a dozen east coasters and another round of drinks! There's really nothing like a few drinks and some girl talk to make the hours fly by! We had such a great time!

Cocktail: Catcher in the Rye
from Flickr - by PrincessPeach

Because I got home later than usual, I re-heated our leftover Seafood Risotto from last night. Normally, I would not recommend microwaving shrimp and mussels, but I was sneaky about this. I covered the plate of risotto with a damp paper towel and stuck it in the microwave for ONE minute. When it beeped, I stirred and placed it back in for ONE more minute. Quickly but gently reheated, the shellfish really didn't have enough time to start cooking again, but the rice heated it enough to take the chill off. It wasn't fishy at all the second time around! A great end to a day full of good things!

Monday, April 4, 2011

Holy Ingredients, Aquaman!

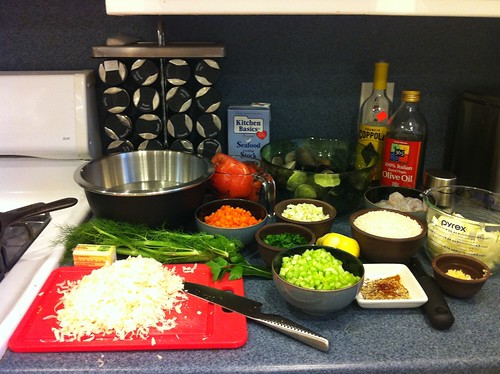
Well, tonight I decided to make the Seafood Risotto since I picked up some mussels, clams and shrimp at Whole Foods yesterday. This recipe was extremely prep-heavy so this one was a bit time-consuming, I have to say. Although, I think it was worth it, because this was a really refreshing meal! There were so many ingredients, and a lot of twists and turns, so I'm going to summarize here. If you are interested in a more in depth list, with measurements, shoot me an email and I will send it along. Since I've made risotto before, I won't bore you with a step-by-step here!

IMG_0449

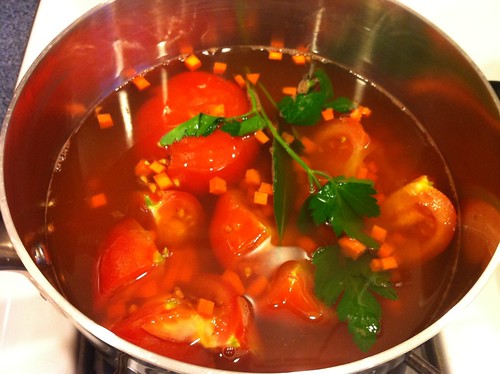
For this version of the risotto, the recipe called for either making a homemade seafood stock, or using a store-bought one. I bought one, but went the extra mile and simmered it with all the fixings that would have gone into the homemade one, without any of the seafood. I added 3 squished tomatoes, a bay leaf, a parsley sprig and some chopped carrots. I strained the mixture before I started scooping it into the risotto.

IMG_0450

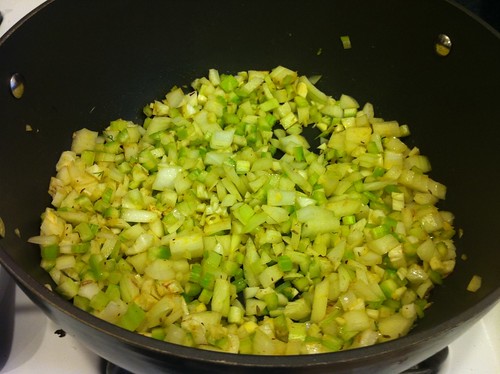
Meanwhile, I heated up some oil and butter in a large pan and added chopped celery, onion and garlic (a soffritto, the Italian version of a mire poix) and to that I added chopped fennel, fennel seeds, chili powder and some saffron. From now on, the more I stir the mixture, the more yellow in tint it will become, and that's because of the saffron. While it's red in color, it turns anything you add it to a bright, fresh yellow color.

IMG_0451

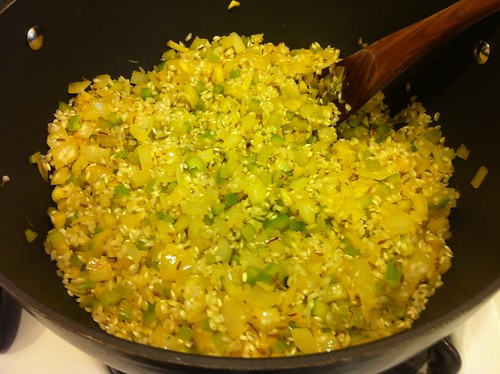
Once the soffritto was softened, I added the Arborio rice and allowed it to fry a little bit, until the granules had a nice translucent outer coating.

IMG_0452

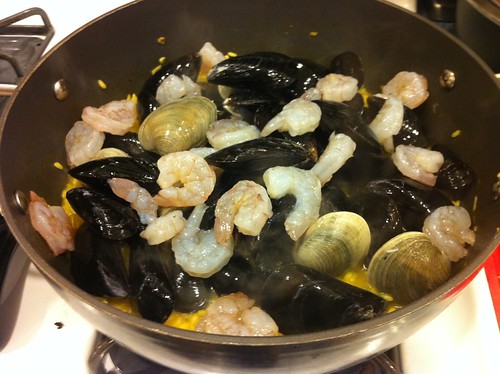
Now, I'm going to skip a bit here - because you know how to make risotto already! It takes patience, many ladles of stock (seafood, in this case) and lots of stirring! But once the risotto was about done, I added a handful of parmesan and seasoned it up with some salt and pepper. The recipe actually calls for leaving the parmesan out (Italians don't think that seafood and cheese mix), but the nutty, salty flavor of the cheese is better than any salt...so I added a little anyway...but definitely not as much as a normal risotto recipe would call for. Once it was all stirred together, I threw in my mussels, clams and shrimp and covered the pot to allow the shellfish to steam.

IMG_0453

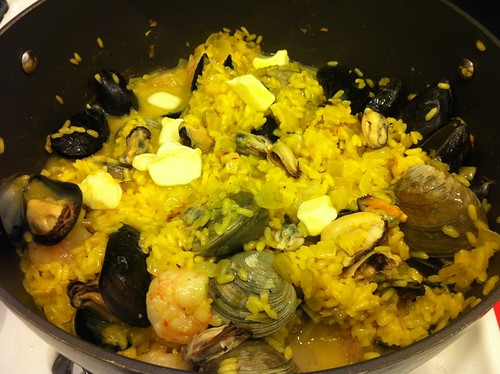
As the shellfish started to open and the shrimp were turning pink, I added some globs of butter to finish off the risotto and stirred it all up to heat everything through. I also took some of the mussels out of their shells and stirred it directly into the risotto. This eliminated the mess of a bunch of shells at the dinner table, but also got the mussel juice mixed into the risotto adding a bit more briny flavor to the mix...something I love! I also poured some lemon juice and olive oil on top to add to that freshness.

IMG_0454

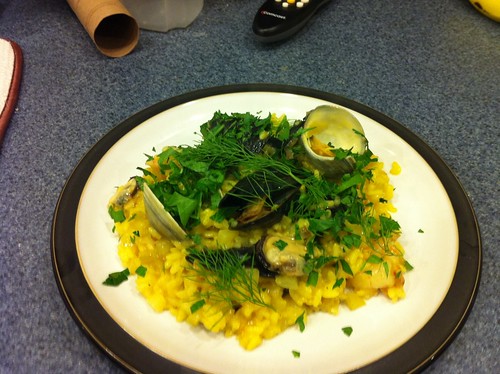
Once plated, I garnished with fennel fronds and some chopped parsley. This was a delicious, comforting meal for a rainy Monday night! The mussels and shrimp were cooked to perfection...but the clams could have used a few more minutes. Next time, I'll throw the clams in first, and follow with the rest as they seem to need a few less minutes to steam.

IMG_0455