Showing posts with label lemon. Show all posts

Wednesday, May 18, 2011

The time for artichokes is here!

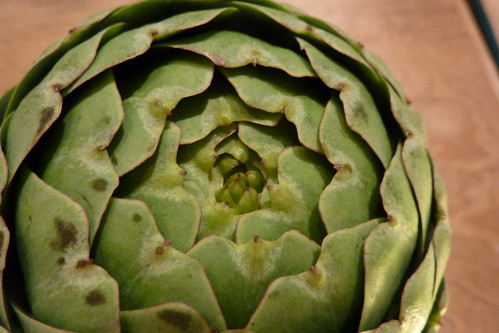
The other day, I walked into my local Whole Foods with the intent of buying some paninis for a late Saturday lunch. Along my way, I came across a mountain stacked high with artichokes. Beautiful, tight-leaved and rotund, I couldn't look away! And the best part was, they were on sale - 2/$4.99. I couldn't leave without grabbing a few, and tonight, I made them to go with our dinner!

artichoke
from Flickr - by wundoroo

Artichokes are so simple to make! You need to have a pot with a steamer basket for the technique I used, along with a slice of lemon, a bay leaf, a clove of garlic and some water...and of course, your artichokes!

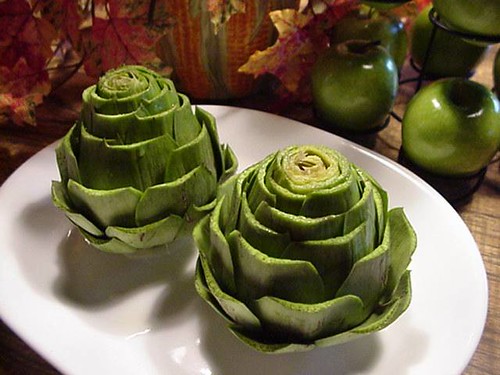
Prepare your artichokes by cutting the stem close to the body of the artichoke and removing any small leaves at the very bottom. Also slice about an inch off the top, giving it a little bit of a flat-top "haircut."

artichokes-trimmed
from Flickr - by flaurella

Boil the water with the bay leaf, lemon slice and garlic clove thrown in. Try throwing different spices and herbs in the water to create different aromatics for steaming. Once boiling, place your steamer basket on top and add your prepared artichokes. Steam for 30-45 minutes, or until the outer leaves pull away easily.

To Eat: As you peel the leaves away, bite the meat off the ends of the leaves after dipping them in your favorite salad dressing or sauce. Tonight, I tried them with a yummy miso dressing, but growing up, we always ate them with Newman's Own dressing...and that's how artichokes were done! :)

Once you get down far enough with the leaves, you can easily pull the top away from the bottom, scrape the fuzzy yellow hairs away and what you'll have is a full artichoke heart! They are so meaty and flavorful...and DELICIOUS!

Artichokes
from Flickr - by The Daily Rant

Run to the store and get some today! Now's the time! :)

Monday, April 11, 2011

The Crispiest Batter

Well, compared to last night's meal, this was a piece of cake! And thank goodness for that, because while I may have the week off from work for a little "stay-cation," it's not at all what you think! We have a new 8-week old puppy, and we are using this week to bond with her. Her name is Oia (pronounced Ee-Ah) and she is most definitely the cutest thing I've ever seen. She's a lot of work though! It's a wonder I've found time to cook dinners! That lasagna came in very handy for our lunch today!

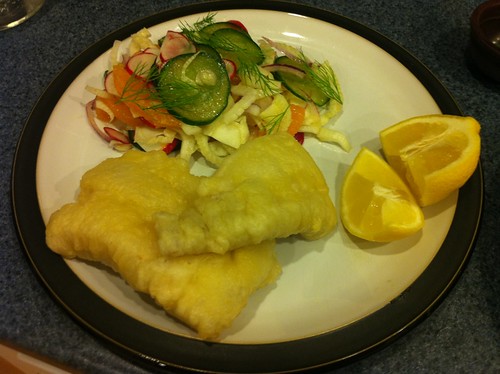
This easy recipe was quite welcome this evening! Easy but DELICIOUS! This recipe is for Italian Style Fish with the Crispiest Batter, and I served an Amalfi salad alongside it. This was a refreshing yet comforting meal that went perfectly with a cold beer after a long day of running around with an energetic bundle of fur!

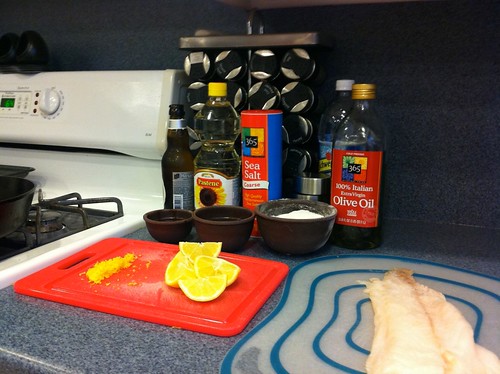
For my mise en place, I gathered a cod fillet, some sea salt, lemon juice and zest, sunflower oil, a couple of egg yolks, flour, olive oil, some "fizzy water," and some lemon halves for serving.

IMG_0503

The first step was to season the cod with lots of salt and some lemon juice. You can be generous with the salt because we're going to use it to get the moisture out of the fish. Once I massaged the salt and lemon juice into the fillet, I put it on a plate and placed it in the fridge for half an hour. When I pulled the fish out of the fridge, there was a lot of liquid on the plate that I poured off, and dried the fillet with some paper towels.

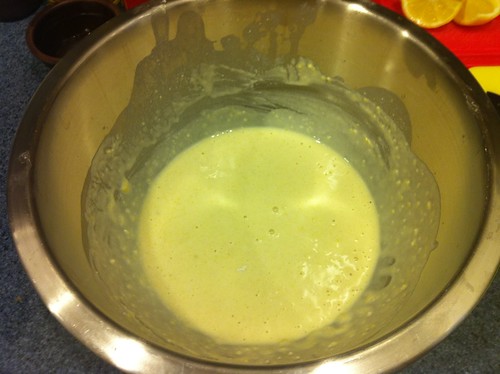
While the fish rested, I made my Amalfi Salad (with radishes, red onion, cucumber, fennel, orange slices and a nice red wine vinaigrette) and then went to work on the batter for the fish. I put the flour, egg yolks, lemon zest and a glug of olive oil into a bowl and stirred it all up. Once that's blended, start pouring the "fizzy water" into the mixture slowly, stirring to combine as you pour. Once the batter has a custard-y consistency, and coats the back of a spoon, you're ready to go!

IMG_0505

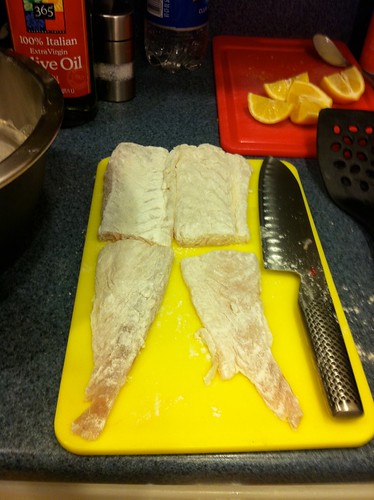
Once my fillet was ready, and dried, I cut it into four smaller pieces and coated them in flour. We coat the fish in flour before the batter so that the batter has something to stick to!

IMG_0506

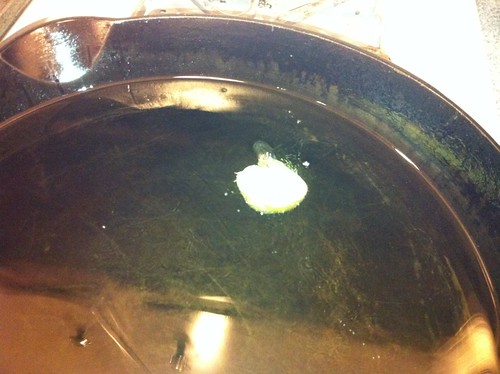
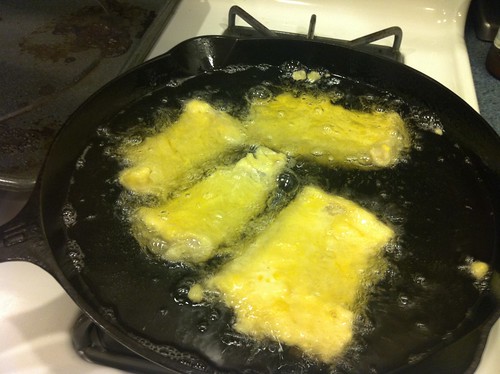
Meanwhile, I was heating sunflower oil in a cast iron pan. I added a small piece of potato to the oil, and as it came to the right temperature, the potato started to fry.

IMG_0507

Once the oil was the right temperature, I placed each piece of the cod fillet into the batter and then used the sides of the bowl to smooth out the layer of batter so it didn't get clumpy. As I coated each piece, I placed them in the oil for about 4 minutes, until they are golden and crispy!

IMG_0509

Once the four minutes were up, I drained the crispy fish on some paper towels, and plated them along with some of the Amalfi Salad. The batter was very reminiscent of tempura and it really was "the crispiest!"

IMG_0510

Sunday, March 13, 2011

A Day Full of Homemade Goodness

Today, I spent quite a bit of time in my kitchen. After "springing forward" in time this morning, I decided it would also be a good idea to start some spring-cleaning, and the kitchen and the bathroom are always the most time-consuming, so I try and attack them first. I did the bathroom yesterday, so today called for a good kitchen-scrubbin'! And scrub I did - it's so sparkly and clean now!

While I was cleaning, I poured the ingredients into my Breadman TR2700 for a loaf of Italian Parmesan Herb bread, too. Multi-tasking at its finest! The loaf came out wonderfully - fluffy, herby and delicious!

After the hours spent in the kitchen during the day today, I had to venture back in to make dinner, and as I looked at the things left on my current menu, I decided to make some gnocchi tonight. The recipe that I'm making, Lemon Gnocchi with Spinach and Peas, actually calls for store-bought gnocchi, which would make this one of the quickest recipes ever, I think...so if you are looking for a quick, week-night meal, this would be it! However, if you've been reading this blog, you'd already have guessed that I don't take the easy way out...so I'm making some fresh gnocchi tonight while my husband is at his hockey game.

First things first, you need to boil about 2 1/2 pounds of potatoes. When you boil potatoes, you want to put them in an empty pot, large enough for the potatoes to lay in a single layer on the bottom, and deep enough that water will be able to cover the potatoes and then some. Once the potatoes are in the pot, then fill it with water, covering the potatoes. Add some salt and stir around a bit. Now you can place the pot on the stove and bring the water to a boil. Once it arrives at a rolling boil, turn the temperature down a little bit, so the water stays at a simmer, and cook the potatoes for 30 - 40 minutes, or until they are easily pierced with a fork.


Once the potatoes are cooked, drain them and peel them while still hot. I use a towel or pot holder to protect my sensitive finger skin from burning! :) Once they are peeled, you'll want to run the potatoes through a ricer immediately. I don't own a ricer...yet...so I decided to use the small-holed side of a grater to get a similar effect. It didn't work as well as I'd hoped, since the potatoes just kind of fell apart in my hands, but I got the majority of the potatoes grated before using a masher to finish the job...and I might have burned off a few fingerprints...not sure though.


You have to allow the potatoes to cool completely before moving on to the next step in the process. Once cooled, sprinkle the potatoes with 1 3/4 cups of all-purpose flour and 2 teaspoons of salt. Top all that with one large beaten egg.


Knead the mixture until it turns into a smooth but not elastic dough. Dust the concoction with flour if it becomes sticky, but don't overwork the dough.


At this point, divide the dough into 8 equal pieces and roll each portion into a rope, about 24-inches long. Cut each rope into 1/2-inch pieces.


As you cut the pieces, roll each little pillow against the tines of a small fork to make ridges and then arrange them on a baking sheet covered in parchment paper and lightly floured.


When you go to cook your homemade gnocchi, bring a pot of salted water to a boil and add a few handfuls at a time. Cook them until they have floated to the top, about 2 - 3 minutes, and transfer them directly to whatever sauce you are using. You can also freeze the gnocchi by placing it in the freezer on baking sheets until firm; then transfer them to freezer bags and freeze for up to 1 month. Thaw them at room temperature for about 30 minutes before cooking them.


Mmm, this is delicious, and once the gnocchi is made, this recipe takes about 7 minutes, total. If that's not a quick dinner, I don't know what is.
Thursday, February 10, 2011

Breakfast for Dinner


Tonight, I was looking for something quick since we both got home a little later than usual. I turned to my menu and saw my Breakfast for Dinner category, and thought, that's it! So, I pulled out the ingredients for New Eggs Benedict from the Stonewall Kitchen Favorites cookbook.

"Old" Eggs Benedict is one of my favorite things, but it's pretty much the OPPOSITE of good for you, and definitely not something you'd want to consume a few hours before bedtime, but this recipe was quite a bit different. First of all, there's no hollandaise sauce - and that's where are the calories lie! The sauce for this recipe did call for some butter, but only a couple of tablespoons...along with some lemon zest, lemon juice, chives, salt and pepper. That makes a world of difference, and actually tastes really fresh, not heavy and fat-laden!

Eggs Benedict at the Maze Grill
From Flickr - by bef_

I used English Muffins as a base (I tried to find wheat ones, but they were out of them when I went to the store, so I used regular ones) and piled some sauteed spinach on top. The spinach was quickly cooked in a little olive oil and seasoned with salt and pepper so, nothin' bad there! I piled on a piece of smoked salmon - mmmm....yummy! - and then, the tricky part...poached eggs.

I think people are intimidated by poached eggs but it's not THAT hard! So, crack an egg, and put it in a small bowl. In a small pot of boiling water, stir until you get a little whirlpool and then drop the egg into the middle of the swirl. Drop one egg in at a time, let it swirl for a minute, keep up the whirlpool and add a few more the same way. I wouldn't poach more than 4 at a time. You should pull them out when the whites are stiff but the yolk still looks "wiggley." Maybe 2 - 3 minutes in a rolling boil.

A perfect poach!

I piled those poached eggs on top of the English Muffin, spinach and smoked salmon and then spooned a little bit of sauce over each one...and guess what, it took me about 15 minutes, TOTAL! And now I'm here talking to all of you lovely aspiring chefs! Looking forward to Friday and the weekend - we're going to visit some friends in Vermont...and I'm hoping we'll make it to the Farmer's Diner...all local and fresh, and if we go - you know you'll be hearing about it!

Tuesday, January 18, 2011

Go-Go Gadget: Citrus Squeezer

There are so many kitchen gadgets out there, and it's hard to determine which ones are necessary, and which ones will sit in your gadget drawer for years to come. We all have a few gadgets that don't work as well as we had hoped! I am as guilty of this as the rest of us, if not more so. I have a mango splitter that I have used once...I'll be honest, its usually easier with a knife. I thought it was a GREAT idea at the time though!

Lemons

One gadget that I purchased awhile back is a citrus squeezer. This gadget is extremely handy for a number of reasons. The most important of these reasons is that you get the most juice out of each citrus half! The way the squeezer is designed also prevents seeds from falling into your dish. Nobody wants to find a lemon seed in their meal! I have the lemon squeezer because it's larger enough for both lemons and limes. The squeezer designed for limes is a bit small for a lemon half, so it's better, if you are only going to invest in one, that it be the lemon one. There is also one designed for oranges, but I tend to use orange juice from a carton in recipes calling for orange juice. However, if you like your fresh squeezed oranges, you can always pick one of those up as well.

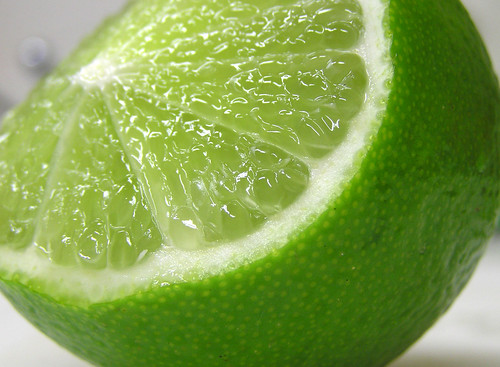
Lime

There are larger, electric juicers that would accomplish the same effect, with even less physical strength but it's yet another appliance that will sit on your counter. I would recommend an electric juicer if you make a lot of smoothies, or fresh squeezed juice drinks. However, if you have recipes that call for a little citrus, these affordable citrus squeezers are the way to go. It saves time, gets more juice out of each half, and saves your dishes from those perilous seeds!