Showing posts with label Top Chef. Show all posts

Sunday, May 15, 2011

Spicy Braised Korean Pork

Tonight's recipe comes from the Top Chef Cookbook, from a group challenge to create a dish using the flavors of either Korea or Vietnam. I opted to make brown rice, instead of the sticky rice ... I used up the rest of my sticky rice stash the other day! Instead of the Kim Chee, which takes 4 days to make, I purchased some marinated bok choy from H-Mart, our local Asian market. I'm pretty busy these days, and the idea of a 4-day process just wasn't striking my fancy. I found that you can view this specific recipe from the Amazon preview, so check it out here.

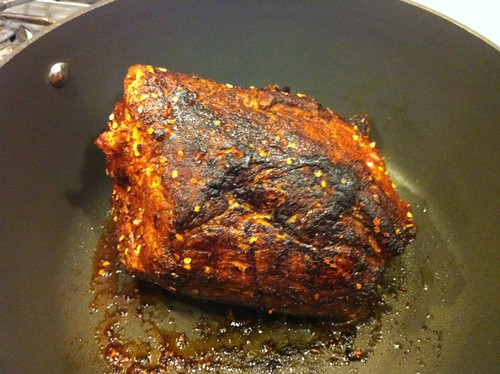
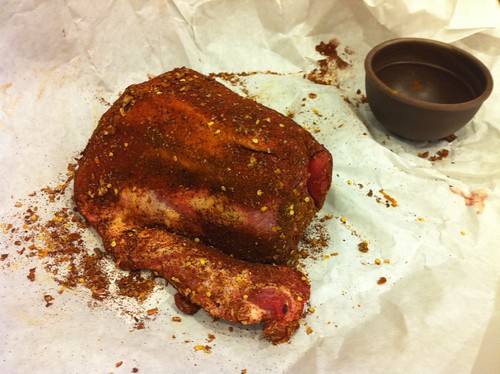
Because the pork shoulder needed to brown by itself for about 20 minutes on the stove, I prepped that before gathering the rest of my mise en place. I used a 4-pound pork shoulder, as opposed to a 6-pound one. There's only two of us, and we like leftovers, but eating pork for the next two weeks isn't very appealing. I rubbed the pork with 1 tablespoon red pepper flakes, 2 tablespoons paprika, 2 tablespoons curry powder, 2 tablespoons minced garlic, 1 tablespoon salt, and 1 teaspoon black pepper. In the process, I ran out of paprika and curry powder! Looks like a spice shopping spree is in order!

IMG_0641


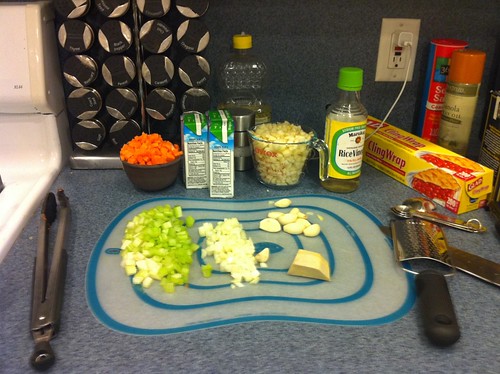
I placed this in a large, ovenproof pot with some heated vegetable oil, and allowed it to brown on all sides, for about 20 minutes total. Meanwhile, I gathered everything else!

2 Bosc pears, peeled, cored and diced
1 cup diced carrots
1 cup diced celery
1 cup diced yellow onions
10 garlic cloves
2 tablespoons minced fresh ginger
1 quart apple juice
2 teaspoons rice vinegar


IMG_0643


By the time I'd prepped all of my ingredients, my pork was nice and browned on all sides!

IMG_0642


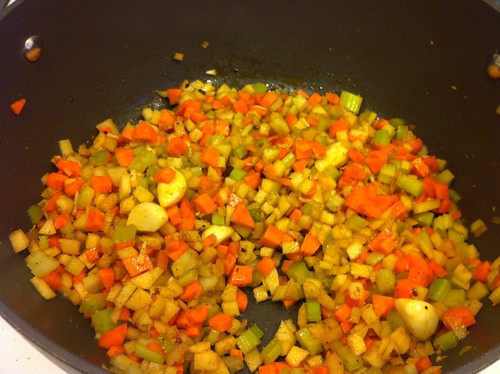
That looks good, huh!? It smelled delicious! I removed the pork from the pot and added the pears, carrots, celery, yellow onions, garlic cloves and ginger. I sauteed the mixture until softened, about 10 minutes.

IMG_0644


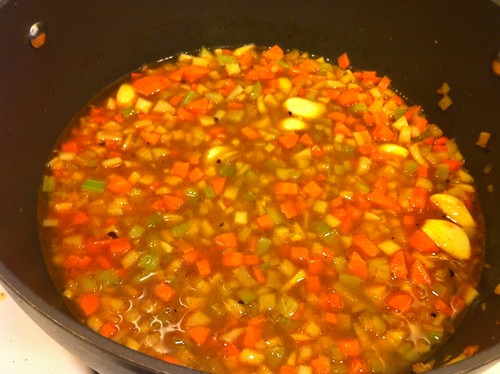
After those 10 minutes, I added the apple juice and brought it to a boil over a medium-high heat.

IMG_0645


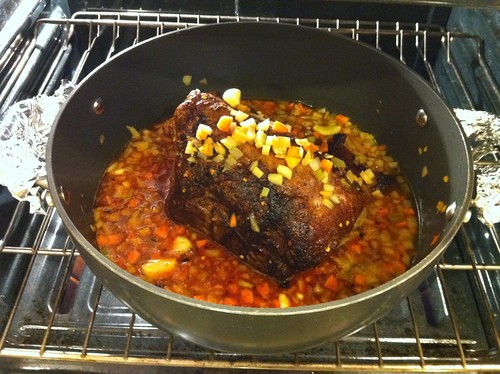
I added the pork to the pot, turned it over a few times to coat and transferred it to a 350-degree oven, to cook for about 3 hours, turning every half hour or so.

IMG_0646


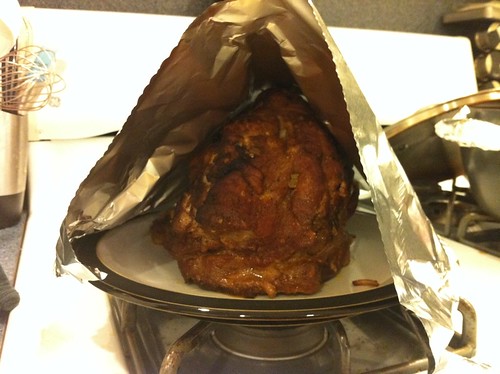
Cut to three hours later, a few loads of laundry, and some good ol' puppy playtime, and the pork is ready! Remove the pot from the oven, and transfer the pork to a plate to rest, tented with aluminum foil.

IMG_0647


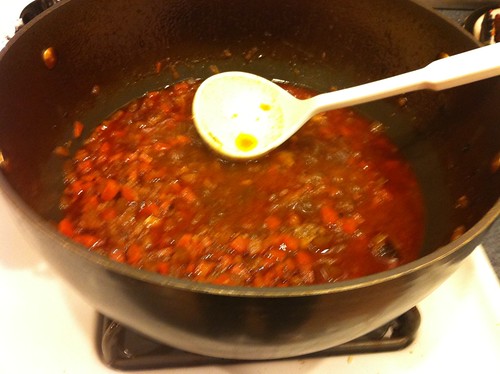
Meanwhile, put the potted veggies and apple juice mixture back to the stove, and bring it to a boil. Allow it to boil until thickened, for 15 minutes, while the pork rests. After the time has passed, season the mixture with rice vinegar, salt and pepper.

IMG_0648


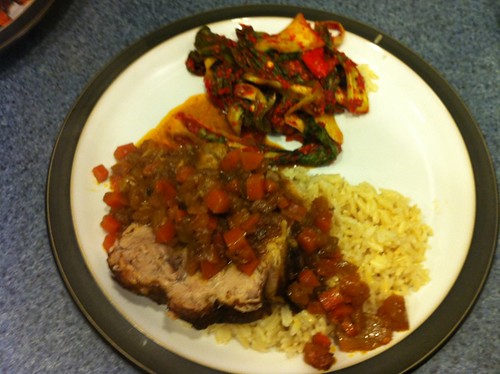
To plate, I put some seasoned bok choy on each plate, and a nice mound of brown rice. I placed a thick slice of pork on each mound of rice and then topped it with some of the sauce. The pork was done PERFECTLY, and the spices were fantastic. This was a really hearty Sunday dinner...one for the books, people. One for the books!
IMG_0649

Wednesday, May 4, 2011

Disaster Ensues!

I took tonight's recipe from the Top Chef Cookbook. I had been looking forward to Sea Bass, Scallop and Shrimp Sausage with Jicama Slaw, Sweet Chili Glaze and Asian Chimichurri all day. Things did not turn out the way I had planned, unfortunately! Let's take a look at where things went wrong!

Warning: Once things went downhill, the camera got pushed to the side, so I apologize!


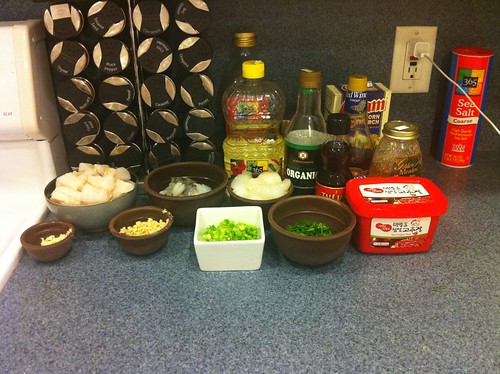
The dinner started out like any other...with a mise en place. The link for the recipe can be found above so I'll give you a run down of the exact ingredient measurements:

For the Sausage:
1 pound Corvina or any other sea bass fillet, cut into 1-inch pieces (I used cod, actually)
1/2 pound of black tiger shrimp, peeled and deveined
1/2 pound scallops
1 garlic clove, minced
One 1-inch piece of fresh ginger, peeled and minced
4 scallions, finely chopped
1 bunch fresh cilantro, stemmed and chopped (I used parsley because Matt hates cilantro)
1/2 cup vegetable oil
1 teaspoon sesame oil
2 teaspoons red wine vinegar
2 teaspoons soy sauce
salt and freshly ground black pepper to taste

IMG_0590


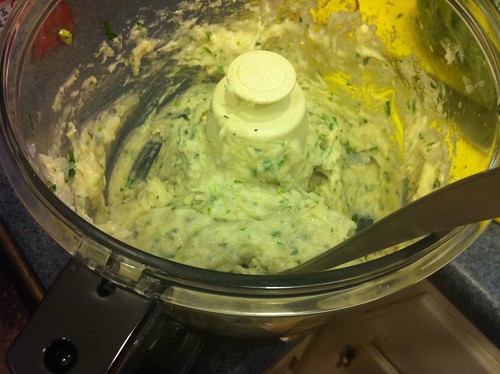
I put the fish, shrimp and scallops into my food processor and pulsed until it was a smooth mixture. Adding the rest of the ingredients in the above list, I continued to pulse until well combined. 

IMG_0591

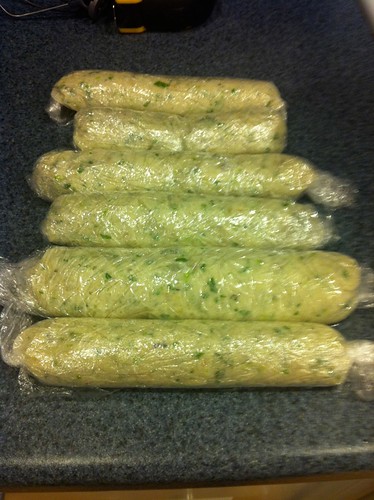
At this point, I cut a small corner off of a zip lock bag and started to spoon the mixture into the bag. I would be using it like a piping bag. For each sausage, I laid out a 12-inch piece of plastic wrap on my work service, and piped a 1-inch in diameter, 6-inch in length line down the center. I then rolled it up to create my sausages.

IMG_0592

So far so good, right!? Okay, I put a pot of water on to boil and started in on my Sweet Chili Glaze. You'll need:

1/2 cup sambal chili paste, or more to taste (I used Korean red pepper paste)
1/2 cup honey, or more to taste
1/4 cup red wine vinegar
2 teaspoons cornstarch

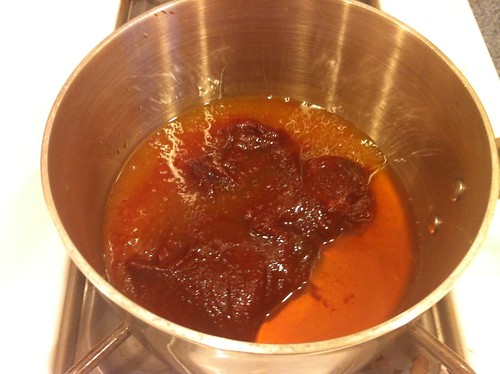
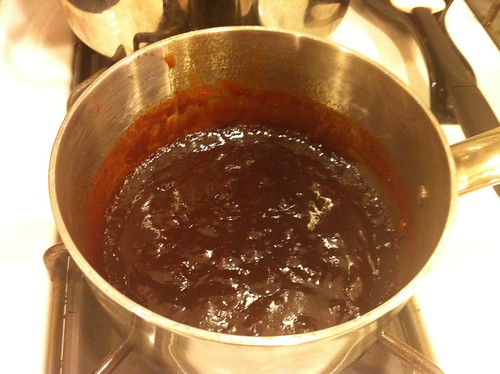
In a small saucepan, combine the chili paste, honey and red wine vinegar and bring it to a boil. In a separate cup, stir together the cornstarch and 2 teaspoons of water, stirring until smooth. Once your mixture is boiling, add the water and cornstarch and boil for 3 minutes. If the glaze is too spicy, you can add more honey to it, and if the glaze isn't spicy enough for ya, you can always add more chili paste. Here's the beginning and end images of this process:


IMG_0593


IMG_0594

Now that my water is boiling, I can add my sausages to the water. They should be in there for 6-8 minutes, until they are firm to the touch. Because mine didn't really seem firm to the touch after 8 minutes, I left them in a little longer. 

So, I let them cook for a few more minutes, and then spooned them into the ice bath as the recipe describes. The sausages seemed to be a bit broken apart within their plastic wrap casings but I allowed them to rest in there for a few minutes while I prepared the jicama slaw and dressing. For that I needed:

1 small jicama, peeled
1 small red bell pepper, cored and seeded
1 carrot
1/2 bunch fresh cilantro, stemmed and chopped (I left that out again)

Dressing:
1/2 shallot
1/2 cup peeled chopped fresh ginger
1/2 bunch fresh cilantro, stemmed (left out)
1/4 cup sriacha hot sauce
2 teaspoons soy sauce
1 teaspoon sesame oil
1/4 cup red wine vinegar
3/4 cup vegetable oil

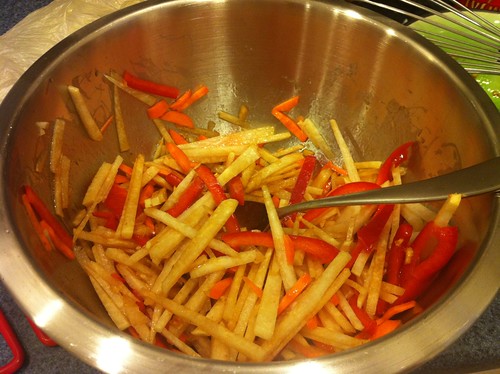
I julienned the carrot, jicama and red bell pepper and put them in a large bowl. In a smaller bowl, I added all of the ingredients for the dressing and whisked them up. I just realized I was supposed to actually blend them all together in a food processor, but I thought it was really good with the chunkier version. Mixing it into the julienned veggies, I was relieved to see how quickly this slaw came together! 


IMG_0596

Here's where things went terribly wrong! I heated up my grill pan in anticipation of grilling my sausages.  I went to the bowl of ice water to unwrap my sausages but alas, it seems they had either burst through in parts of the plastic, or opened so that the water had seeped inside of the plastic. So what I had were a bunch of PIECES of soggy sausage, crumbling all over my grill pan! As I moped around the kitchen, trying my hardest to piece together the sausages enough to resemble their form, they started to brown in the grill pan. They smelled delicious, they just didn't really LOOK very appetizing. I'm sorry that I have no photos - this was no time for a camera!

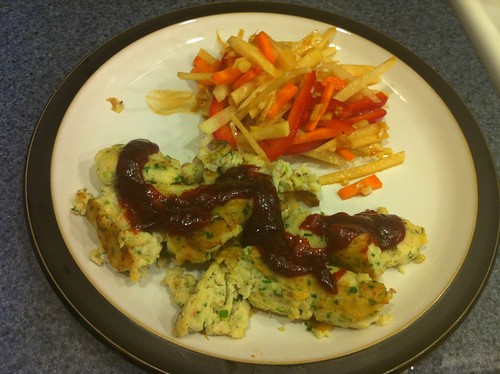
When I had deduced that the sausages were warmed through and browned to my satisfaction, I plated the slaw and placed the "sausages" on top and to the side. I drizzled it with the Sweet Chili Glaze, and voila...a poor representation of a delicious meal! I'm trying this one again, I swear it!


IMG_0597

Wednesday, April 20, 2011

Spicy Coconut Curry Steamed Mussels with Mango Couscous

I started the current menu off with a bang tonight, steaming up some mussels in a curry sauce with some delicious couscous! This recipe is from the Top Chef cookbook, and the dish was made by Betty, in Season 2. While the cooking time in this recipe is pretty much under 10 minutes...total...the prep time was a bit more intense...but still, dinner was ready in about 1/2 an hour, so hooray for that!

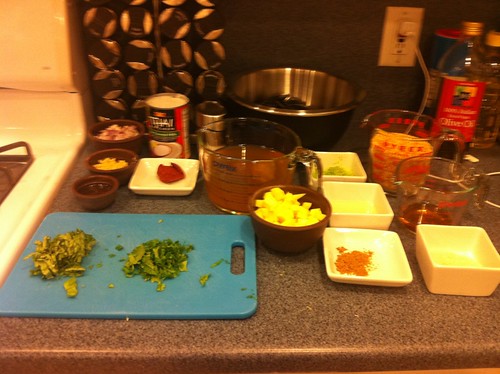
I gathered some mussels, vegetable oil, ginger, red onion, red curry paste, coconut milk, vegetable stock, limes, ground coriander, salt, black pepper, instant couscous, mango, cognac, sugar, basil, and cilantro, and set up my mise en place, ready to cook for 10 minutes! :) Be forewarned - a lot goes on in the next 10 minutes!

IMG_0534
I'm not sure how I didn't notice how awful this picture came out! Sorry!

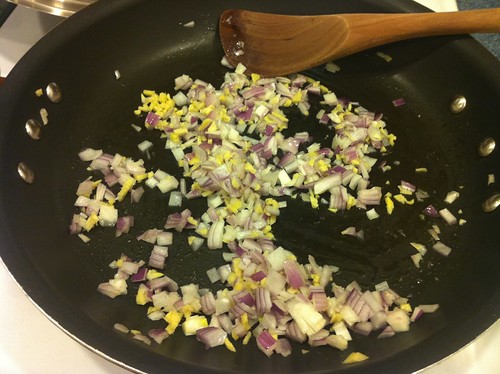
First things first, I got out a large skillet and added a tablespoon of vegetable oil. Once heated, I added some minced ginger, and a minced red onion and let them cook for about 3 minutes.

IMG_0536

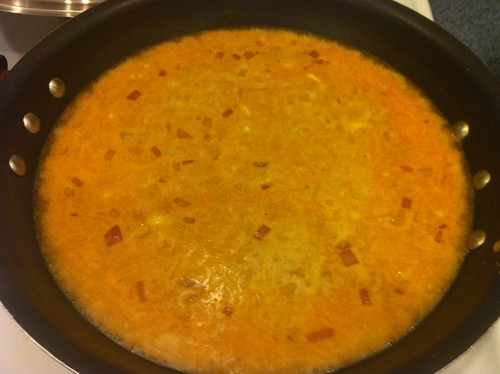
I added the curry paste and stirred everything around until the ginger and onion was well coated in the paste. I poured in 1 cup of the vegetable stock and the coconut milk and raised the heat to bring the mixture to a boil.

IMG_0538

Meanwhile, I poured two more cups of vegetable stock into another saucepan, and set that to boil as well. With the stock, I poured in some ground coriander, salt and pepper.

IMG_0537


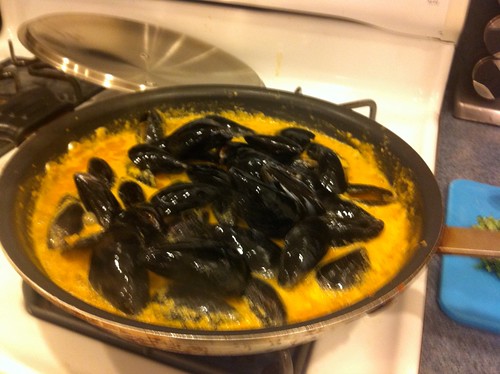
Once both pots are boiling, I let the curry mixture reduce for about five minutes. At this point, I added the mussels to the curry mixture, along with the lime zest.

IMG_0540

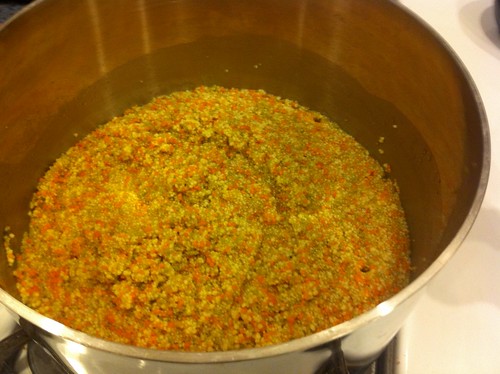
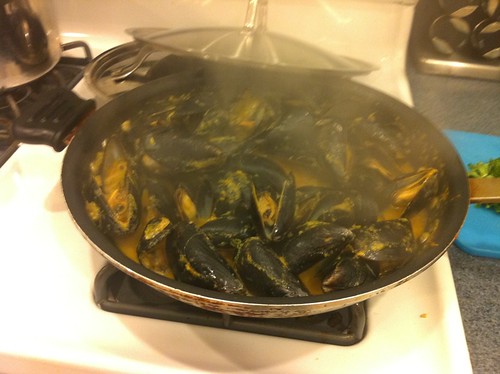
Once the mussels were in, I covered that pot (for 6 minutes), removed the boiling stock from the heat, and poured the couscous in. I stirred that all up and then covered it to sit for 5 minutes.

IMG_0541


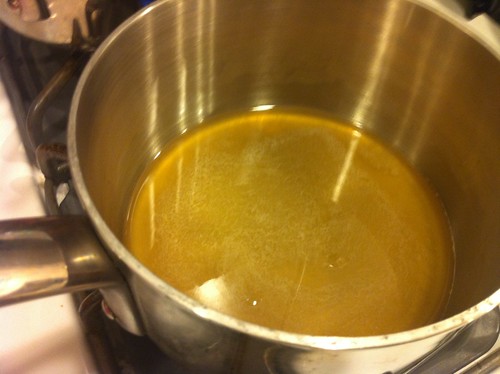
The last step was to make the topping sauce, which consisted of some sugar, the lime juice, and some cognac. While the couscous was sitting and the mussels were steaming, I boiled these three ingredients together in yet another saucepan.

IMG_0542


For me, it took about 6 minutes for the mussels to open, but it could take up to 8 minutes, depending on your mussels, so keep an eye on 'em and don't take 'em out too soon...or too late, for that matter! :) Also, stir the diced mango into your couscous at this point.

IMG_0543


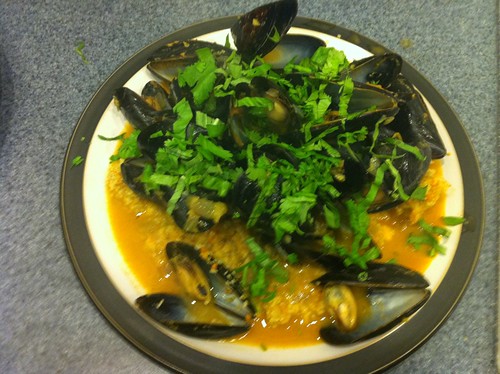
Plate your dish by scooping some couscous onto the plate. Top it with some mussels, a few ladlefuls of curry sauce, and the cognac reduction. Sprinkle some chopped basil and cilantro on top and voila...a deliciously spicy meal for a Wednesday evening!

IMG_0544

Monday, February 21, 2011

Everyone Makes Mistakes!

So...tonight's dinner did not go as planned. All I can really say is that sometimes we all make mistakes, and not every meal will come out perfectly. I should have known that this wasn't going to go well when my mise en place took way longer than expected...but I plowed forward, nonetheless. The plan was to make Lia's Pork Tenderloin with an Artichoke Tart, from Top Chef's Quickfire cookbook. How she did this in an hour, I can't be sure!

Yikes! That's some mise en place!
Because this quickfire challenge's purpose was to use a store-bought frozen pie crust, the recipe also called for a store-bought frozen pie crust, which I allowed to thaw. The instructions asked me to use a pie weight while baking the unstuffed crust, but as I've said in past posts, I'm no baker...so I googled what I could use as a pie weight. The website I found said rice...but I didn't even think about putting something in the lining of my crust before adding the rice! Because of this mishap, my crust CRUMBLED when I tried to pour the rice out! :( (I'm adding a pie weight to my Amazon shopping cart tonight!)

I pieced the larger pieces of the crumbled crust back together in the pan, and poured the artichoke mixture in anyway, but it was a mess! Look what happened!!!

Can I have a do-over!?
The fennel and pear salad came out well, and the Meyer Lemon reduction sauce that went over the pork tenderloin was syrupy and tartly delicious. My pork tenderloin didn't cook completely in the time the recipe called for, so I left it in a little longer, and I ended up with some very juicy, perfectly cooked slices of pork in the end.

All in all, dinner was tasty, but it looked pretty messy, and I think it could have been MUCH better. Too bad I didn't think to thaw both of the crusts I had purchased...I could have started over if I had...but as it was, I made the best of a bad situation, and it all goes down the same way, right? Normally, after I complete a recipe to my satisfaction, it gets a check mark so that I know it's a keeper...but this one hasn't earned its check mark yet...I'll have to give it another go in the near future. I need a few weeks to get over this attempt first! :)

Thursday, February 17, 2011

Radhika's Kebab Sausage with Tomato Jam

Tonight, I'm making sausages! Well, it's a loosely based version of a sausage, as there's nothing being stuffed into any sort of skin, but still...Quickfire Challenge here I come! (For all you Top Chef fans, you know exactly what I'm talking about, but for everyone else - it's from the Quickfire Cookbook, which includes recipes created during challenges on the show, Top Chef.)

This specific challenge was to create a signature hot dog. Radhika, from Season 5, made these great Kebab Sausages, and here we are, making them ourselves! You can find the recipe here. This recipe also calls for a bunch of accoutrements for the sausages. I'm sure these sausages would be wonderful on a roll, like the recipe describes, but I decided to serve them over a delicious, parsnip puree instead! A little heartier, and more ... dinner-like! :)

The first thing I did was make the sausage mixture. For this, I mixed 1 pound of ground lamb, 1/2 a pound of ground pork, and 1/2 a pound of ground beef with a tablespoon of minced garlic, 2 tablespoons of Tandoori Masala, kosher salt and ground black pepper. Once the mixture was blended, I put half of it into a food processor until it was finely ground. Then I mixed the finely ground portion back into the rest of bowl, and mixed some more. I then formed the mixture into the shape of logs, sort of like bratwurst.


Once that was done, I turned the oven to 350 degrees to preheat while I made the sides. I chopped a red onion into slices, and put them in a pan with a little canola oil to cook down for about 20 minutes. These browned onions sweeten as they cook and make a lovely topping for the sausages. In another bowl, I put a cucumber (peeled, seeded and diced), cilantro, white wine vinegar, capers and a little salt and pepper to taste. I set this aside to macerate for 20 minutes. In a third bowl, I made a tomato jam, which consists of mayonnaise, tomato paste, cumin and a little bit of heavy cream. I only used enough cream to thin the concoction, rather than the amount that the recipe depicts.


I browned the sausages on all sides in a skillet and then added them to a baking sheet I had waiting in the preheated oven, and then cooked them for another 10 minutes.


Once they were done, I plated the parsnip puree and piled two of the kebab sausages on each plate. I served the sides separately, allowing us each to choose our toppings appropriately. Once I added my toppings, I took a picture so you could see the finished product!


Voila! And this just goes to show, you don't even need a special tool to make your own sausages. They tasted a bit meat-loafy when cooked, and the sides were the perfect accompaniment to the flavors in the sausage. I really liked my pairing of the parsnip puree. I think it added something that a sandwich roll couldn't have contributed to the dish!

Monday, February 7, 2011

Joey's Scallops with Jasmine Rice Risotto

So, I've started cooking from my new menu, and the first meal I chose to make is Joey's Scallops with Jasmine Rice Risotto, from Top Chef: The Quickfire Cookbook. Joey was part of Season 3, and during Episode 4, he participated in a Quickfire Challenge that asked him to create an appetizer to pair with a Bombay Sapphire cocktail for Bombay Mixologist, Jamie Walker. The recipe included in the cookbook has been adapted for main course servings, and was reproduced here, as well.

Now this recipe doesn't call for that many ingredients, and while they are a bit more exotic than you may be used to, this dish is SUPER-easy, so don't get overwhelmed.

What you'll need:

1 cup jasmine rice
2 cups coconut milk
8 shiitake mushrooms, stemmed and sliced
1 mango, peeled, pitted, and diced
1 tablespoon thinly sliced fresh mint, plus more for garnishing
1 tablespoon thinly sliced fresh basil, plus more for garnishing
8 sea scallops
salt
cayenne pepper
1 teaspoon peanut oil, for frying

And of course, here's a look at my mise en place:


Did you take a look at those GORGEOUS scallops? So let's get going with the first step, shall we? In a medium dry saucepan over medium heat, lightly toast the rice. Add the coconut milk, stir, and cover. Bring to a slow boil, then reduce heat to medium-low. Cook the rice until creamy, about 15 minutes.


Remove from heat, then stir in the mushrooms, mango, the 1 tablespoon of mint, and the 1 tablespoon of basil.


I recommend waiting until the risotto is complete, before starting the scallops. They only take 2 minutes per side, and I will warn you, overcooked scallops are TERRIBLE, and you shouldn't eat them. You want to JUST cook them through, no more than that (and I will admit now that I threw away a LOT of scallops before perfecting it, but if you follow the times on the recipe, you should make out okay!)

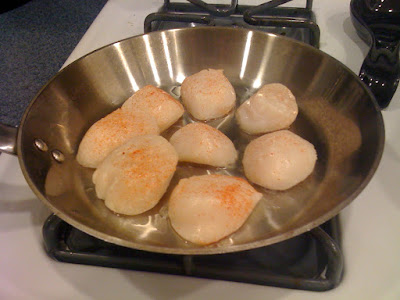
Season the scallops with salt and cayenne pepper. In a large saute pan over medium-high heat, heat the peanut oil. Add the scallops and sear for 1 1/2 to 2 minutes per side.


To serve, place several spoonfuls of rice on each plate and top with scallops. Garnish with mint and basil.


Mmmm, this sure was delicious! And I know you guys can do it too! So, give it a try, and let me know how it goes...and if it doesn't go so great the first time, try again. Perfecting a cooked scallop takes some practice, but oh, it's SO worth it!

Tuesday, January 4, 2011

The Beginning

Well, here we are. I'm going to try my hand at this thing called "blogging." I want to share my wisdom, but that sounds cocky, I don't mean it that way. I've picked up so many things along the way, and taught myself so many little time-saving tips, I feel like I should pass all those nuggets of wisdom along to those at home who think they have to go to a fancy restaurant to get a good meal. You don't have to spend a fortune to eat well...although, I'm not going to lie, I love a good fancy meal once in awhile...or more often! ::wink wink::

I cook almost every night...and I always make something different. We enjoy a good meal at the end of a hard-worked day. All it takes is a bit of diligence, some great techniques up your sleeve, and fresh ingredients ... and maybe a few recipes. I talk to friends, and they can't believe that I cook every night, they can't understand where I find the time, or the patience...but really, it's just part of my routine, and it can be part of yours too.

Let's start at the beginning, shall we? The reason for the title of this blog...Mise en place. It literally means "putting in place," in French. It's what we do before we start cooking. When we look at a recipe, there's a list of ingredients, with measurements of how much we'll need. It's important to prep all this stuff before we start throwing things in a pan. How can we follow a recipe's instructions if we're trying to cut stuff up, stir, sear, broil and mash all at the same time? I think that mise en place is an appropriate name for a blog that's going to put people on the right track to cooking at home...and enjoying it. It may take some time upfront, prepping all those ingredients, but in the long run, it's one of the best ways to assure a well-cooked, well-seasoned meal. I usually end up filling up a bunch of little bowls with ingredients...it may make more dishes for later, but then again, if you're cooking, the one eating your food should be doing those dishes! :)

Come with me on this journey through the world of food. I'm going to try new techniques, recipes, and ingredients. I'll go into tried and true methods, and answer questions that readers want more information about...even if it means doing some research myself to find the accurate answer. I'll provide videos, reviews, and commentary on television shows (who's watching Top Chef?)...I'd love to get to know you guys along the way!