 |
| Mise en place |
1/2 cup coarse fresh breadcrumbs
5 teaspoons Dijon mustard, divided
2 teaspoons plus 1 tablespoon olive oil
1/2 teaspoon mustard seeds
1 9-ounce package of fresh spinach leaves
3 tablespoons half-and-half
1 teaspoon chopped fresh thyme
4 large eggs
thyme sprigs
Just like yesterday, I had to go with the dried thyme instead of fresh - I really have NO idea where my thyme went! So the first step here is to preheat the oven to 400 degrees Fahrenheit. While you are waiting for the oven to heat, mix 2 teaspoons of the mustard, 2 teaspoons of the oil and the mustard seeds with the breadcrumbs in a bowl. They will get kinda lumpy and stuck together, at which point, transfer them to a baking sheet. I used a pyrex dish instead because my baking sheets are being bogarted by some seedlings that my husband has started and laid out to get sun in front of our large window. We'll have veggies this summer, but right now, I have no baking sheets. You want to bake this for 6-8 minutes in the oven.
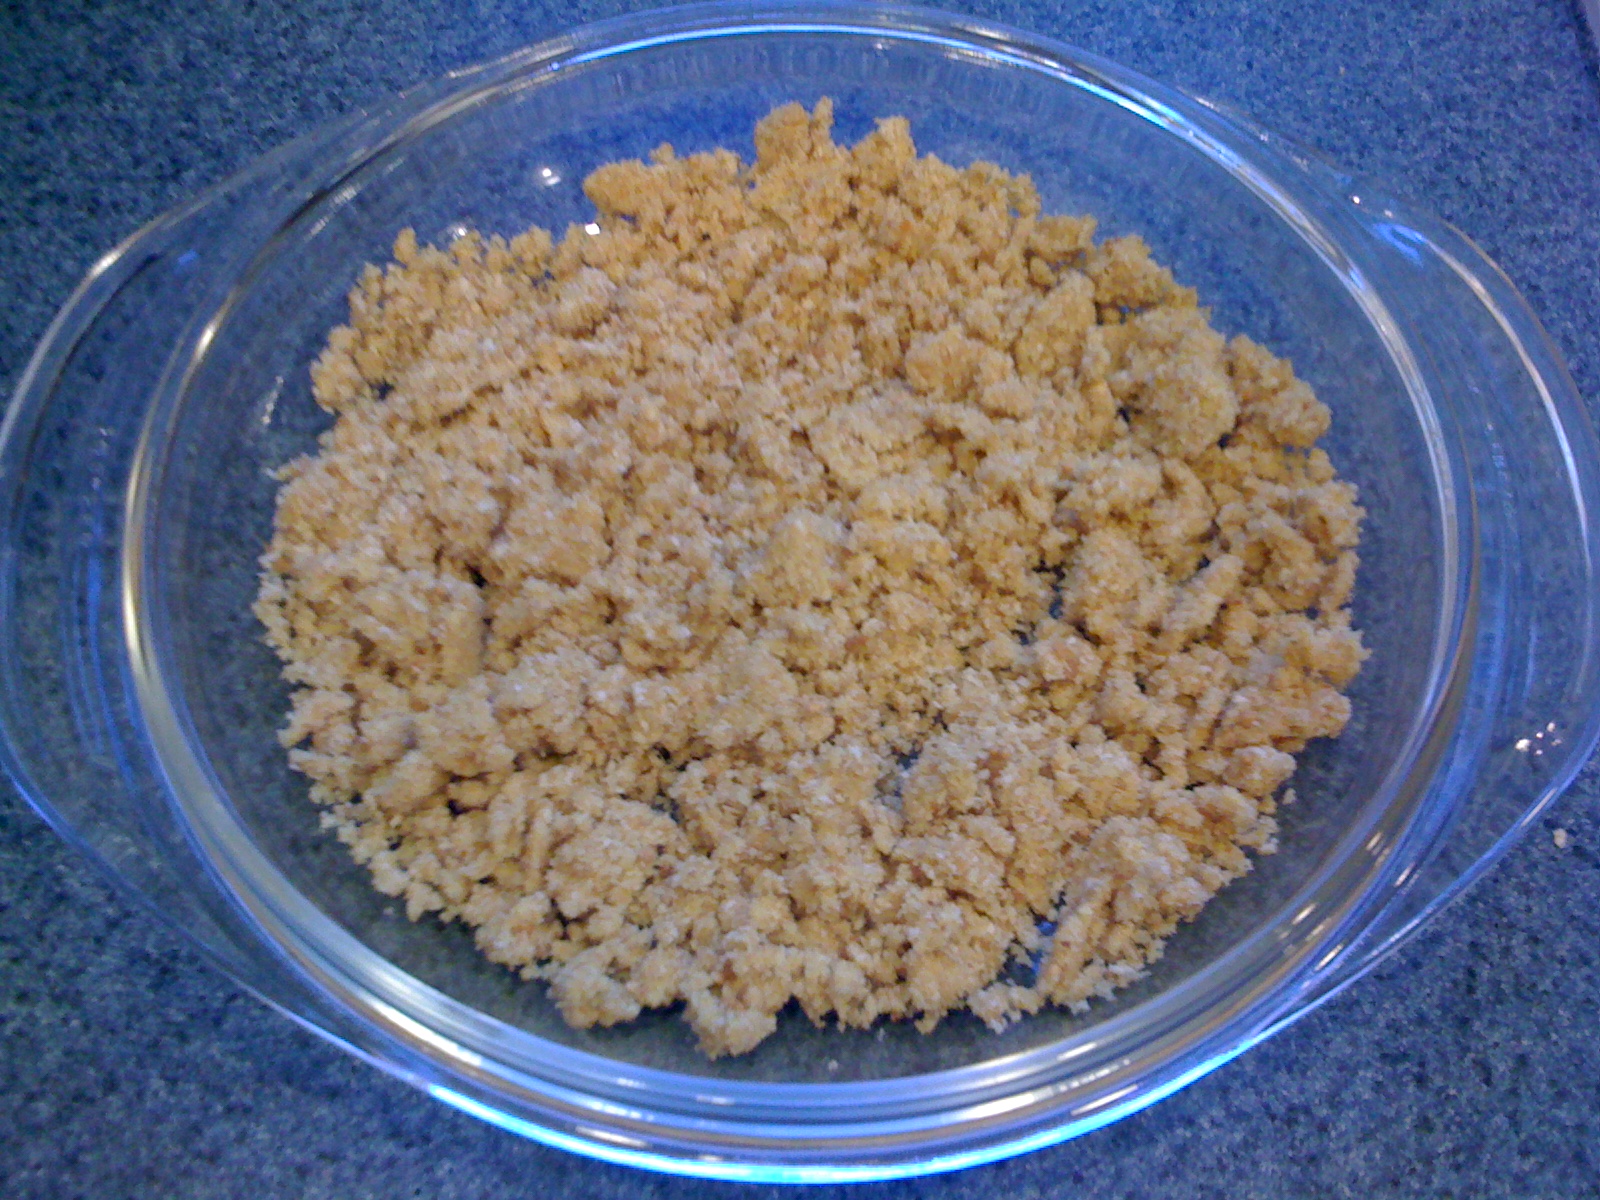
Meanwhile, fill a large, deep skillet with water enough to cover the bottom, and pour in your spinach. Toss the spinach over high heat, for about 2 minutes, or until it all wilts down. It looks like you've got a lot of spinach until you get some heat on it!

See?

Once the spinach is all wilted, you want to transfer it to a sieve set over a bowl, and press out most of the water. Transfer the spinach to a saucepan, and pour in the half-and-half, 3 teaspoons of the mustard, and the thyme. Stir this over medium heat until it thickens and then season it with some black pepper. The recipe says 3 minutes, but it didn't take that long for me...

Once that was done, I put some of my fresh Italian Parmesan Herb bread in the toaster, while I fried my eggs. Heat the remaining oil in the skillet you used for the spinach (wiped down, of course) and once the oil is warm, crack your eggs right into the pot. Fry them until the whites are sturdy and white but the yolk shakes a little...unless of course you don't like runny eggs - you can cover your pan for a minute or two to get the heat through the top of the whites (and the yolks if you want). The steam cooks them evenly without having to flip the egg and risk breaking that yummy yolk!
 |
| Still needs a minute or two! |
Well, that was easy and quick, huh? I plated the spinach and topped it with 2 of the fried eggs. I then sprinkled the breadcrumb concoction on top and served with a side of Parmesan Herb toast!
 |
| My yolk broke! |
It all paired together nicely and it made for a comforting Tuesday night dinner. I still haven't caught up with that hour of sleep we lost this weekend I think, because I'm exhausted! Thank goodness for quick meals! :)


 , a textbook from The Culinary Institute of America. I usually use this book as a reference guide, in order to master techniques, but I thought I'd give this recipe a shot, and I'm very glad I did!
 and topped it with a pot lid so that steam could continue to cook the veggies a little bit while I finished off the rest of the dish.
 , I threw the marinated beef into the wok with a bit of vegetable oil. It didn't take more than a few minutes for the small pieces to cook through, and while that was happening, I fried two eggs in a skillet, keeping them "sunny-side up" so that they would be runny when the yolk was broken over the dish. My rice cooker clicked when it was finished and I spooned some sticky rice onto each plate. I topped the rice with my steaming carrots, jicama, radish and shiitake mushrooms. I sprinkled some chiffonade of iceberg lettuce on top of that, and as it started to wilt from the heat, I piled on some beef. Lastly, I laid the fried egg on top of all of this!