Showing posts with label spinach. Show all posts

Sunday, September 11, 2011

An Easy Dinner and Planning for the Week Ahead

After a busy weekend, filled with fun times and good friends, we settled in for the first Sunday football games and decided on a very easy dinner of some marinated steak tips and a nice, spinach salad. We didn't have the ingredients for any of those things so I had to run to the store, but I hadn't planned my menu yet! I think the next week or so will consist of some quick trips to the farmer's market/grocery store as I figure out a plan for the next menu.

We are having friends over tomorrow night, and they are vegetarians, so I promised them a good meal...sans meat. I don't normally cook with tofu, but I'm going to give it a shot! We're going to try a recipe for Kung Pao Tofu, from the Whole Foods Market Cookbook, served with a side of brown rice and some kale. I hope it's good! I added the ingredients for these recipes to the list and off to the store, we go!

IMG_0977


Easy, pre-marinated steak tips on the grill, and a delicious spinach salad. I bought some adorable heirloom tomatoes the size of cherry tomatoes, and threw those in along with some minced shallots, and crumbled feta. I tossed the salad with this awesome avocado dressing that Matt found at the store, and dinner was ready! This left me plenty of time to write to all of you, my culinary comrades, and then get down to work on the upcoming website. I think that we're going to do things a little differently with the menu for awhile. As I need to photograph, use, and write about certain ingredients for the site, I'll be using them and writing about them on the blog. That way, I'll "kill a few birds with one stone," so to speak, so I'll have posts for you on a daily basis, and still get in the writing I need to do to bring this website to you as fast as possible!

IMG_0976


That being said, if there's an ingredient you want to learn more about, comment here and let me know. I'll move it to the top of the list!

Friday, April 1, 2011

Rotolo di Zucca e Ricotta

Well, this recipe certainly was a bit of work - but it was SO worth it. This dish is so pretty, and wonderful for impressing those dinner party guests. It's a lot of work, but the work isn't all that difficult. I love how Jamie Oliver writes, because it's like having a conversation with someone who's telling me how to make a specific dish. It's so easy to follow his instruction!

This is a rotolo of spinach, squash and ricotta. When I wiki'd "rotolo" to find you a more specific definition of what it is, I found that "Rotolo" is an Italian surname. Haha! So, I'll give you the Mere-finition, which is that this dish is a roulade of pasta. Normally, a roulade is made with a thin piece of meat rolled around some sort of stuffing such as vegetables or cheese. I replaced the meat with thick lasagna noodles, and voila, a rotolo!

Alright, here we go! I made my fresh pasta dough and left it to rest for the necessary 30 minutes. It was a bit sticky tonight, but after a little extra flour on my kneading surface, I evened it all out. I then moved on to my mise en place. The filling for the rotolo consists of butternut squash seasoned with fennel seeds, coriander seeds, chili powder, salt and pepper along with some wilted spinach, fresh oregano, garlic, butter and nutmeg. I also needed to get out my parmesan and ricotta. Finally, some extra butter and a nice handful of sage leaves, and my mise en place is complete!

IMG_0423

Once everything was out and prepped, I preheated my oven to 425 degrees because I need to cook the squash. I dusted the squash pieces with the crushed coriander seeds, fennel seeds, chili powder, salt and pepper and tossed the squash in a snugly fit dish.

IMG_0424

IMG_0425

Once I got the squash in the oven (for 30 minutes - covered with a damp piece of wax paper), I started on the spinach since it was supposed to cool before use. I heated a nice glug of olive oil in a pan and added my sliced garlic and fresh oregano leaves.

IMG_0426

Once that had sizzled a bit, I started adding the spinach and as it wilted, I continued to add more. I had two whole bags to get in there so slowly but surely wins the race. Keep the spinach leaves moving around with a tongs so that none of them burn, but as the leaves wilt, it makes more room to add more leaves.

IMG_0427

Continue this way until all the spinach has wilted down. At this point, you can season with nutmeg, and a few clumps of butter. Always taste your food, as you are cooking - then you'll know if you need to add some salt and pepper to this before taking it off the heat. I added a little bit of each and then removed the spinach to a bowl to cool.

IMG_0428

Once a half hour has passed, check on your squash. Remove the wax paper, toss them around a bit and put them back in for another 15 minutes - or until they are golden.

IMG_0429

While the squash was finishing up, I used my pasta roller to make six long sheets of pasta. I laid them out on a dish towel (I would have preferred to use a white one - but I lucked out and nothing turned black at the end of this ordeal!). I used some water to stick the noodles together to make one long sheet.

IMG_0430

Once the squash was finished, I removed it from the oven and spooned it across the long side of the noodle sheet.

IMG_0432

I then sprinkled my cooled spinach around the rest of the sheet, leaving a 2 inch section at the top clear of any filling. That's the part that will tuck over to complete our rotolo.

IMG_0433

From here, I sprinkled both ricotta cheese and shredded parmesan cheese on top of this mixture.

IMG_0434

I used the edge of the towel to start my roll, and then continued tucking and rolling until I had one long roll of pasta and stuffing. Use a little bit of water on the top edge to stick it to the rest of the rotolo.

IMG_0435

Once it was rolled, I put a pot of water on to boil. I didn't have a pot really big enough for this so I kind of had to wind it around the side of the pot I was working with. The best case scenario would probably be an oblong-shaped fish pot, but we work with what we've got right!? While the water was boiling, the recipe instructed me to roll this up in a dish towel. I didn't have a nice, thin, white dish towel like Jamie did in the pictures, so I made do with what I had. I was a little concerned that my pasta would come out dyed a little black, but luckily, that did not happen! I tied the ends with some kitchen twine.

IMG_0436

Once the water was boiling I placed this in the pot as best I could, and then placed a plate on top to hold it under the water since it tends to want to float to the surface. I left this to simmer for 25 minutes.

Meanwhile, I needed to clarify some butter by placing it in a very low heated oven, and allowing it to melt there. Once melted, I separated (as best I could) the white parts of the butter from the clear. I added the clear portion to a pan which I heated more aggressively. Once it was hot enough, I threw my sage leaves into the butter and allowed them to lightly fry.

IMG_0437

I pulled the leaves out and let them drain on a paper towel. I kept the now sage-flavored butter over a low heat so that it didn't start to congeal. I pulled the rotolo out of the boiling water with some silicon potholder gloves and unwrapped it onto a cutting board. Because I had to curve it to get it in the pot, it had burst open in a few places but not too badly. I sliced the rotolo into generous serving portions and plated! I decided to serve this beautiful looking roulade with an arugula and radicchio salad, dressed with only some balsamic vinegar and olive oil. I seasoned it with a little salt and pepper and tossed it with a handful of shredded parmesan.

IMG_0438

This isn't a dish you see on every Italian restaurant menu, but I'm sure glad it was on mine! :)

Tuesday, March 15, 2011

Sunny Side Up

Last night, I took some of my cuts of meat out of the freezer to prepare for the next few days of meals. I was a little disappointed when I came home tonight to find that none of them had defrosted enough. I really don't like defrosting meat in the microwave because it tends to start cooking as it defrosts, and then it doesn't cook evenly. Instead, I looked to my trusty Breakfast for Dinner option. This time around, I opted for Sunny-Side-Up Eggs on Mustard-Creamed Spinach with Crispy Crumbs. This recipe is from Bon Appetit and while the recipe says it serves 2, it only calls for 2 eggs. I doubled that portion since one fried egg and some spinach is probably not the most substantial dinner - and I set to work!

Mise en place
What we have here:

1/2 cup coarse fresh breadcrumbs
5 teaspoons Dijon mustard, divided
2 teaspoons plus 1 tablespoon olive oil
1/2 teaspoon mustard seeds
1 9-ounce package of fresh spinach leaves
3 tablespoons half-and-half
1 teaspoon chopped fresh thyme
4 large eggs
thyme sprigs

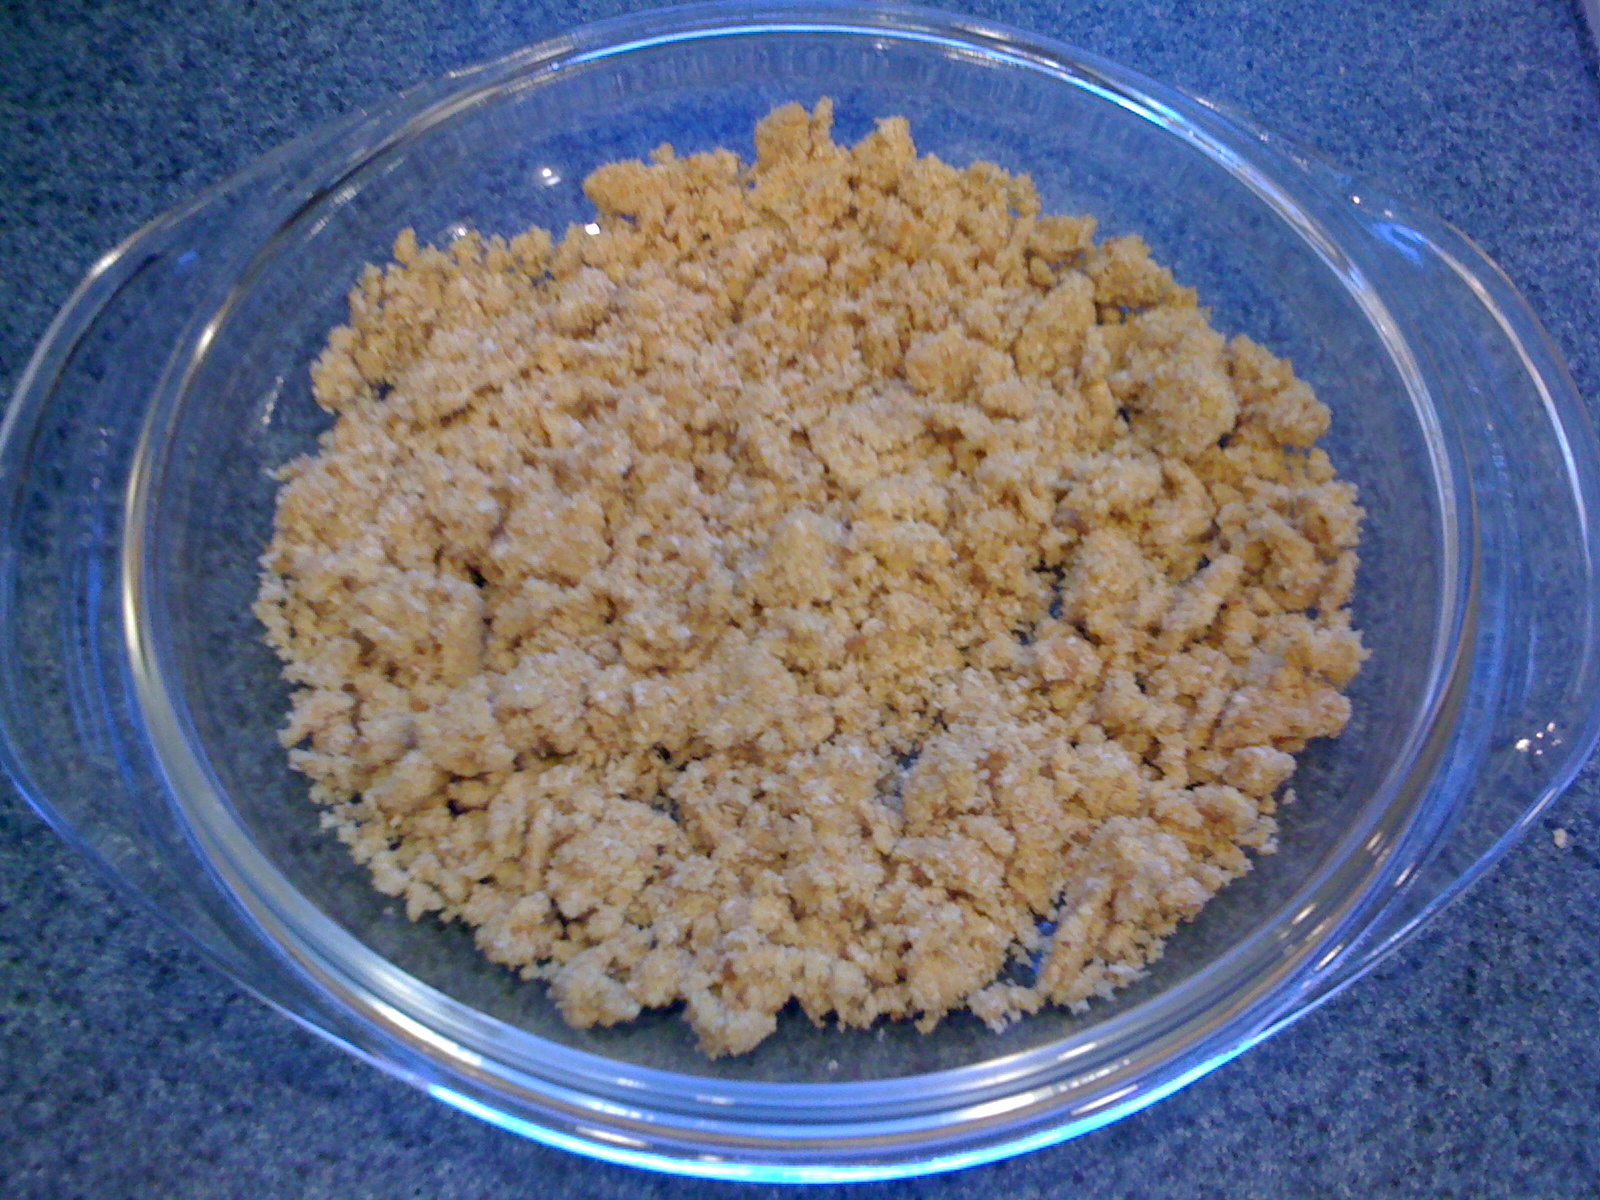
Just like yesterday, I had to go with the dried thyme instead of fresh - I really have NO idea where my thyme went! So the first step here is to preheat the oven to 400 degrees Fahrenheit. While you are waiting for the oven to heat, mix 2 teaspoons of the mustard, 2 teaspoons of the oil and the mustard seeds with the breadcrumbs in a bowl. They will get kinda lumpy and stuck together, at which point, transfer them to a baking sheet. I used a pyrex dish instead because my baking sheets are being bogarted by some seedlings that my husband has started and laid out to get sun in front of our large window. We'll have veggies this summer, but right now, I have no baking sheets. You want to bake this for 6-8 minutes in the oven.


Meanwhile, fill a large, deep skillet with water enough to cover the bottom, and pour in your spinach. Toss the spinach over high heat, for about 2 minutes, or until it all wilts down. It looks like you've got a lot of spinach until you get some heat on it!


See?


Once the spinach is all wilted, you want to transfer it to a sieve set over a bowl, and press out most of the water. Transfer the spinach to a saucepan, and pour in the half-and-half, 3 teaspoons of the mustard, and the thyme. Stir this over medium heat until it thickens and then season it with some black pepper. The recipe says 3 minutes, but it didn't take that long for me...


Once that was done, I put some of my fresh Italian Parmesan Herb bread in the toaster, while I fried my eggs. Heat the remaining oil in the skillet you used for the spinach (wiped down, of course) and once the oil is warm, crack your eggs right into the pot. Fry them until the whites are sturdy and white but the yolk shakes a little...unless of course you don't like runny eggs - you can cover your pan for a minute or two to get the heat through the top of the whites (and the yolks if you want). The steam cooks them evenly without having to flip the egg and risk breaking that yummy yolk!

Still needs a minute or two!
Well, that was easy and quick, huh? I plated the spinach and topped it with 2 of the fried eggs. I then sprinkled the breadcrumb concoction on top and served with a side of Parmesan Herb toast!

My yolk broke!
It all paired together nicely and it made for a comforting Tuesday night dinner. I still haven't caught up with that hour of sleep we lost this weekend I think, because I'm exhausted! Thank goodness for quick meals! :)

Sunday, March 13, 2011

A Day Full of Homemade Goodness

Today, I spent quite a bit of time in my kitchen. After "springing forward" in time this morning, I decided it would also be a good idea to start some spring-cleaning, and the kitchen and the bathroom are always the most time-consuming, so I try and attack them first. I did the bathroom yesterday, so today called for a good kitchen-scrubbin'! And scrub I did - it's so sparkly and clean now!

While I was cleaning, I poured the ingredients into my Breadman TR2700 for a loaf of Italian Parmesan Herb bread, too. Multi-tasking at its finest! The loaf came out wonderfully - fluffy, herby and delicious!

After the hours spent in the kitchen during the day today, I had to venture back in to make dinner, and as I looked at the things left on my current menu, I decided to make some gnocchi tonight. The recipe that I'm making, Lemon Gnocchi with Spinach and Peas, actually calls for store-bought gnocchi, which would make this one of the quickest recipes ever, I think...so if you are looking for a quick, week-night meal, this would be it! However, if you've been reading this blog, you'd already have guessed that I don't take the easy way out...so I'm making some fresh gnocchi tonight while my husband is at his hockey game.

First things first, you need to boil about 2 1/2 pounds of potatoes. When you boil potatoes, you want to put them in an empty pot, large enough for the potatoes to lay in a single layer on the bottom, and deep enough that water will be able to cover the potatoes and then some. Once the potatoes are in the pot, then fill it with water, covering the potatoes. Add some salt and stir around a bit. Now you can place the pot on the stove and bring the water to a boil. Once it arrives at a rolling boil, turn the temperature down a little bit, so the water stays at a simmer, and cook the potatoes for 30 - 40 minutes, or until they are easily pierced with a fork.


Once the potatoes are cooked, drain them and peel them while still hot. I use a towel or pot holder to protect my sensitive finger skin from burning! :) Once they are peeled, you'll want to run the potatoes through a ricer immediately. I don't own a ricer...yet...so I decided to use the small-holed side of a grater to get a similar effect. It didn't work as well as I'd hoped, since the potatoes just kind of fell apart in my hands, but I got the majority of the potatoes grated before using a masher to finish the job...and I might have burned off a few fingerprints...not sure though.


You have to allow the potatoes to cool completely before moving on to the next step in the process. Once cooled, sprinkle the potatoes with 1 3/4 cups of all-purpose flour and 2 teaspoons of salt. Top all that with one large beaten egg.


Knead the mixture until it turns into a smooth but not elastic dough. Dust the concoction with flour if it becomes sticky, but don't overwork the dough.


At this point, divide the dough into 8 equal pieces and roll each portion into a rope, about 24-inches long. Cut each rope into 1/2-inch pieces.


As you cut the pieces, roll each little pillow against the tines of a small fork to make ridges and then arrange them on a baking sheet covered in parchment paper and lightly floured.


When you go to cook your homemade gnocchi, bring a pot of salted water to a boil and add a few handfuls at a time. Cook them until they have floated to the top, about 2 - 3 minutes, and transfer them directly to whatever sauce you are using. You can also freeze the gnocchi by placing it in the freezer on baking sheets until firm; then transfer them to freezer bags and freeze for up to 1 month. Thaw them at room temperature for about 30 minutes before cooking them.


Mmm, this is delicious, and once the gnocchi is made, this recipe takes about 7 minutes, total. If that's not a quick dinner, I don't know what is.