Showing posts with label panzanella. Show all posts

Wednesday, March 30, 2011

Panzanella

As promised, I'm going to tell you all about making panzanella salad today. Panzanella is a traditional Florentine salad, based on two ingredients: tomatoes and bread. "Bread!?" you say! I know, bread in a salad is a pretty foreign concept, but trust me on this one. This makes for a lovely summer salad, and is pretty simple to prepare for a BBQ or gathering. I know it's not summer yet (trust me, I know!) but I needed something refreshing and cool to complement the ribollita that I wrote about yesterday.

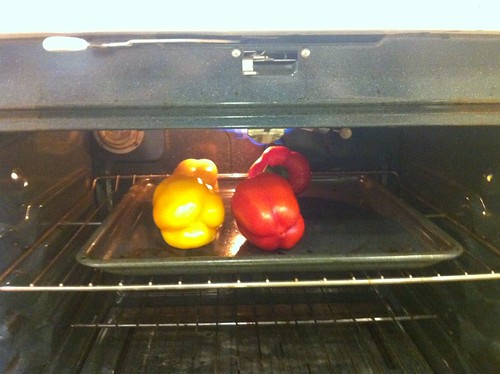
For Jamie Oliver's version of panzanella, I needed to roast 4 red and yellow peppers. So, the first thing I did was preheat the broiler and place the peppers in to blacken the skin. You want to keep an eye on them and turn them a few times so they get blackened equally on all sides.
IMG_0412

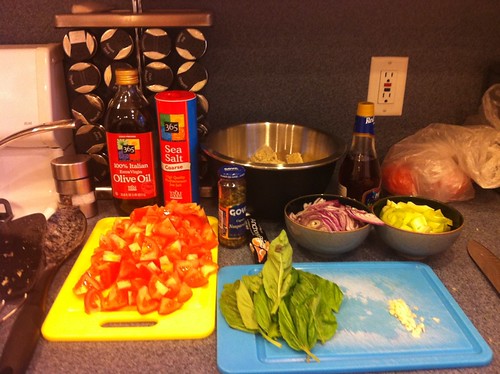
While the peppers were roasting, I gathered the rest of my ingredients for my mise en place. Aside from the peppers, I needed some cubed bread, a nice amount of tomatoes (cut to about the same size as your cubes of bread), capers, sliced red onion, celery, and some basil. I also got some red wine vinegar, olive oil, garlic and salt and pepper out for the dressing. The recipe also calls for anchovies, but I couldn't find them at the grocery store this time around, so I just put some anchovy paste into the dressing to mimic the flavor...I didn't really want to eat anchovy fillets anyway.
IMG_0411

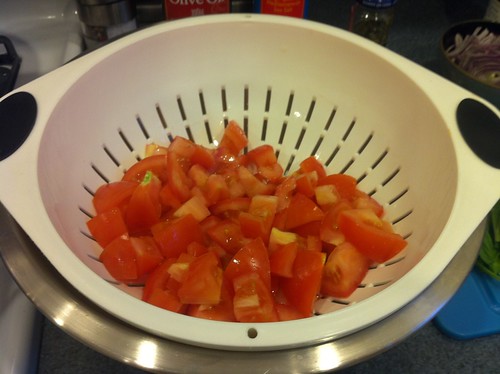
Once you've cut up the tomatoes, place them in a colander, resting over another bowl. Pour a nice amount of sea salt over the tomatoes and toss. Don't be stingy. The salt is going to draw the liquid out of the tomatoes and it will start to drip through into the bowl underneath pretty quickly. Let the tomatoes sit for about 20 minutes so you can be sure to get the most amount of juice out of it. These juices will be used for the dressing later! You'll see! :)
IMG_0413

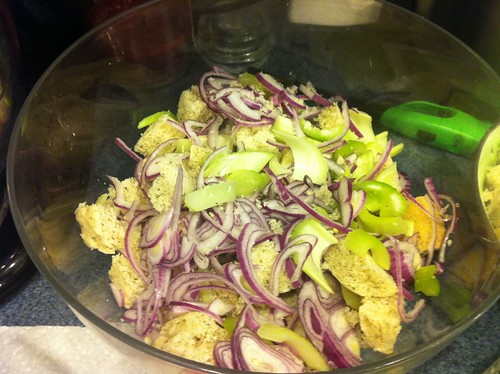
Meanwhile, cube your bread, slice your celery, thinly slice your red onions (giant pieces of raw red onion is not something anybody wants to pop in their mouth), and tear up those basil leaves. Toss this all together.
IMG_0416

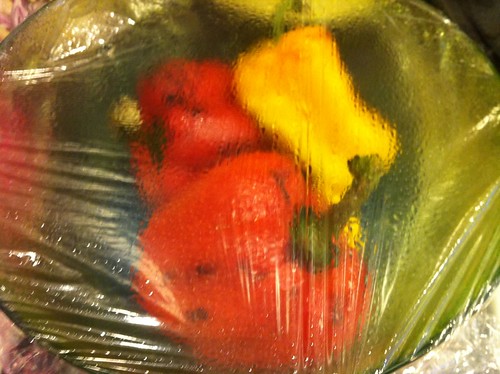
The peppers are probably done now...so here's what you do next. Take those peppers out of the oven and place them in a heat-resistant bowl and cover it with saran wrap. While the peppers steam, the skin pulls away from the meat of the pepper and you'll be able to just peel the skin right off!
IMG_0415

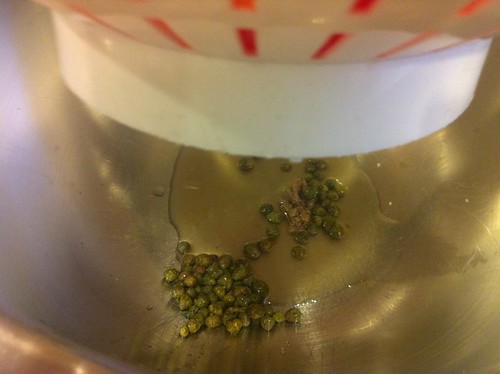
Once you've peeled the peppers (please be careful, they are HOT, and they stay hot for awhile!) you can kind of just rip the meat in to ribbons. You can add the ribbons of roasted pepper to the mixture we've already got going on, and then turn your attention back to those salted tomatoes. In the bowl that's collecting the liquid, we're going to add the capers, some anchovy paste (since I opted not to use anchovy fillets), red wine vinegar, a couple healthy glugs of olive oil and a crushed clove of garlic. Taste the mixture before you season - anchovy paste and capers are both rather salty so you might not need more. I definitely added some pepper though.
IMG_0414

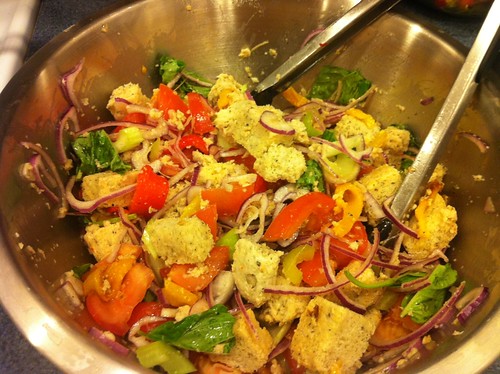
Pour the tomatoes in to the salad, and then the dressing. Toss for a minute but don't overtoss because the bread is going to start getting soft. You should let the salad sit for about 10 minutes before serving so that the bread starts to soak up the dressing. However, if you are going to bring this to someone's house, keep the tomatoes and dressing separate until you get to your serving location. Otherwise, you'll have a soggy salad by the time people go to eat it.
IMG_0421

Cool, refreshing and delicious!

And on another note : I have to make a plug for my yoga teacher/friend, Victoria! She's in a competition to be featured in an episode of Yoga Journal, and I promised her I would use every means possible to get her votes! Yoga means so much to her, and you can read her story on her page at Yoga Journal! Give her a rating to vote for her and help her win her dreams! Vote for Victoria here!
Tuesday, March 29, 2011

Zuppa's on!

Tonight, I was in the kitchen for quite awhile, but it was well worth it! I made what Jamie Oliver calls "La Mia Ribollita Preferita," his favorite ribollita. This is a Tuscan soup whose name literally means "reboiled." According to Wikipedia, Italians used to make this soup by reheating leftover minestrone soup from a previous meal.

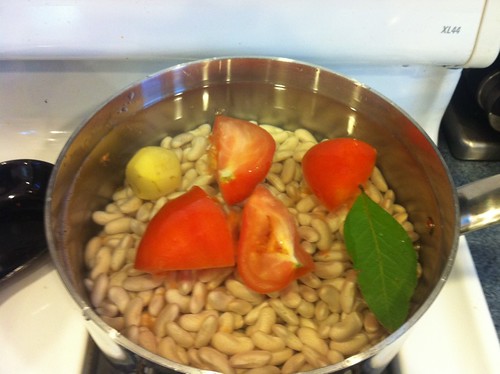
The cannellini beans, which I bought dried, needed to soak in a bowl of water overnight. Before I went to sleep yesterday, I placed my dried beans in a bowl, filled it with water and covered it with some saran wrap. When I got home from work today, the first thing I did was place those beans on the stove in a large pot with some water, a squished tomato, a bay leaf and a small, peeled potato. Dried beans need to cook for about an hour, whereas fresh ones only need about 25 minutes, so I knew I had an hour of simmering ahead of me.

IMG_0409

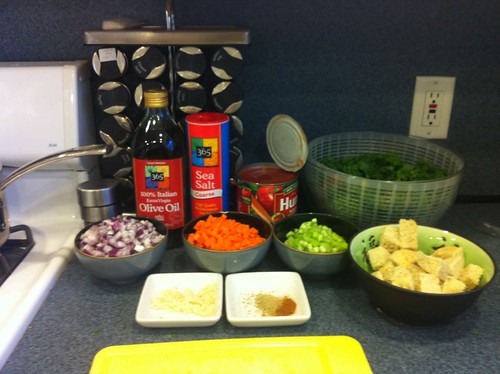
Then I got my mise en place together!

IMG_0410

While my beans were cooking, I finely chopped 2 red onions, 2 carrots, 3 stalks of celery and 3 garlic cloves. I placed them all in a pot with some olive oil, a pinch of ground fennel seeds and a little bit of dried red chili, and cooked them on a medium heat, for about 20 minutes. I allowed the mire poix to sweat, without browning. Meanwhile, I cubed some bread and thinly sliced a beautiful bunch of kale.

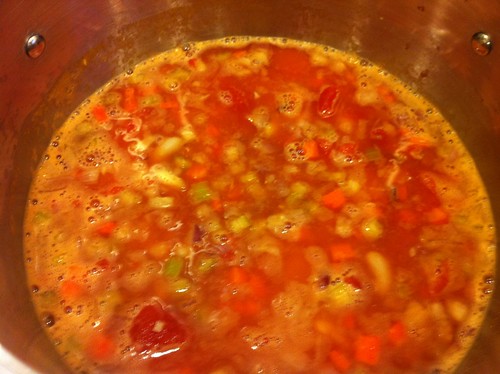
Once the 20 minutes had passed, I added a can of plum tomatoes and allowed it to simmer for a few more minutes. Once it had simmered, I added the beans from the other pot, after removing the tomato, bay leaf and potato. You want to reserve the cooking liquid to actually make the soup (but I found that if you don't have enough, it works to add some hot water from the sink as well - just make sure you season).

IMG_0417

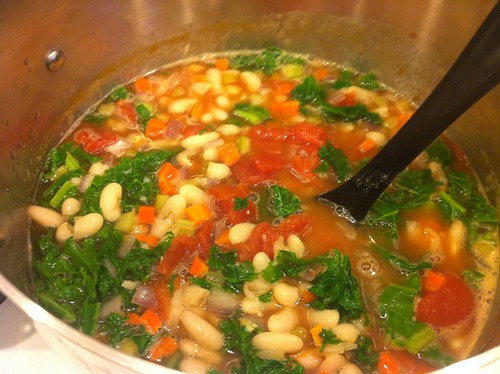
Once the mixture came back to a boil, I added my sliced kale and it immediately started to wilt into the soup. Doesn't it look bright and delicious!?

IMG_0418

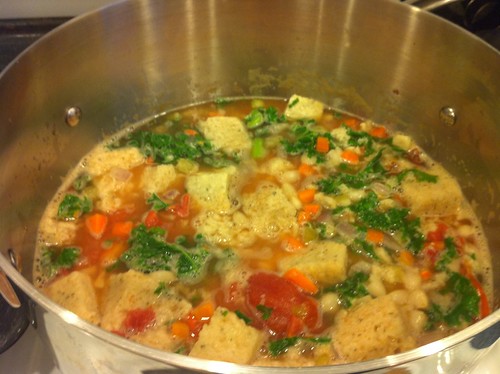
I softened some cubed semi-stale bread with some of the cooking liquid and then added that to the soup as well. I made this loaf of French Herb bread this weekend, so it wasn't exactly crunchy-stale but it worked for this situation. The bread really thickens up the soup and gives it this fantastic texture!

IMG_0419

I continued cooking the soup for another 30 minutes, adding a little more water to loosen it up a bit along the way. It was nice and thick, and the recipe called for 4 big glugs of extra virgin olive oil to top it all off. This gave the soup a lovely sheen and a great silky texture. So comforting on a cold day like this one!

IMG_0422

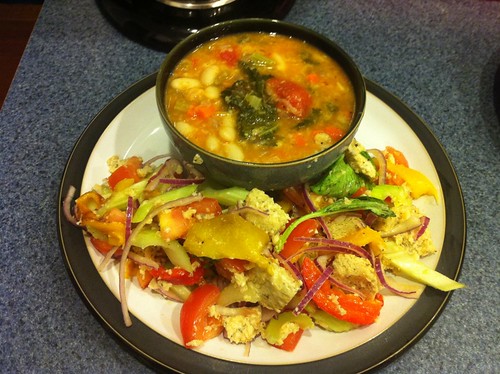
I served the soup with a great panzanella salad, but more on that tomorrow - I figured I'd split this evening's cooking into two posts for two reasons. One, I was racing around the kitchen this evening - these two recipes were pretty labor intensive, and two, tomorrow's my late night at the gym so we'll be eating leftovers for sure!

Buona notte il amichi miei!